® U.S. Registered Trademark
Copyright © 2003 Honeywell International Inc • • All Rights
INSTALLATION INSTRUCTIONS
69-0788-2
CT41A
Heating/Cooling Thermostat
Heating/Cooling
15 to 30 Vac Thermostat
Congratulations on the purchase of your new thermostat!
YOUR NEW CT41A THERMOSTAT
Your new CT41A Thermostat replaces most 15 to 30V,
4-wire, heating/cooling system thermostats. The CT41A
is suitable for gas or oil heat or electric air conditioning
systems.
Direct questions about this thermostat to our Web site at
www.honeywell.com/yourhome or call the customer
information line at 1-800-468-1502.
MERCURY NOTICE
If this control is replacing a control that contains
mercury in a sealed tube, do not place your old
control in the trash. Dispose of it properly.
Contact your local waste management authority
for instructions regarding recycling and the
proper disposal of an old control.
1 PREPARE FOR INSTALLATION
If you are unsure about wiring procedures, please call a
qualified service technician for assistance.
❑ To correctly install your new thermostat, follow these
step-by-step instructions. It is recommended that, as
you read, understand, and complete each step, you
place a check mark in each box provided.
❑ See Your New CT41A Thermostat section above to
determine the thermostat suitability for compatibility
with your home system. If not, return it to the retailer.
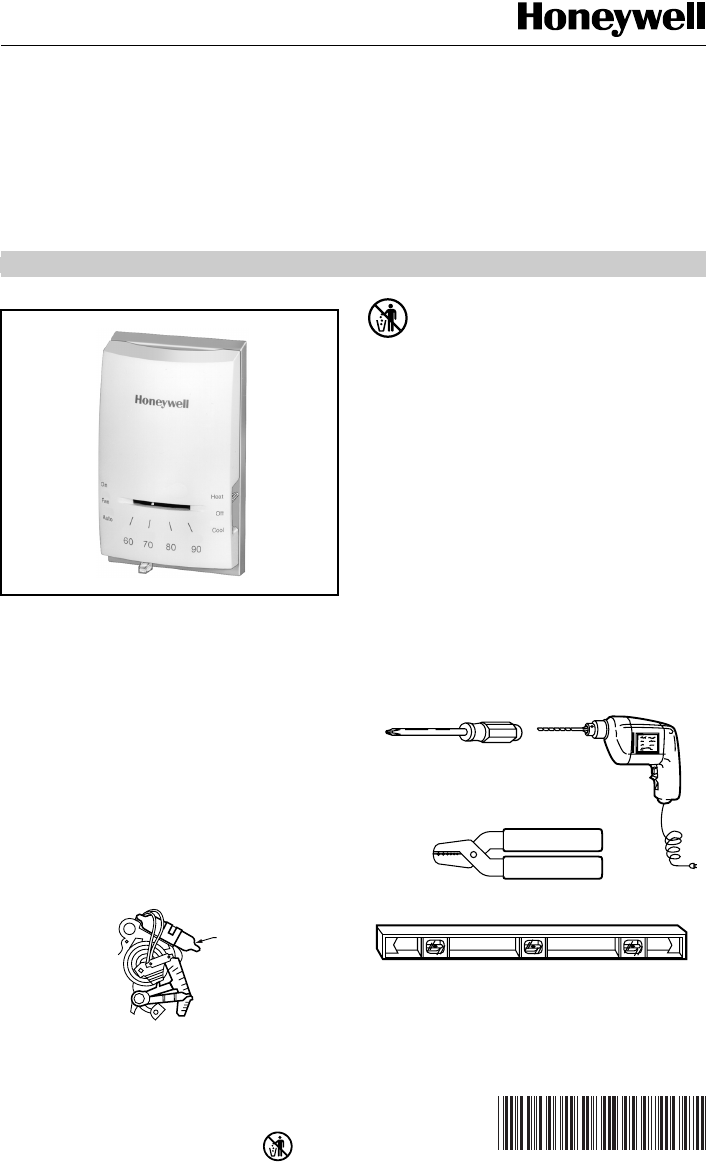
Acquire the required installation tools and supplies, as
needed. See Fig. 1.
Fig. 1. Required installation tools/supplies.
M10614
MERCUR
SWITCH
YPICAL LOCATION OF A MERCURY
WITCH IN A THERMOSTAT
M20551
SCREWDRIVER
HAND OR POWER
DRILL WITH 3/16 INCH
DRILL BIT, IF NEEDED TO
DRILL HOLES IN WALL
WIRE CUTTER/STRIPPER IF NEEDED TO STRIP WIRES
LEVEL, IF NEEDED TO LEVEL
THERMOSTAT FOR APPEARANCE


