


_
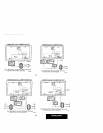
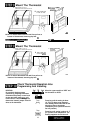
Install The Batteries
IMPORTANT: Batteries must be installed for
programming and operation of the thermo-
stat and heating/cooling system.
❑
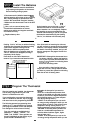
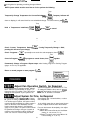
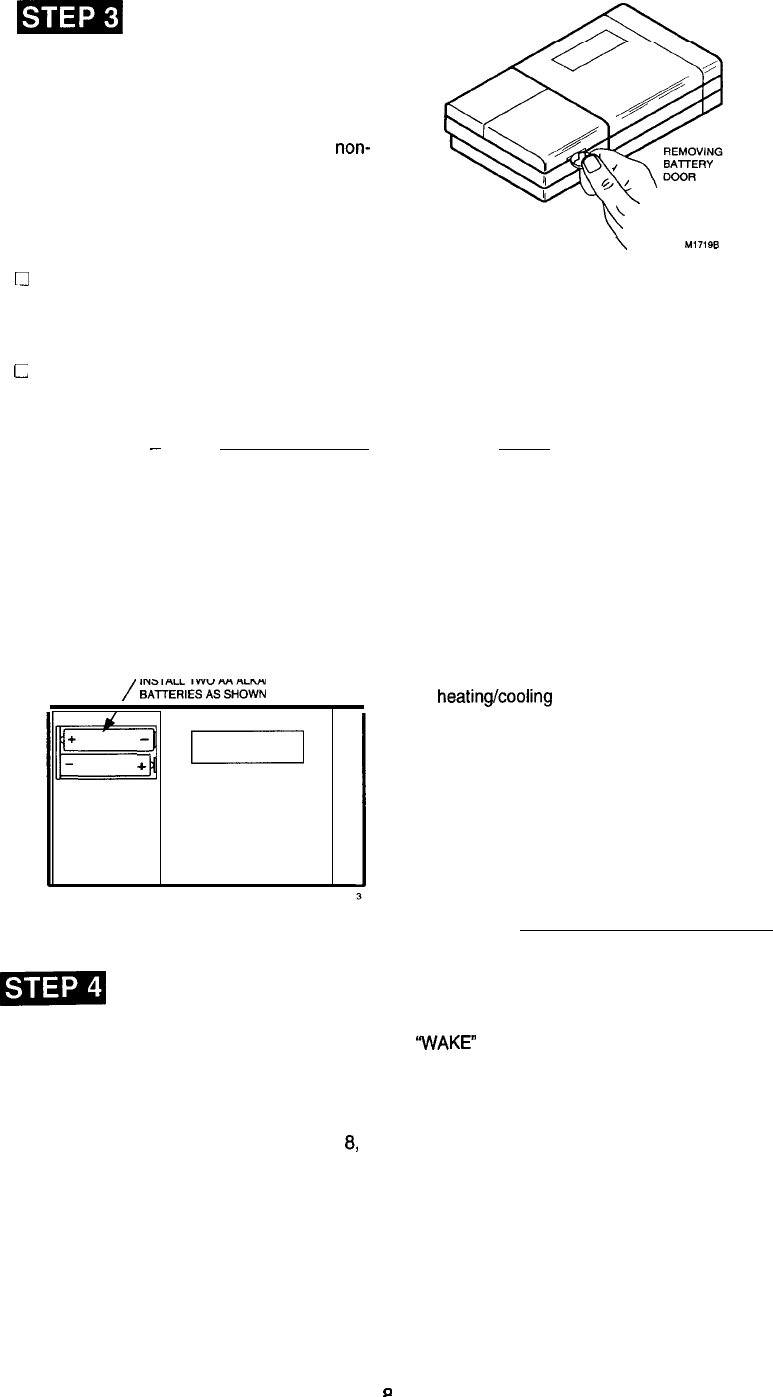
Purchase two AA alkaline batteries;
non-
alkaline batteries will not last as long, and may
leak, causing damage to thermostat or wall
surface. We recommend Energizer batteries.
•l Make sure the thermostat is set in the OFF
position.
El
Use a coin to remove battery door.
❑
Install the fresh batteries as shown,
making sure positive and negative terminals
are oriented correctly.
O
Replace battery door.
—
flashing. “bAt Lo” will stay on without flashing,
indicating the thermostat and heating/cooling
system have stopped working and the
batteries are almost completely dead.
After the batteries are completely dead, the
“bAt Lo” indicator will disappear, leaving a
completely blank display.
Press down on left ends of batteries to
remove. If you insert the new batteries within
INSTALL TWO AA ALKALINE
/BATTEFIIESASStiOIAIN
a
:
E=l
M171
A
\
M1779B
As the batteries are running low, a “bAt Lo”
indicator will flash for one to two months
before batteries run out completely. Replace
the batteries as soon as possible after the
indicator starts flashing. If you do not replace
the batteries sometime during the flashing
“bAt Lo,” the indicator will eventually stop
6
20 to 30 seconds of removing the old ones,
you will not have to reprogram the thermostat.
However, if the display is blank, the batteries
are dead or incorrectly installed, and you will
have to reprogram. See pages 12 and 13 to
reprogram.
IMPORTANT: Although the thermostat has a
low battery indicator, replace the batteries
once a year to prevent the thermostat and
heatinrjcooling
system from shutting down
due to lack of battery power.
As a precaution, when leaving home for
longer than a month, change batteries before
you leave to prevent the system from shutting
down due to lack of battery power.
7
-
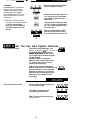
Program The Thermostat
After the batteries are installed, the thermostat
can be easily programmed in your hand
before it is installed on the wall.
If you would prefer to program the thermostat
after it is installed on the wall, skip to page
8,
and return later to this programming section.
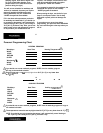
The following personal programming chart
(pages 10 to 11 ) may be helpful for planning
your program schedule of time and tempera-
ture settings for various times of the day.
Four time periods are available during
weekdays — “WAKE,” “LEAVE,” “
RE
-
TURN,” and “SLEEP.” These periods can
be seen individually on the display as you
press the SET SCHEDULE key.
n
‘WAKE”
is the time period you want the
house at a comfortable temperature when
you get up and while you get ready for work
or school. (This will be a higher temperature
during heating season, or a lower tempera-
ture during cooling season.)
“LEAVE” is the time period you can set for
an energy-saving temperature while you are
away at work or school. (This will be a lower
temperature during heating season, or a
higher temperature during cooling season.)
“RETURN” is the time period you want the
house at a comfortable temperature for
activities before bedtime. (Again, higher
heat or lower cool.)
“SLEEP” is the time period you can set for
an energy-saving temperature while you are