I
Honeywe
I
I
Heating,
Air
Conditioning or
Heating/Air Conditioning
Thermostats
INSTALLATION INSTRUCTIONS
The CT50A
is
for most gas and
oil
heating-only systems.
The CTSOC is
for
most electric
air
condmoning-only systems.
The CTSlA is
for
most
gas,
oil,
or electric
healing/electric air conditioning systems
The CT53A
is
for
millivoltage heating systems.
Do-it-yourself
models
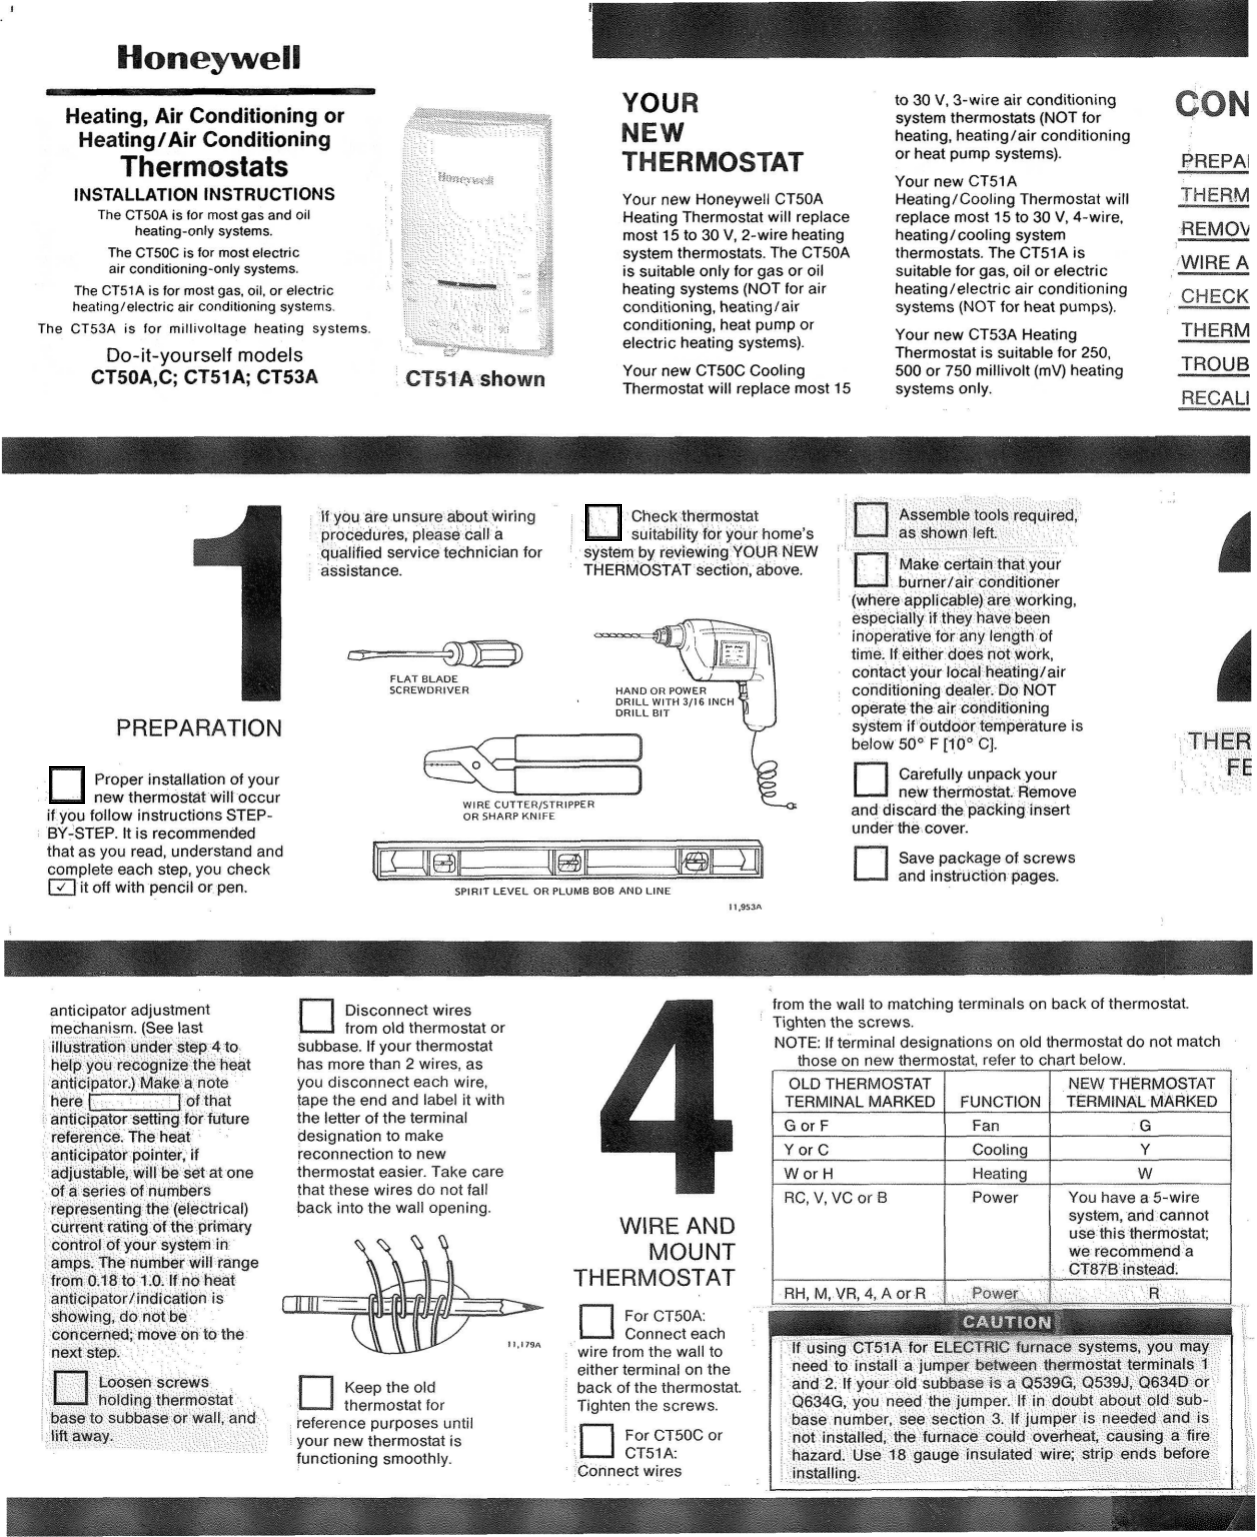
CT5OA,C; CT51A; CT53A
CPfilA
shown
YOUR
NEW
THERMOSTAT
Your new Honeywell CT50A
Heating Thermostat will replace
most 15 to 30
V,
2-wire heating
system thermostats. The CT50A
is suitable only
for
gas or oil
heating systems (NOT
for
air
conditioning, heating/air
conditioning, heat pump or
electric heating systems).
Your new CT5OC Cooling
Thermostat will replace most
15
to
30
V,
3-wire air conditioning
system thermostats (NOT
for
heating, heating/air conditioning
or heat pump systems).
Your new CT51 A
Heating/Cooling Thermostat will
replace most
15
to
30
V,
4-wire.
heating/ cooling system
thermostats. The CT51A is
suitable
for
gas, oil
or
electric
heating/electric air conditioning
systems (NOT for heat pumps).
Your new CT53A Heating
Thermostat is suitable
for
250,
500
or
750
millivolt
(mV)
heating
systems only.
PREPAI
REMOL
WIRE
A
TROUB
Proper installation
of
your
new thermostat will occur
if you follow instructions STEP-
BY-STEP.
It
is recommended
that as you read, understand and
complete each step, you check
it
off
with pencil
or
pen.
Check thermostat
suitability lor
your
home’s
system by reviewing
YOUR
NEW
If
you are unsure about wiring
procedures, please call a
qualified service technician for
assistance. THERMOSTAT section, above.
FLAT
BLADE
SCREWDRIVER
HAND
OR
POWER
DRILL
WITH
3/16
INCH
DRILL
BIT
WIRE
CUTTER/STRIPPER
OR
SHARP
KNIFE
SPIRIT
LEVEL
OR
PLUMB
BOB
AND
LINE
11.95%
and discard the
under the cover.
Save package
of
screws
and instruction pages.
anticipator adjustment
Disconnect wires
from old thermostat or
subbase.
If
your thermostat
has more than
2
wires, as
you disconnect each wire,
tape the end and label it with
the letter of the terminal
designation to make
reconnection to new
thermostat easier. Take care
that these wires do not fall
back into the wall opening.
Keep the old
thermostat
for
reference purposes until
your new thermostat is
functioning smoothly.
WiRE
AND
MOUNT
For
CTSOA:
Connect each
rom the wall
to
either terminai on the
back
of
the thermostat.
Tighten
the
screws.
For CT50C
or
Cf51
A:
Connect wires
from the wall to matching terminals on back of thermostat.
Tighten the screws.
NOTE:
If
terminal designations on old thermostat do not match
those on new thermostat, refer
to
chart below.
system, and callnot


