


4 CM900 Wireless - Programmable Room Thermostat
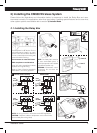
2.2 Installing the Room Thermostat
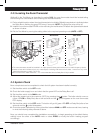
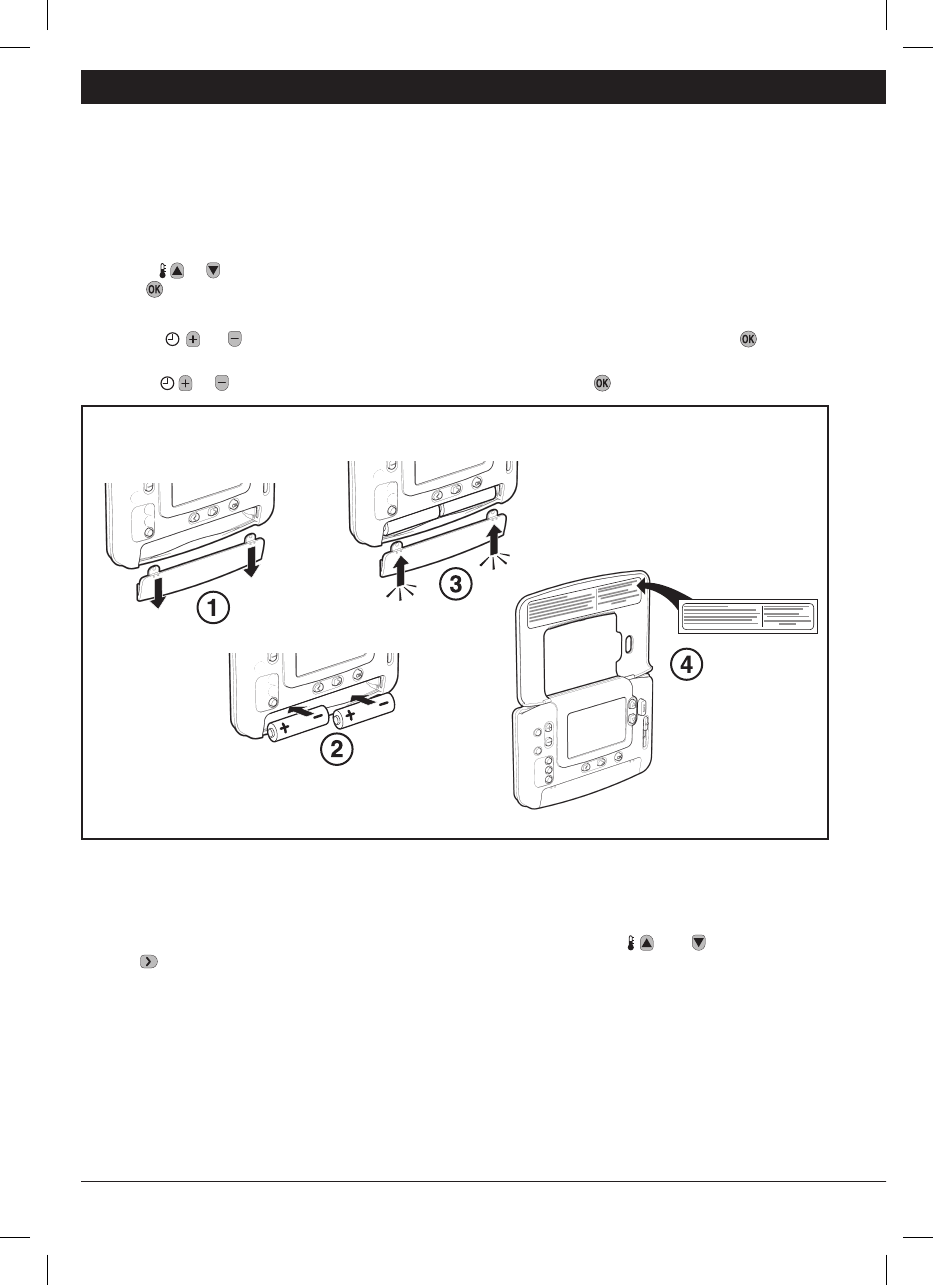
2.2.1 Power Up
1. Remove the battery cover and insert the batteries supplied with the room thermostat (2 x AA LR6
Alkaline Batteries).
2.
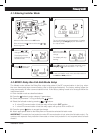
On the initial power up the available user interface languages will be displayed (only on certain models).
Use the
or
buttons to cycle through the options until the desired language is displayed. Press the
green button to confirm the selection.
3. Set the slider switch to the DATE mode.
4.
Use the or buttons to set the correct day / month / year, pressing the green button to
confirm.
5.
Use the or buttons to set the correct time, pressing the green button to confirm.
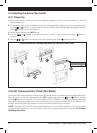
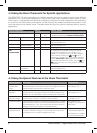
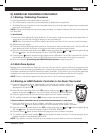
2.2.2 RF Communication Check (Test Mode)
To check the RF communication, hold the room thermostat about 2-3 metres from the installed Relay Box.
Move the slider on the room thermostat to the OFF position then press the and buttons together
with the button for 3 seconds. The unit will display ‘TEST TRANSMIT’ and it will send test signals to the
Relay Box, flashing the green LED on every 6 seconds (relay output will remain off) for a maximum of 10
minutes. When the green LED flashes on every 6 seconds proceed to the next step.
NOTE: If the green LED is not switched at specified intervals, the red LED is flashing or if you are installing
a replacement Relay Box or room thermostat, follow the procedures described in section 5.1 Binding /
Rebinding Procedure.
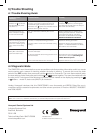
Install the batteries (included) and attach the instruction label to flap