


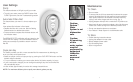
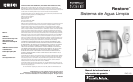
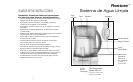
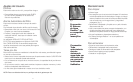
Operating Instructions
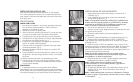
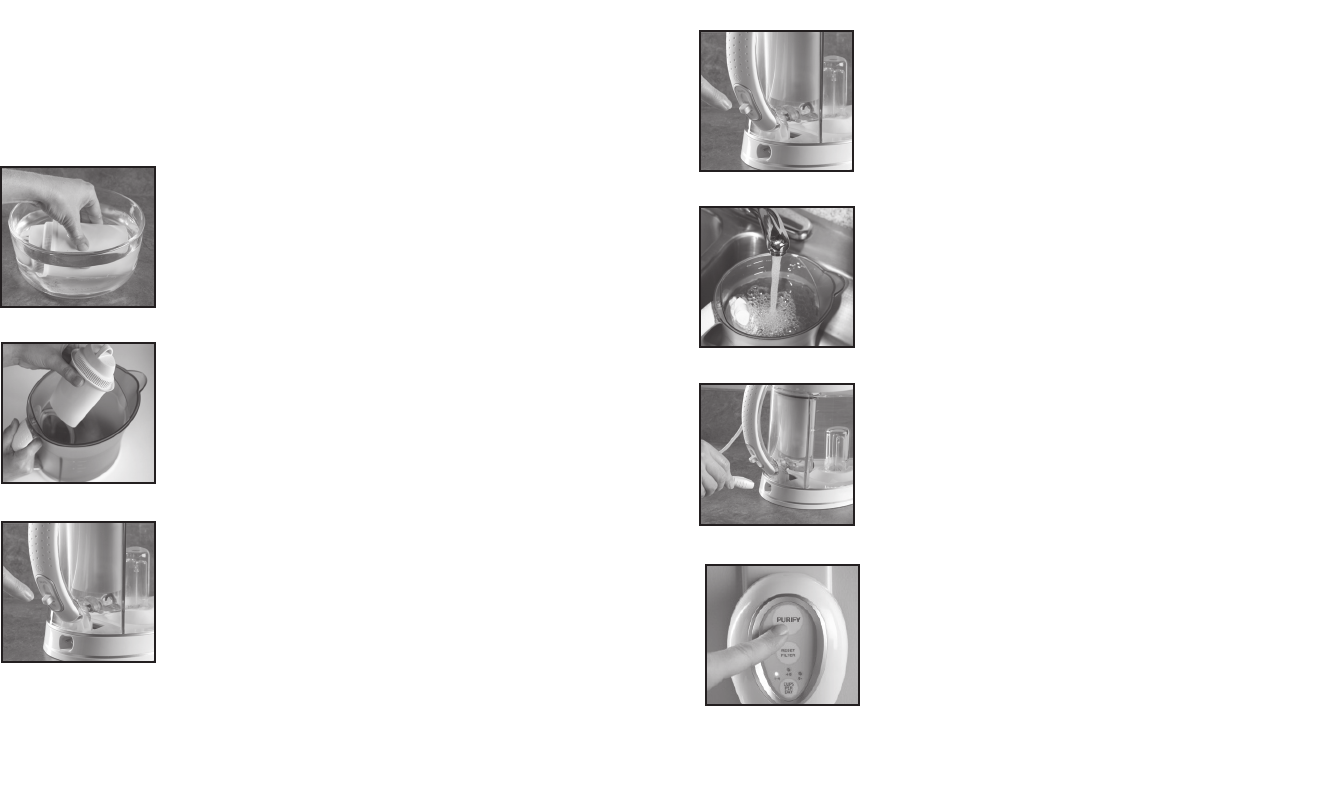
1. Move the valve on the handle down to the FILL position.
(fig. 3)
2. Fill the reservoir as shown to the fill line with cool tap water.
(fig. 4).
Note - The maximum capacity of the PITCHER BODY is 8
cups. Use the fill lines in the RESERVOIR & the fill lines on the
PITCHER BODY to ensure you do not exceed the maximum 8
Cup capacity.
3. Allow the water to flow though the filter into the pitcher.
4. Replace the lid. Ensure the spout lid is in the closed position.
5. Extend the retractable cable and plug the adapter
into an outlet.
6. Plug the adapter cable into the water system. (fig. 5)
7. Slide the valve up to the PURIFY position. This will prevent
tap water from coming into contact with UV purified water.
8. Press the PURIFY button on the adapter. (fig. 6) The UV light
will activate for the required time to clean your water. Time
will be approximately one minute. If the PURIFY lights blinks,
your water has not been fully purified. Do not drink the water
yet. See the Troubleshooting section.
Note - The bulb may illuminate with a pink hue, changing to
blue as the purification cycle continues. This is acceptable
and does not affect performance.
9. After the PURIFY light is off, unplug adapter from system
and retract cord.
Note - YoumayleavetheadapterpluggedintheACoutlet
with the cord retracted or store in a drawer for the next use.
10. Your water is ready to drink. Additional uses include
cooking, coffee, tea, juice, baby formula, ice, pet bowls
and more.
Note - You may store the pitcher in the refrigerator.
Re-purify water if it sits out for more than 2 days.
76
fig.3
fig. 4
fig. 5
fig. 6
Instructions for Use
This plug will fit in an outlet only one way. If it does not fit, contact
a qualified electrician to install the proper outlet. Do not modify the
plug in any way.
Getting Started
PITCHER WITH FILTER
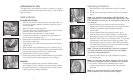
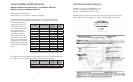
1. Wash the lid, reservoir, and pitcher with mild soapy water. Do
not use any abrasive cleaners. Replace the reservoir back in
the water system.
2. Wash your hands in soap and water.
3. Remove the filter from the protective wrapper. Some moisture
and black carbon dust inside is normal.
4. Rinse the filter under tap water for a few seconds.
5. Immerse filter in water for 15 minutes then shake back and
forth to remove air bubbles. (fig. 1)
6. Wipe the filter and reservoir clean to ensure carbon dust will
not prevent a proper seal.
7. Place the filter in the reservoir and press down until it is firmly
seated. (fig. 2)
8. Move the valve on the handle down to the FILL position. (fig. 3)
9. Fill the reservoir to the 4 cup fill line with cool tap water and let
the water flow through the filter into the pitcher body.
10. Repeat step 9 to fill to the 8 cup capacity.
11. Discard the first two pitchers of filtered water or use for plants.
It is normal for carbon dust to appear in your first fillings.
ADAPTER
1. The adapter operates using one lithium CR2032 battery
(pre-installed). There is a plastic strip under the lithium battery
to prevent battery drain in shipping. Remove the strip before
continuing to the operating instructions.
fig. 1
fig. 2
fig.3