-2-
598-1112-04
CHIME REPLACEMENT INSTALLATION
Note: Electrical work must be in accordance with national and local
electrical codes. If in doubt, consult a qualified electrician.
1. Verify transformer power rating. Power must be supplied from
a 16 Volt AC, 10 Watt or a 16 Volt AC, 15 Watt transformer
(Heath
®
/Zenith models 122C, 121AC, or 125C).
2. Remove cover from existing chime.
3. Label all wires before disconnecting. Using masking tape, mark
each wire according to existing chime terminal markings.
• “F” – Front Push Button Wire
• “T” – Transformer Wire
• “R” – Rear Push Button Wire*
4. Disconnect all wires from existing chime.
5. Remove existing chime base from wall.
6. Determine proper chime base orientation. The chime cover
style may determine orientation.
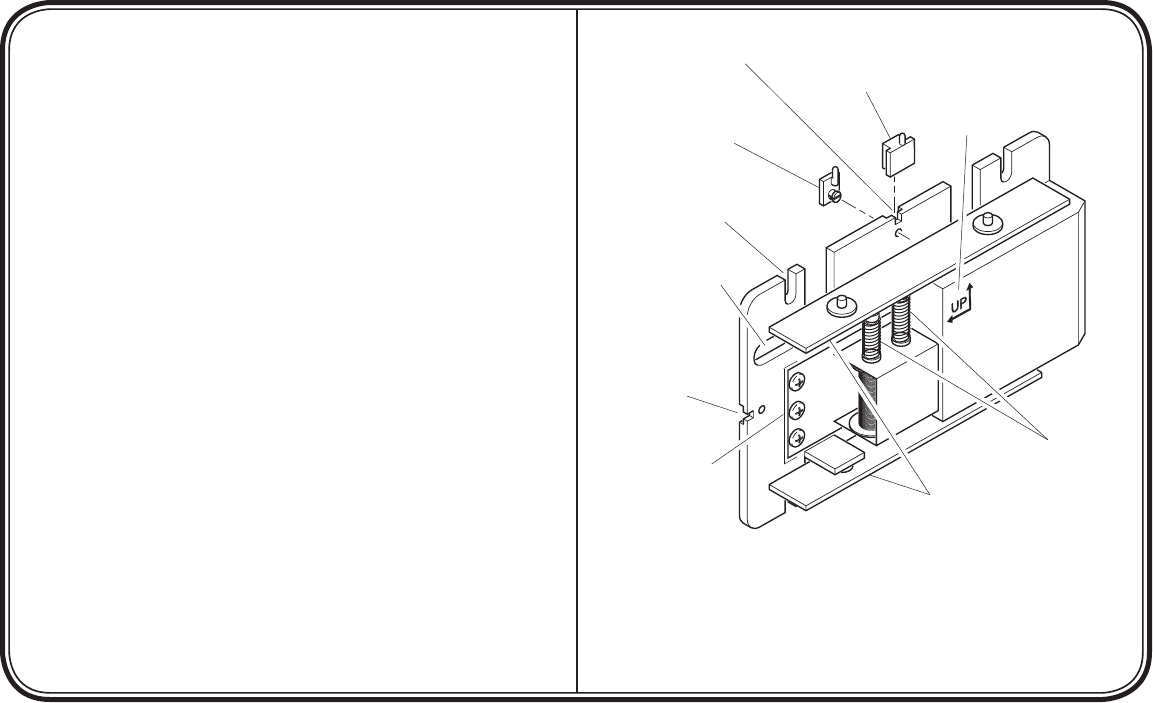
7. Determine cover mounting type. For hang pin and hole type
covers, hang pin should be installed before mounting base to
wall. Install hang pin by snapping into mounting hole or sliding
onto chime base, depending on type of hang pin (see Figures 1
and 3).
Illustrations may vary from actual chime unit.
Figure 1 - Mechanical Chime Identification
(Model 35 Base Shown)
FR
ON
T
REAR
TRAN
S
Hang Pin, Snap-On
Type (Used for Hang
Pin and Hole Covers)
Base Orientation
Marking
Wire Entrance Hole
Mounting Slot (x4)
Tone Bars
Transformer and
Push Button Wire
Connections
Continued
Plungers
Hang Pin Mounting
Slot (Horizontal)
Hang Pin Mounting
Slot (Vertical)
Hang Pin, Slide-On Type
(Used for Hang Pin and
Hole Covers)


