Heat Controller, Inc. INSTALLATION INSTRUCTIONS SMA/SMH 18/24
8
OUTDOOR UNIT INSTALLATION
1. Outdoor Installation Precaution
• Install the outdoor unit on a rigid base to prevent noise and vibration.
• Locate the air outlet direction where the discharged air is not blocked.
Ensure there are no obstacles blocking the unit’s air ow.
• If the installation location is exposed to strong winds, place the unit length
wise along a wall or use shield plates to protect against high winds.
• If suspending the unit, the installation wall should be solid brick, concrete or of similar construction. If
not, reinforce the supporting wall. The connections between the bracket and wall and the bracket and
the air conditioner must be rm, stable and reliable. Consult all local and national building codes.
• If suspending the unit, follow the instructions provided by the bracket manufacturer.
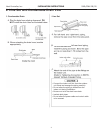
2. Drain Elbow Installation
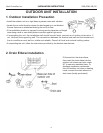
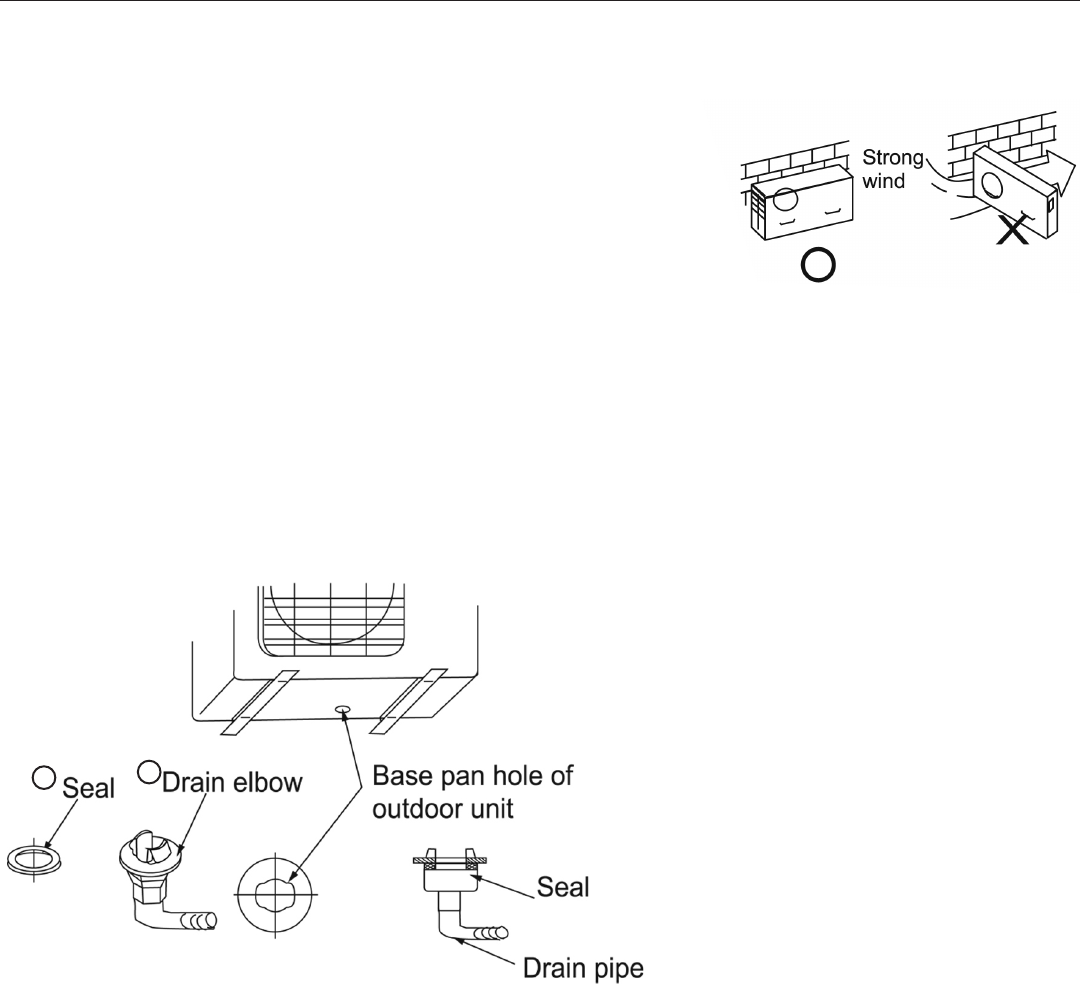
Fit the seal into the drain elbow,
then insert the drain elbow into the
outdoor unit’s base pan hole, rotate
90° to securely assemble them. To
discharge excessive condensate
from the outdoor unit when in heating
mode, connect the drain elbow to a
drain hose (locally purchased).
8
9


