28 Ceiling Cassette Air Conditioner
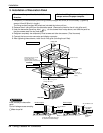
Installation
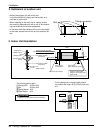
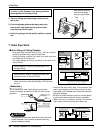
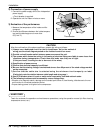
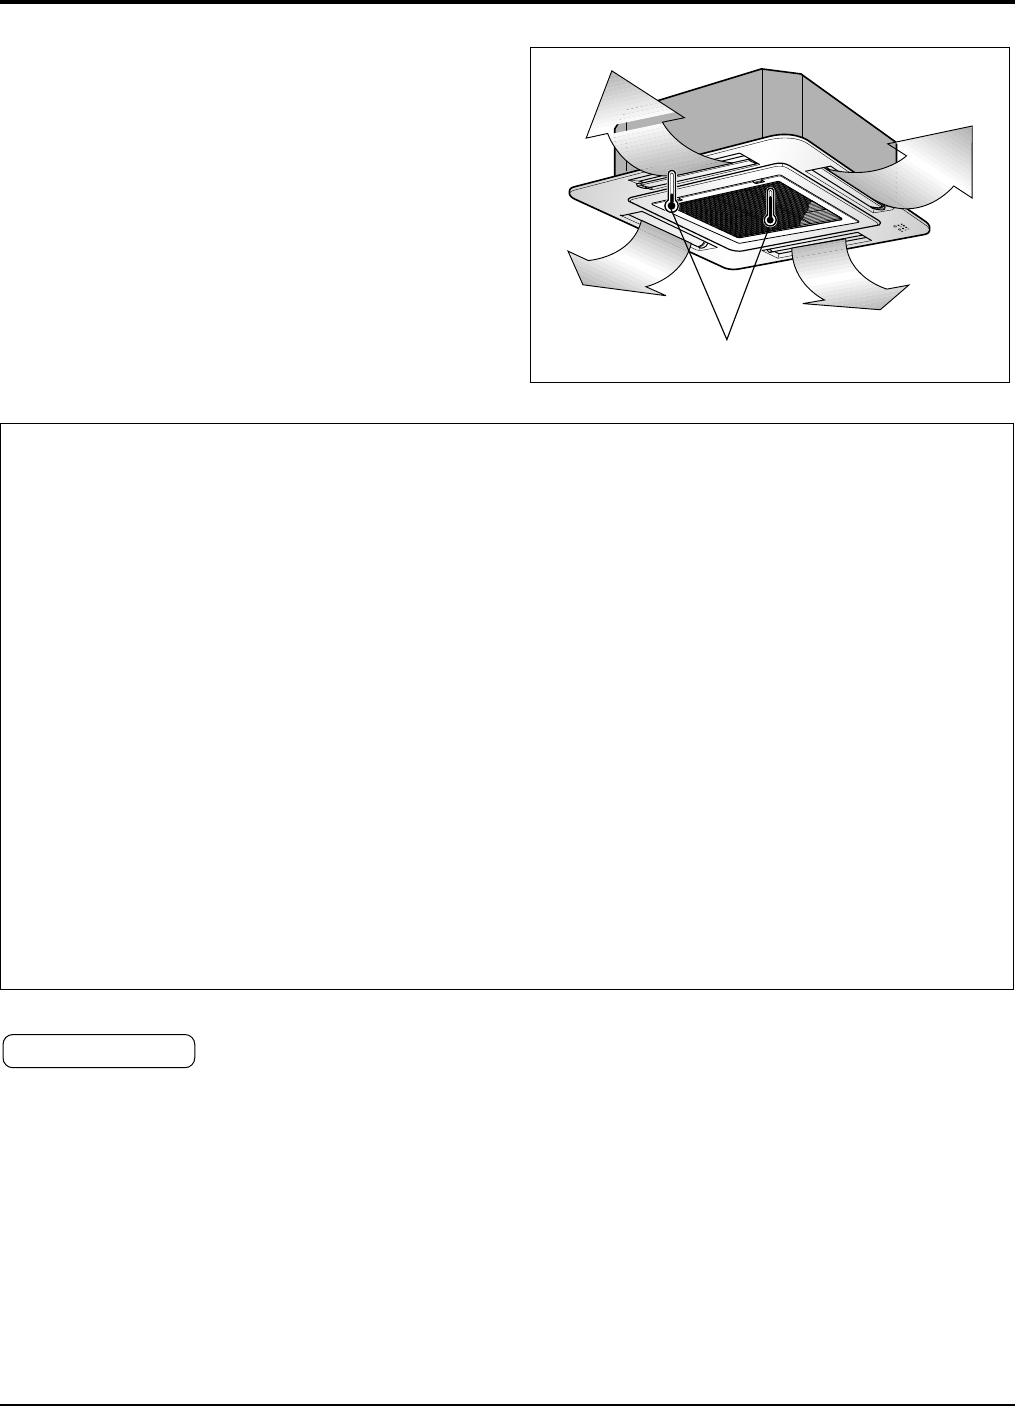
Thermometer
2) Connection of power supply
1. Connect the power supply cord to the independent
power supply.
• Circuit breaker is required.
2. Operate the unit for fifteen minutes or more.
3) Evaluation of the performance
1. Measure the temperature of the intake and dis-
charge air.
2. Ensure the difference between the intake tempera-
ture and the discharge one is more than
8°C(14.4°F).
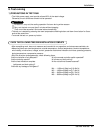
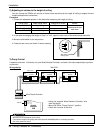
Teach the customer the operation and maintenance procedures, using the operation manual (air filter cleaning,
temperature control, etc.).
HAND OVER
CAUTION
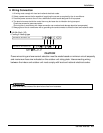
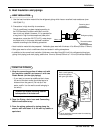
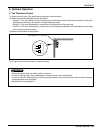
After the confirmation of the above conditions, prepare the wiring as follows:
1) Always use a dedicated circuit for the air conditioner. As for the method of
wiring, see the circuit diagram pasted on the inside of control box cover.
2) Provide a circuit breaker switch between power source and the unit.
3) The screws which fasten the wiring in the casing of electrical fittings are liable to come loose from
vibrations during transportation. Check them and make sure they are all tight.
(If they are loose, it could give rise to burn-out of the wires.)
4) Specification of power source
5) Confirm that electrical capacity is sufficient.
6) Be sure that the starting voltage is maintained at more than 90 percent of the rated voltage marked
on the name plate.
7) Confirm that the cable size is selected using the minimum circuit ampacity on label.
(Particularly note the relation between cable length and wire gauge.)
8) Use GFCI breaker where it is wet or moist and/or required by local and national codes.
9) The following troubles would be caused by excess voltage drop.
• Vibration of a magnetic switch, damage on the contact point there of, fuse blowing, disturbance to the nor-
mal function of a overload protection device.
• Proper starting power is not given to the compressor.


