39
Heat & Glo • SL-550 / 750 / 950TR-D • InD • 2044-985 Rev. M • 10/06
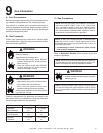
Electrical Information
10
NOTE: This appliance must be electrically wired and grounded
in accordance with local codes or, in the absence of local
codes, with National Electric Code ANSI/NFPA 70-latest
edition or the Canadian Electric Code, CSA C221.1.
B. Connecting to the Appliance
• This appliance may be used with a wall switch, wall
mounted thermostat and/or a remote control.
• If using thermostat use one compatible with a millivolt
gas valve system.
• Follow parameters for locating thermostat (see individual
thermostat instructions) to ensure proper operation of
appliance.
• Use low resistance thermostat wire for wiring from igni-
tion system to the wall switch and thermostat.
• Keep wire lengths short as possible by removing any
excess wire length.
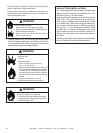
• Low voltage and 110 VAC voltage cannot be shared
within the same wall box.
Wire 110V to electrical junction box.
Do NOT wire 110V to valve.
Do NOT wire 110V to wall switch.
• Incorrect wiring will damage millivolt valves.
• Incorrect wiring will override IPI safety lockout
and may cause explosion.
WARNING
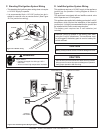
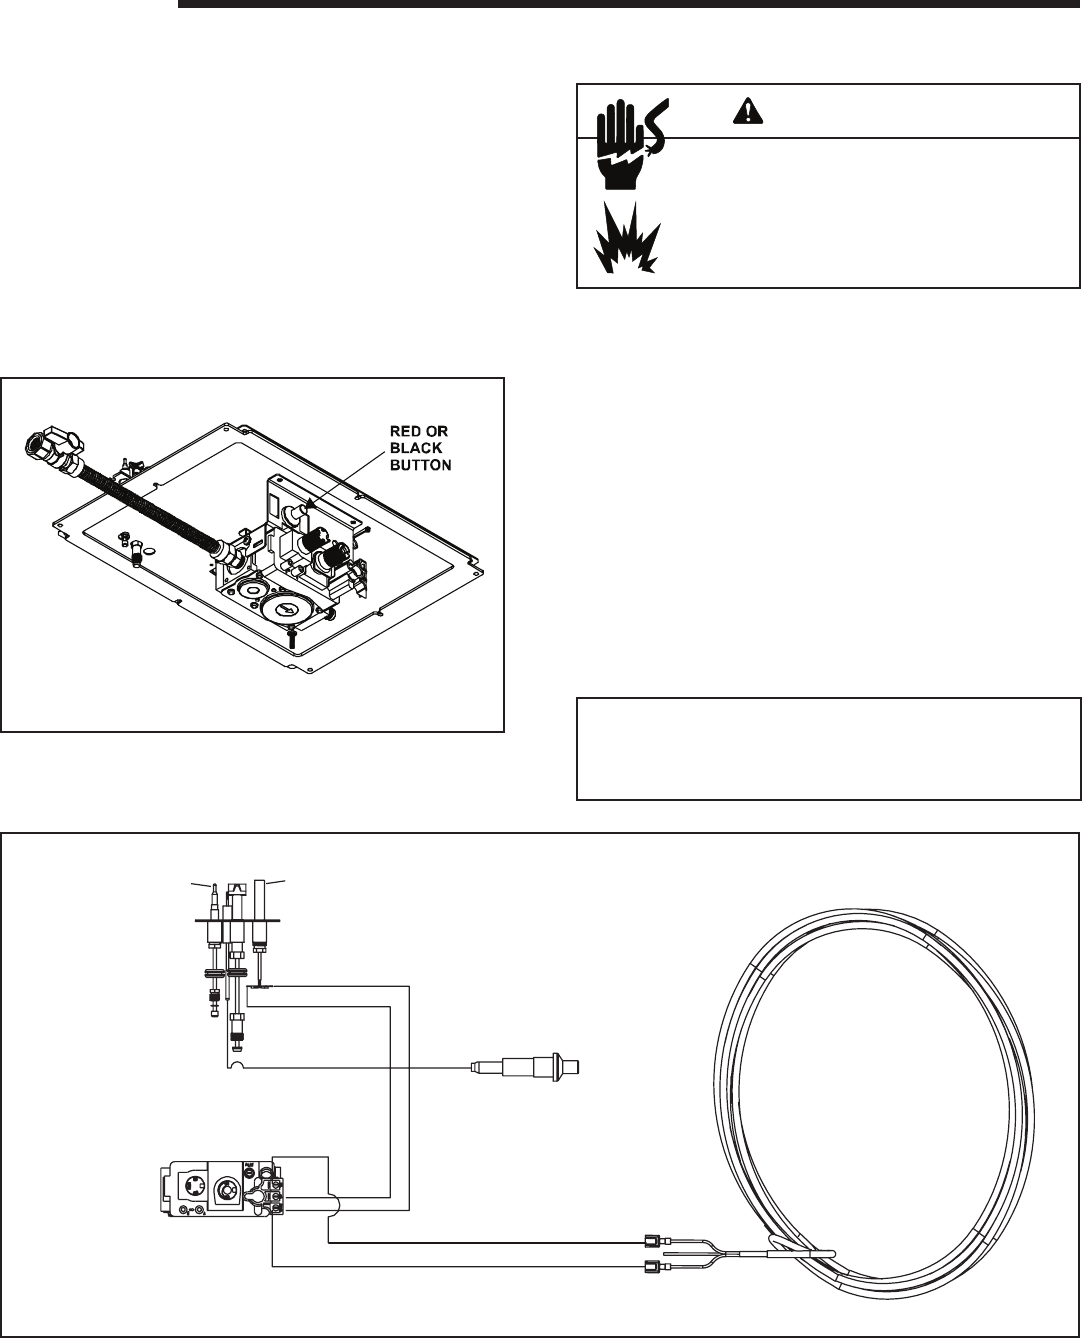
Figure 10.2 Standing Pilot Ignition Wiring Diagram
THERMOSTAT
WIRE ASSEMBLY
PIEZO
WHITE
RED
VALVE
PILOT
THERMOCOUPLE
THERMOPILE
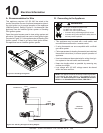
A. Recommendation for Wire
This appliance requires 110-120 VAC be wired to the
junction box either for use of optional accessories (stand-
ing pilot ignition) or for proper operation of the appliance
(Intellifi re ignition). Refer to Figure 10.1 to determine if the
appliance uses an Intellifi re ignition system or Standing
Pilot ignition system.
Open the control access panel to view wiring system and
gas valve. If this appliance has a red or black ignitor button
(as noted in Figure 10.1) this appliance has a Standing Pilot
ignition system. If there is no red or black ignitor button,
this appliance has an Intellifi re ignition system.
Figure 10.1 Standing Pilot Ignition


