


18 26022 Rev i 08/04
RHW-41/RHW-47 INSTALLATION INSTRUCTIONS
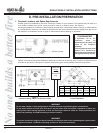
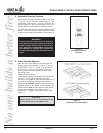
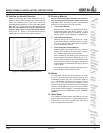
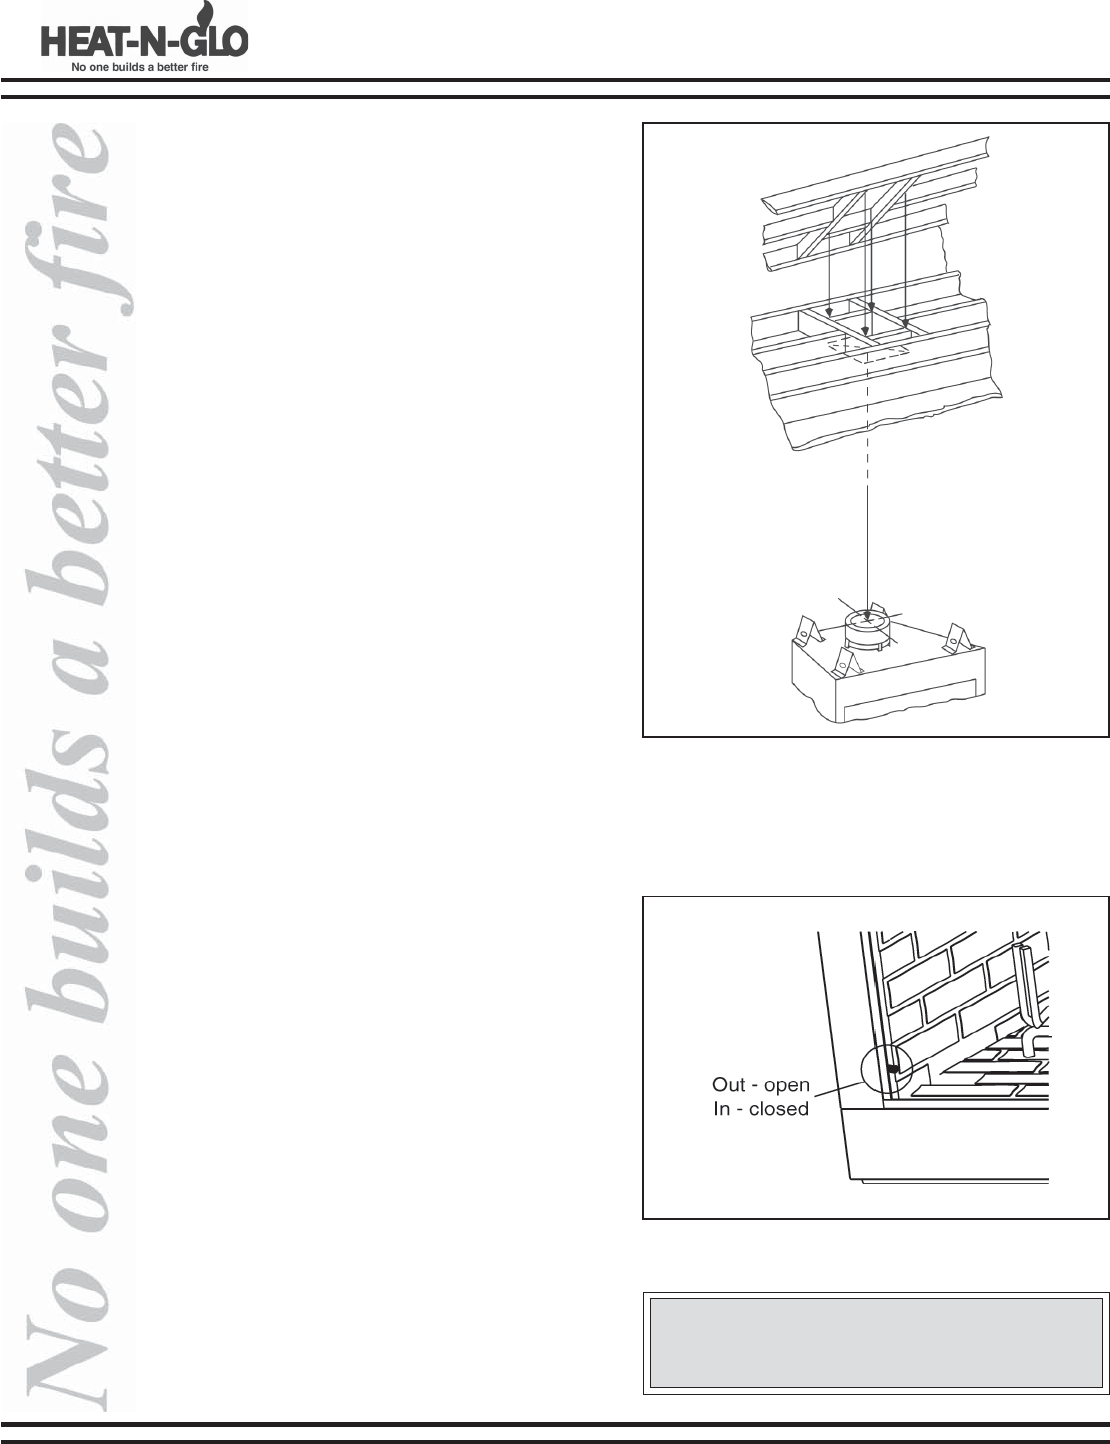
Figure 14 - Ceiling/Attic Construction
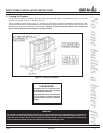
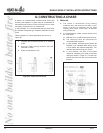
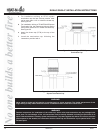
Figure 15 - Air Kit Handle Location
9. Mark the Exit Point of the Roof
Locate the point where the chimney will exit the roof
by plumbing down to the center of the chimney. Drive
a nail up through the roof to mark the center. See
Figure 14.
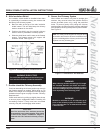
10. Cut out the Hole in the Roof
Measure to either side of the nail and mark the
14-1/2 in. x 14-1/2 in.opening required. This is
measured on the horizontal; actual length may be
larger depending on the pitch of the roof. Cut out and
frame the opening. See Chapter 25 of the Uniform
Building Code for roof framing details.
Be sure to maintain a 2 in. minimum air space
between the chimney section and the roof.
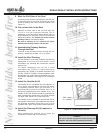
11. Assemble the Chimney Sections
Through the Roof
Continue to add chimney sections through the roof
opening, maintaining at least a 2 in. air space.
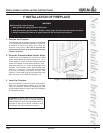
12. Install the Roof Flashing
If a roof flashing is to be used, install the roof flashing
appropriate to the roof pitch and install a round
termination cap following the instructions shipped
with the cap.
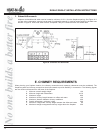
For chase installations you can use a round
termination cap (TR344), a round telescoping
termination cap (TR342) or a square termination cap
(ST375, TS345 or TS345P). A chase installation must
use a chase top. Chase tops are available from your
Heat-N-Glo distributor. See page 22 for building a
chase.
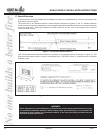
13. Install the Outside Air Kit
The outside air kit is available for this fireplace. Its
use is highly recommended to minimize the effects
of negative pressure within the structure. It is
recommended to utilize the shortest duct run to
optimize the performance of the outside air kit. The
outside air kit inlet thimble should be positioned at
least 4 ft above the ground level, in a manner that will
not allow snow, leaves, etc. to block the inlet.
The outside air kit is installed on the left hand side of
the fireplace. Remove the cover plate from the side of
the fireplace assembly where the air kit is to be
installed. See Figure 15 for handle location/operation.
14. Install the Chimney Air Kit (required in
Canada)
When installing the chimney air kit, follow the
instructions provided with this accessory.
Caution:
The air kit handle may get hot while burning the
fireplace. Use care when operating the handle.