Heatilator • Caliber CNXT Series • 4047-132 Rev U • 11/08 47
H. Assemble and Install Storm Collar
CAUTION! Risk of Cuts, Abrasions or Flying Debris.
Wear protective gloves and safety glasses during installa-
tion. Sheet metal edges are sharp.
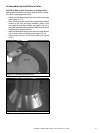
• Connect both halves of the storm collar with two screws
(see Figure 10.17).
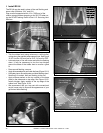
• Wrap the storm collar around the exposed pipe section
closest to the roof and align brackets. Insert a bolt
(provided) through the brackets and tighten the nut to
complete the storm collar assembly. Make sure the collar
is tight against the pipe section.
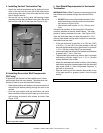
• Slide the assembled storm collar down the pipe section
until it rests on the roof fl ashing (see Figure 10.18).
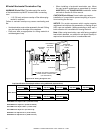
• Caulk around the top of the storm collar (see Figure
10.24).
Figure 10.17 Assembling the Storm Collar
Figure 10.18 Assembling the Storm Collar Around the Pipe


