


Heatilator • Caliber CD Series • 4040-263 Rev N • 11/08 55
A. Remove Fixed Glass Assembly
See Section 14.J.
B. Remove the Shipping Materials
Remove shipping materials from inside or underneath the
fi rebox.
C. Clean the Appliance
Clean/vacuum any sawdust that may have accumulated
inside the fi rebox or underneath in the control cavity.
D. Accessories
Install approved accessories per instructions included
with accessories. Contact your dealer for a list of ap-
proved accessories.
WARNING! Risk of Fire and Electric Shock! Use ONLY
Hearth & Home Technologies-approved optional acces-
sories with this appliance. Using non-listed accessories
could result in a safety hazard and will void the warranty.
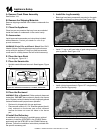
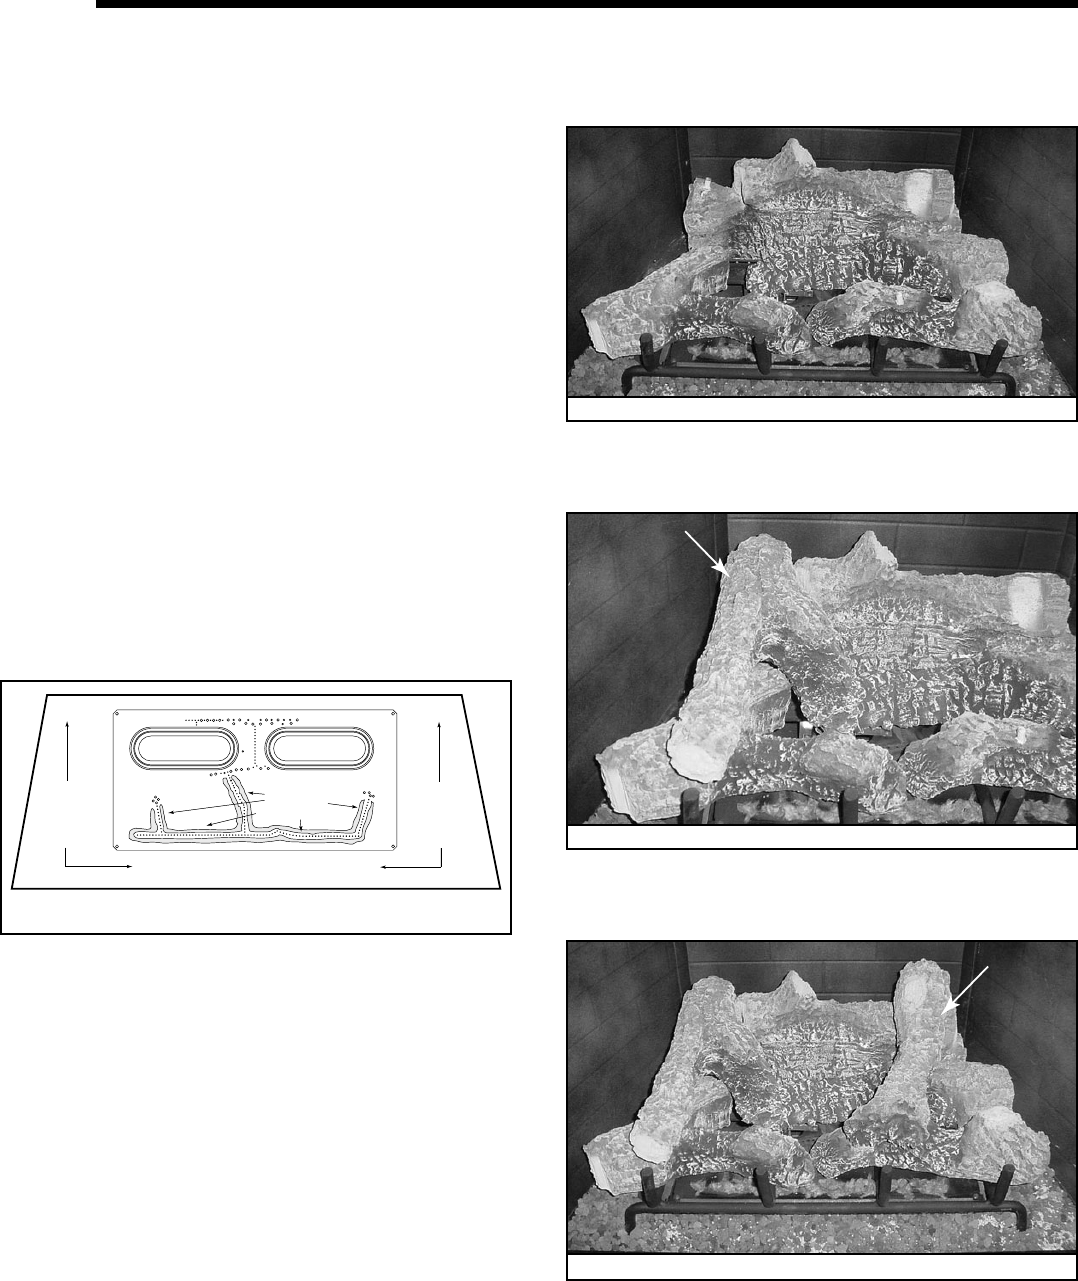
G. Place the Rockwool
WARNING! Risk of Explosion! Follow rockwool placement
instructions. DO NOT place rockwool directly over burner
ports. Replace rockwool material annually. Improperly placed
rockwool interferes with proper burner operation.
• Rockwool is shipped with this gas appliance.
• Place a small amount of 1/2 in. diameter pieces (dime0-
size) rockwool on the burner pan so that rockwool
touches but does not cover the holes in the burner
pan.
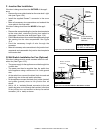
H. Install the Refractory
A weathered brick refractory is available as an optional
accessory. Install the WTBC36D in the CD4236 Series
appliances and the WTBC42D in the CD4842 Series ap-
pliances. Follow the installation instructions provided with
the specifi c accessory part.
14
14
Appliance Setup
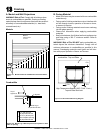
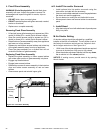
I. Install the Log Assembly
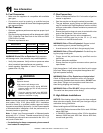
Rock wool
placement
(shaded areas)
Vermiculite and
lava rock
placement on
sides and front
of hearth pan.
Vermiculite and
lava rock
placement on
sides and front
of hearth pan.
Figure 14.1 Placement of Rockwool, Lava Rock, Vermiculite
F. Place the Vermiculite
• Sprinkle vermiculite over lava rock. See diagram, Figure
14.1.
E. Place the Lava Rock
• See diagram, Figure 14.1.
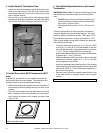
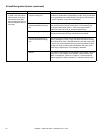
• Base logs have been permanently mounted on the grate
assembly and should not be moved. See Figure 12.5.
Figure 12.5 Base Logs
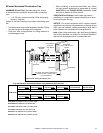
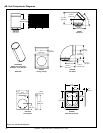
Figure 12.7 Placing Right Top Log
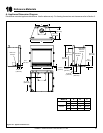
Figure 12.6 Placing Left Top Log
• Install “Y” log on left hand side of grate using locating
pins to position. See Figure 12.6
• Install right top log as shown in Figure 12.7 using locating
pins to position log properly.