


Heatilator • Caliber Mesh BV Series • 4040-848 Rev G • 10/08 33
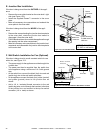
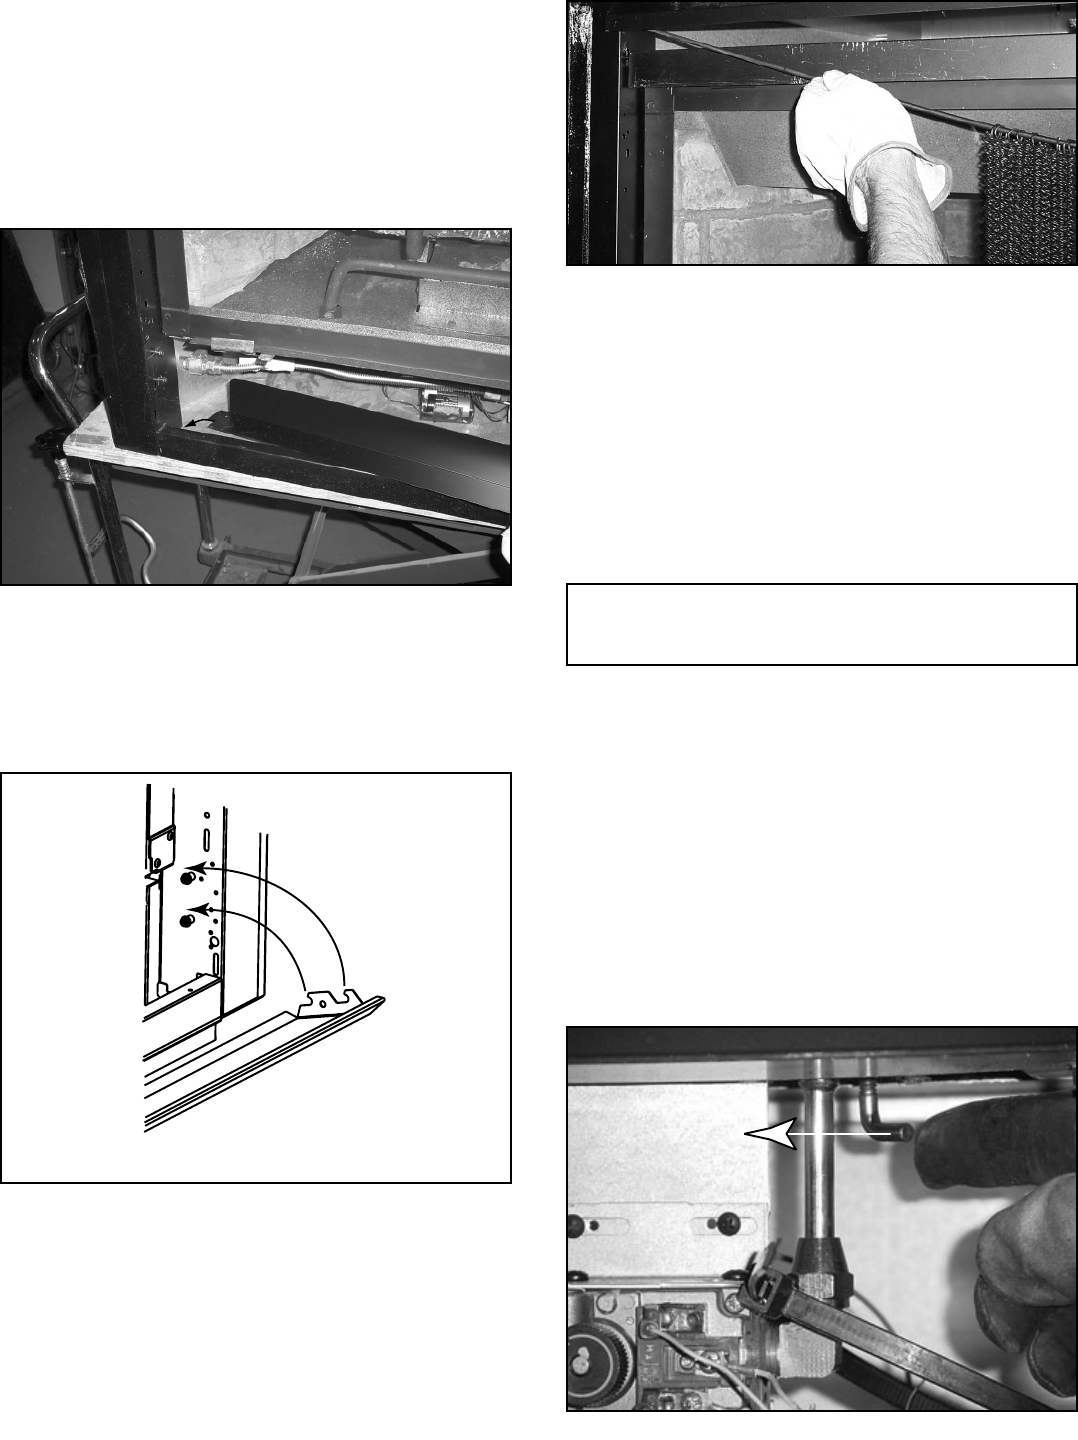
L. Air Shutter Setting
Air shutter settings should be adjusted by a qualifi ed
installer at the time of installation. The air shutter is set at
the factory for minimum vertical vent run. Adjust air shut-
ter for longer vertical runs.
• It takes 16 full turns of the shutter adjustment handle to
move the air shutter from fully open to fully closed.
• When the air shutter adjustment handle is all the way
down, the air shutter is in the closed position.
NOTICE: If sooting occurs, provide more air by opening
the air shutter.
Closed
Figure 14.16 Air Shutter
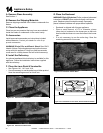
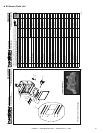
Install Floor Cover
• Install fl oor cover. See Figure 14.13. Floor cover must
be installed with brake fl ange UP and going towards
components with notched end to the left of the unit.
Do not place cover on top of any components. Move
components back if necessary.
• When using the RCTS-MLT-HTL Remote for SIT Valve,
the hand tab bend must be bent down for clearance of
the solenoid.
Figure 14.13 Installing Floor Cover
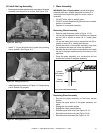
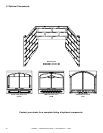
Install Bottom Latch Cover
• Insert bottom latch cover over existing shoulder screws.
See Figure 14.14.
• Push down till the tabs lock in place.
Figure 14.14 Installing Bottom Latch Cover
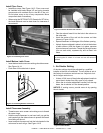
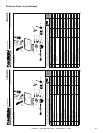
Install Firescreen Assembly
• Thread screen onto screen rod making sure to thread
all screen rings.
• Hold the mesh fi rescreen in one hand until you get the
rod inserted into the side columns to prevent the mesh
from falling off the rod.
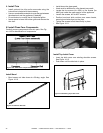
• Insert one end of screen rod into the hole located in the
column as far as it will go. See Figure 14.15
Figure 14.15 Insert Rod Into Side Columns
• Flex the rod and insert it into the hole in the column on
the other side.
• Hook the center of the rod into the screen rod tabs
(shown in Figure 14.10).
• Spread fi rescreen to the edges of the fi rebox opening.
• Hairpin clips are shipped in place in a hole in the bottom
of each column. After the screen is in place, squeeze
clips and remove from holes. Thread clip through screen
(one on each side), squeeze slip and re-insert into
holes.
Note: The fl oor cover in the bottom front of the fi replace may
be covering the UL labels. It is loose and can be removed/
replaced.