Service
16 310622L
Service
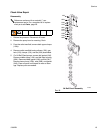
Repairing the Air Valve
Tool Required
• Torque wrench
• Torx (T20) screwdriver or 7 mm (9/32 in.) socket
wrench
• Needle-nose pliers
• O-ring pick
• Lithium base grease
Disassembly
1. Relieve the pressure.
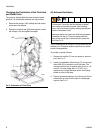
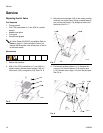
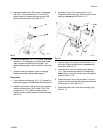
2. With a Torx (T20) screwdriver or 7 mm (9/32 in.)
socket wrench, remove the six screws (103), air
valve cover (102), and gasket (104). See F
IG. 6.
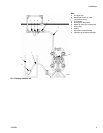
3. Move the valve carriage (105) to the center position
and pull it out of the cavity. Using a needle-nose pli-
ers, pull the pilot block (116) straight up and out of
the cavity. See F
IG. 7.
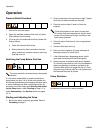
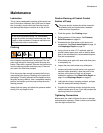
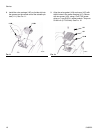
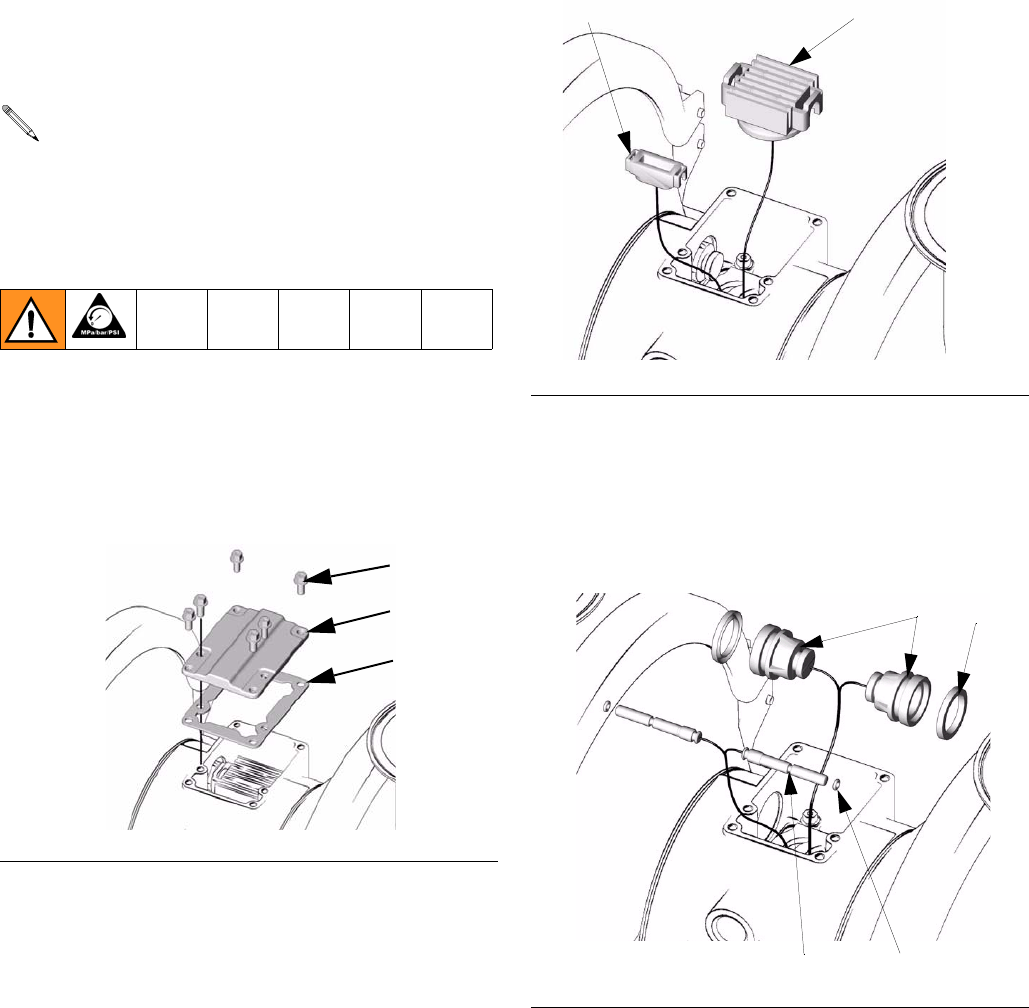
4. Pull the two actuator pistons (111). Remove the
u-cups (110) from the pistons. Pull the pilot pins
(114). Remove the o-rings (115) from the pilot pins.
See F
IG. 8.
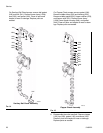
Air Valve Repair Kit 255122 is available. Refer to
Parts on page 31. Parts included in the kit are
marked with ◆ symbol. Use all the parts in the kit
for the best results.
FIG. 6
102
104
◆
103
TI4682b
FIG. 7
F
IG. 8
TI4616b
116
◆
105
◆
TI4617b
110
◆
111
115
◆
114


