


E-6 E-7
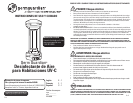
Replacing and Cleaning the UV-C Bulb & Filter
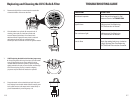
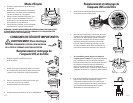
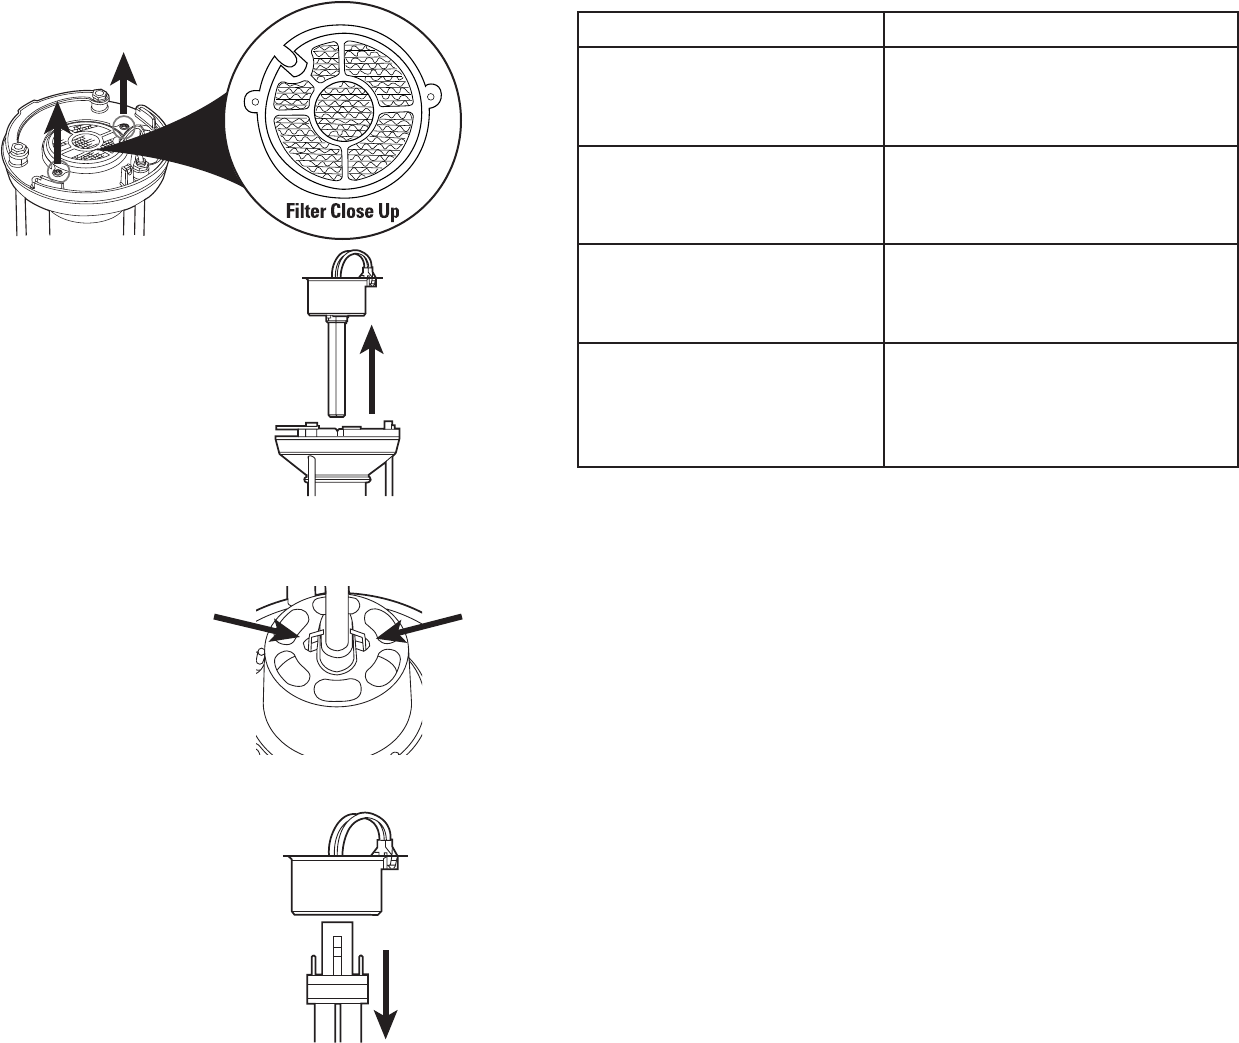
5. Remove the (2) phillips screws located on each side
of the bulb holder and remove the lter.
6. Lift bulb holder from cylinder. Do not touch bulb. If
cleaning, insert soft, dry cloth into cylinder and
remove. Repeat if necessary. Do not touch bulb
with bare hands. Fingerprints may result in reduced
performance unless they are removed with an
alcohol pad. Use a soft cloth as a barrier against contact.
7. If NOT replacing the bulb for the rst time jump to step
8. If replacing the bulb for the rst time, ip bulb holder
over so light bulb faces up. There will be a spring
located between the bulb cylinders. Squeeze spring
tightly towards bulb and pull out of holder and through
bulb. Discard spring. Spring is used for shipping
purposes only and does not need to be replaced.
8. Grasp the metal collar on the bulb and pull rmly until
bulb unplugs from the bulb holder. When inserting new
bulb, make sure the bulb snaps and is locked rmly in
place. Reassemble by reversing steps 1-8.
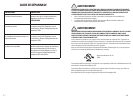
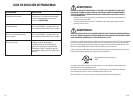
TROUBLESHOOTING GUIDE
PROBLEM SOLUTION
Unit doesn't operate. Check that unit is plugged in. Call
Customer Service at 1.866.603.5900.
Light ickers. Bulb burnt out. See Replacing
UV-C Bulb section of manual.
Fan runs but no light. Bulb burnt out. See Replacing
UV-C Bulb section of manual.
Low air ow. Check fan setting knob, turn clockwise
to high. Replace lter. See Replacing
UV-C Bulb and Filter section of manual.