Maintenance
309475F 15
Maintenance
Flushing
1. Relieve the pressure.
2. Remove the spray tip. Clean the tip and set it aside.
3. Supply solvent to the pump. Start the pump. Use the
lowest possible fluid pressure when flushing.
4. Flush the gun, spraying into a grounded metal con-
tainer until clean solvent comes from the gun.
5. Relieve the pressure.
6. Reinstall the spray tip.
Do not allow paint or solvent to sit in the system for
extended periods. Fluid could dry on the plunger and
cause leakage at the plunger packings. If leakage
occurs, disassemble and clean the regulator.
Cleaning and Repair
When changing fluids or colors, the regulator should be
disassembled and cleaned. Regular cleaning and
inspection of the internal parts is necessary to keep the
fluid regulator working properly.
1. Relieve all air and fluid pressure in the system.
2. Remove the regulator from the system.
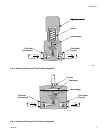
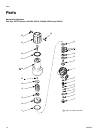
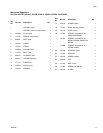
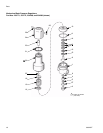
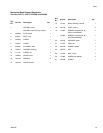
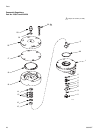
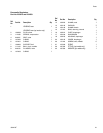
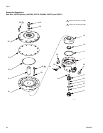
3. Disassemble the regulator (see the parts drawings
on pages 16 through 22).
4. Clean and inspect all parts.
5. Inspect the diaphragm, packings, o-rings, and seals
for wear. Check the ball and seat for nicks, wear, or
other damage.
6. Lubricate packings, o-rings and seals when reas-
sembling the regulator.
7. Torque as specified on the parts drawings on pages
16 through 22
WARNING
The system pressure must be manually relieved to
prevent the system from starting or spraying acciden-
tally. Fluid under high pressure can be injected
through the skin and cause serious injury. To reduce
the risk of an injury from fluid injection, splashing fluid,
or moving parts, follow the Pressure Relief Proce-
dure whenever you:
• are instructed to relieve the pressure
• stop spraying
• check or service any of the system equipment
• or install or clean the spray tip.
CAUTION
Be very careful when handling the carbide balls and
seats. Damage will cause poor operation and leak-
age.


