8 307745
Operation
8. Shut off the air to the pump, open the bleed–type
master air valve, and open the drain valve (K).
Leave the solvent in the system overnight or, if
possible, all weekend.
9. Start the pump and circulate it again for 30 min-
utes. Raise the pump out of the solvent and let it
dry to force out the solvent. Drain solvent from all
outlet loops and filters.
10. Place the paint supply drum under the pump,
agitate the paint, install the gun and hoses.
11. Reset the air and fluid pressure regulators to
complete the system flushing.
Adjusting the Unit
Install supply drum under cover/pump. Make sure that
the cover is supported by the drum.
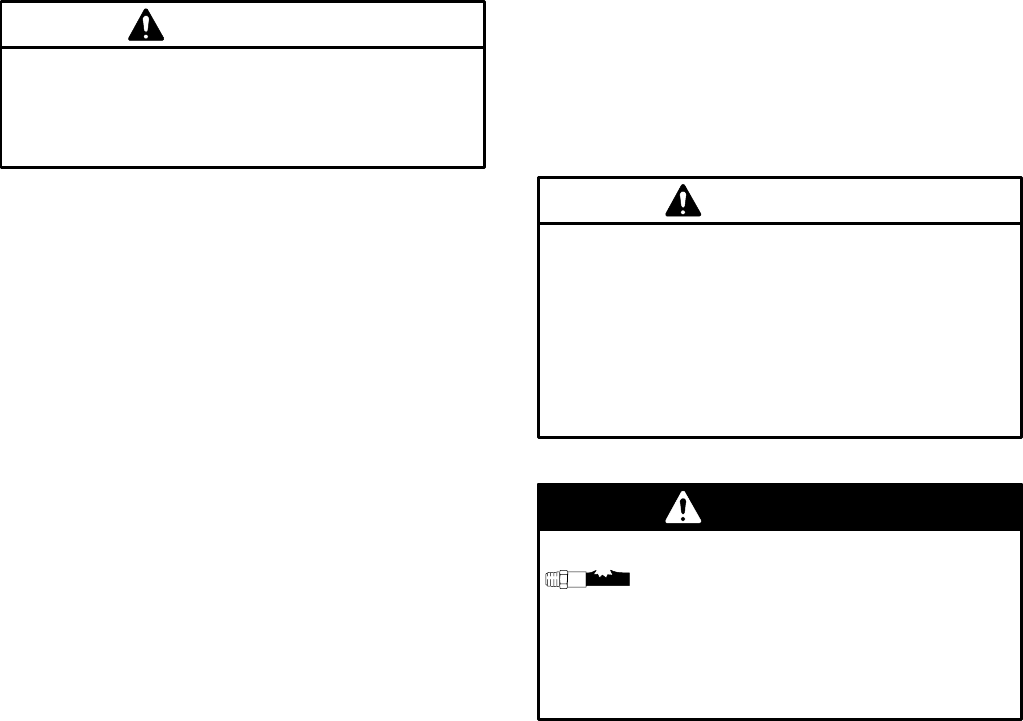
Shortened or recycled drums may cause the pump
or agitator to bottom out in the drum, causing
damage. Contact your fluid supplier to order a
standard size drum.
CAUTION
1. Unscrew the filter bowl and remove the filter
screen. Replace the bowl. Flush the unit until
clear solvent comes from the gun, then reinstall
the filter screen.
2. Before operation, ensure that all fasteners and
tube connections are tightened securely.
Starting and Adjusting the Pump
1. Close the air regulator (204).
2. Start the agitator (3). Agitate the paint just fast
enough to keep all paint particles suspended.
Over–agitating causes air bubbles in the paint
which can cause poor gun performance and poor
surface finish.
3. Open the red–handled ball valve. Open the pump’s
bleed-type master air valve (N).
4. Slowly open the air regulator until the pump starts.
Adjust it until the pump cycles slowly – about 50
cycles per minute.
5. When the paint returns through the return line in a
steady stream, turn on the air to one gun, open
both fluid shutoff valves (C) near the gun, and
adjust the fluid regulator (B). See the manuals
supplied with these components for pressure
range and adjustment . Repeat for all gun stations.
6. Paint line pressure is controlled by the back pres-
sure regulator (203). This regulator restricts flow of
paint in the line so there is sufficient paint pressure
at all gun stations. Turn the regulator handle
clockwise to increase and counter–clockwise
to decrease pressure.
Adjust the regulator so there is about 10 psi
(0.6 bar) more fluid pressure at the regulator
than is required at the last gun in the line.
NOTE: As you increase fluid line pressure, you must
also increase air pressure to the pump, so the pump
can handle the heavier load. However, never increase
the pressure so much that you exceed the maximum
working pressure of any component in the system.
7. As you start to spray, adjust the air and fluid
pressures to the gun to obtain the best results.
CAUTION
Do not allow the pump to run dry. It will quickly
accelerate to a high speed, causing damage. If
your pump is running too fast, stop it immediately
and check the fluid supply. If the container is
empty and air has been pumped into the lines, refill
the container and prime the pump and the lines, or
flush and leave it filled with a compatible solvent.
Eliminate all air from the fluid system.
COMPONENT RUPTURE HAZARD
To reduce the risk of overpressurizing
your system, which could cause compo-
nent rupture and serious injury, never
exceed the specified Maximum Incoming Air Pres-
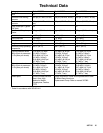
sure to the pump. (see Technical Data on
page 15.)
WARNING


