6 309303
Installation
General Information
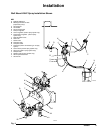
D Fig. 2 shows a wall mounted HVLP spray applica-
tion. It is only a guide for selecting and installing
system components. Contact your Graco distributor
for assistance in planning a system to suit your
needs.
D Always use Genuine Graco Parts and Accessories,
available from your Graco distributor. If you supply
your own accessories, be sure they are adequately
sized and pressure rated for your system.
D Use a compatible, liquid thread sealant on all male
threads. Tighten all connections firmly to avoid air
or fluid leaks.
NOTE: On all npt threads, tighten to 2–3 turns past
finger tight.
D Reference numbers and letters in parentheses refer
to the callouts in the figures and the parts lists on
pages 23–22.
D In a spray system, ventilate the spray booth.
Tightening Threaded Fasteners Before
First Use
NOTE: Before using pump, loosen fluid cover screws
(38) 1–2 turns and then retorque to 13.6 NSm
(10 ft–lb).
See the Service section for torque specifications.
D After unpacking the pump, and before using it for
the first time, check and retorque all external fas-
teners.
D After the first day of operation, retorque the fasten-
ers.
D As a general guideline, retorque fasteners every
two months.
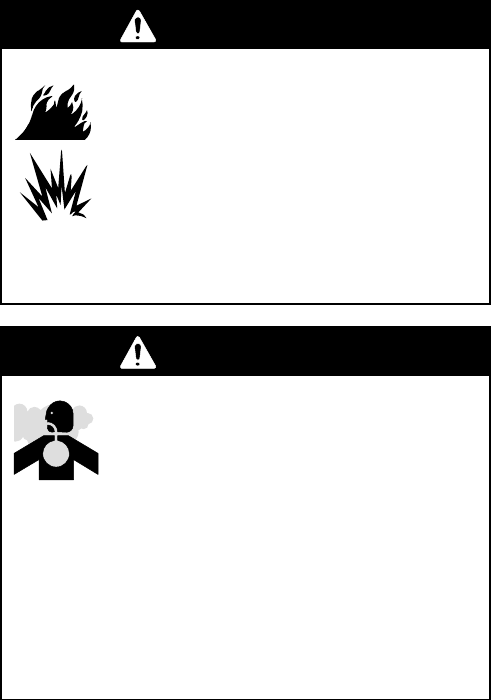
WARNING
FIRE AND EXPLOSION HAZARD
To prevent hazardous concentrations of
toxic and/or flammable vapors, spray
only in a properly ventilated spray booth.
Never operate the spray gun unless
ventilation fans are operating.
Check and follow all of the national,
state, and local codes regarding air
exhaust velocity requirements.
WARNING
TOXIC FLUID HAZARD
Hazardous fluid or toxic fumes can
cause serious injury or death if splashed
in the eyes or on the skin, inhaled, or
swallowed.
1. Read TOXIC FLUID HAZARD on page 5.
2. Use fluids and solvents which are compatible
with the equipment wetted parts. Refer to the
Technical Data section of all equipment manu-
als. Read the fluid and solvent manufacturer’s
warnings.
Mounting the Pump
D Mount the pump in a well-ventilated area, with
sufficient clearance on all sides for operator access
and servicing.
D Be sure the mounting can support the weight of the
pump, hoses, and accessories, as well as the
stress caused during operation.
D The pump may be mounted vertically or horizontal-
ly. Be sure the pump is level in all directions.
D Wall, pail, stand, or portable cart mounting kits are
available from Graco. For other mountings, be sure
the pump is adequately secured. The pump has
two mounting holes for 0.35 in. (9 mm) screws. See
the Dimension drawing on page 25.


