


4
USER INSTRUCTIONS
1.1 Installation and servicing must only be carried out
by a competent person.
1.2 In all correspondence, please quote the appliance
type and serial number, which can be found on the
databadge located on a chain beneath the control valve.
1.3 Ensure that curtains are not positioned above the fire, and
that there is a 300mm minimum clearance between the
sides of the fire and any curtains.
1.4 This product is guaranteed for 2 years from the date of
installation, as set out in the terms and conditions of sale
between Gazco and your local Gazco dealer. Please consult
with your local Gazco dealer if you have any questions. In
all correspondence always quote the Model Number and
Serial Number.
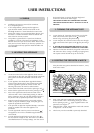
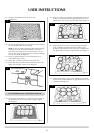
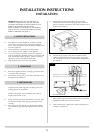
2.1 Locate the control valve on the appliance. There are two
control knobs on the valve, the right hand knob controls the
pilot ignition and the left hand knob controls the main
burner.
2.2 If your appliance has already been upgraded to battery
remote control, please refer to the instructions provided
with the upgrade to operate the remote control. The
following instructions will work for either situation.
2.3 Ensure that the left-hand control knob is pointing to off ( ).
2.4
Ensure that the right hand control knob is pointing to off ( ).
2.5 Press in the right hand control knob and rotate it anti-
clockwise until a click is heard (keep pressing in) and the
knob is pointing to pilot ( ). The pilot should now light. If
the pilot has not lit, repeat the procedure until it does.
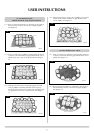
2.6 Keep the control knob pressed for 10 seconds and then
release it, the pilot should stay alight. If the pilot goes out,
repeat the procedures until it does.
2.7 If the pilot will not light after repeated attempts, contact the
retailer or installer from whom the appliance was
purchased.
2.8 Turn the right hand control to point to main burner ( ).
The appliance can now be controlled using the left hand
control knob.
2.9 Turn the left hand control knob to point to low fire ( ),
the main burner will light on low. The burner can now be
controlled between low and high settings. Turn the control
2. LIGHTING THE APPLIANCE
1. GENERAL
knob anticlockwise to increase the flame height and
clockwise to decrease the flame height.
THE YELLOW FLAMES WILL APPEAR WHEN THE FIRE
HAS GAINED SUFFICIENT HEAT - TYPICALLY 10 TO 20
MINUTES.
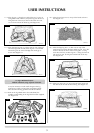
3.1 To turn the fire off, locate the control valve, turn the left-
hand control knob until it points to off ( ). The main
burner will go out leaving the pilot burning.
3.2 To turn the pilot off, locate the control valve, turn the right
hand control knob until it points to off ( ), the pilot will go
out.
3.3 IF THE FIRE IS EXTINGUISHED OR GOES OUT IN USE,
WAIT 3 MINUTES BEFORE ATTEMPTING TO RE-LIGHT.
3.4 After the fire has been turned off, the gas left in the burner
will continue to burn, causing a crackling or popping noise.
This is quite normal and will last up to one minute.
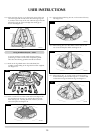
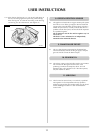
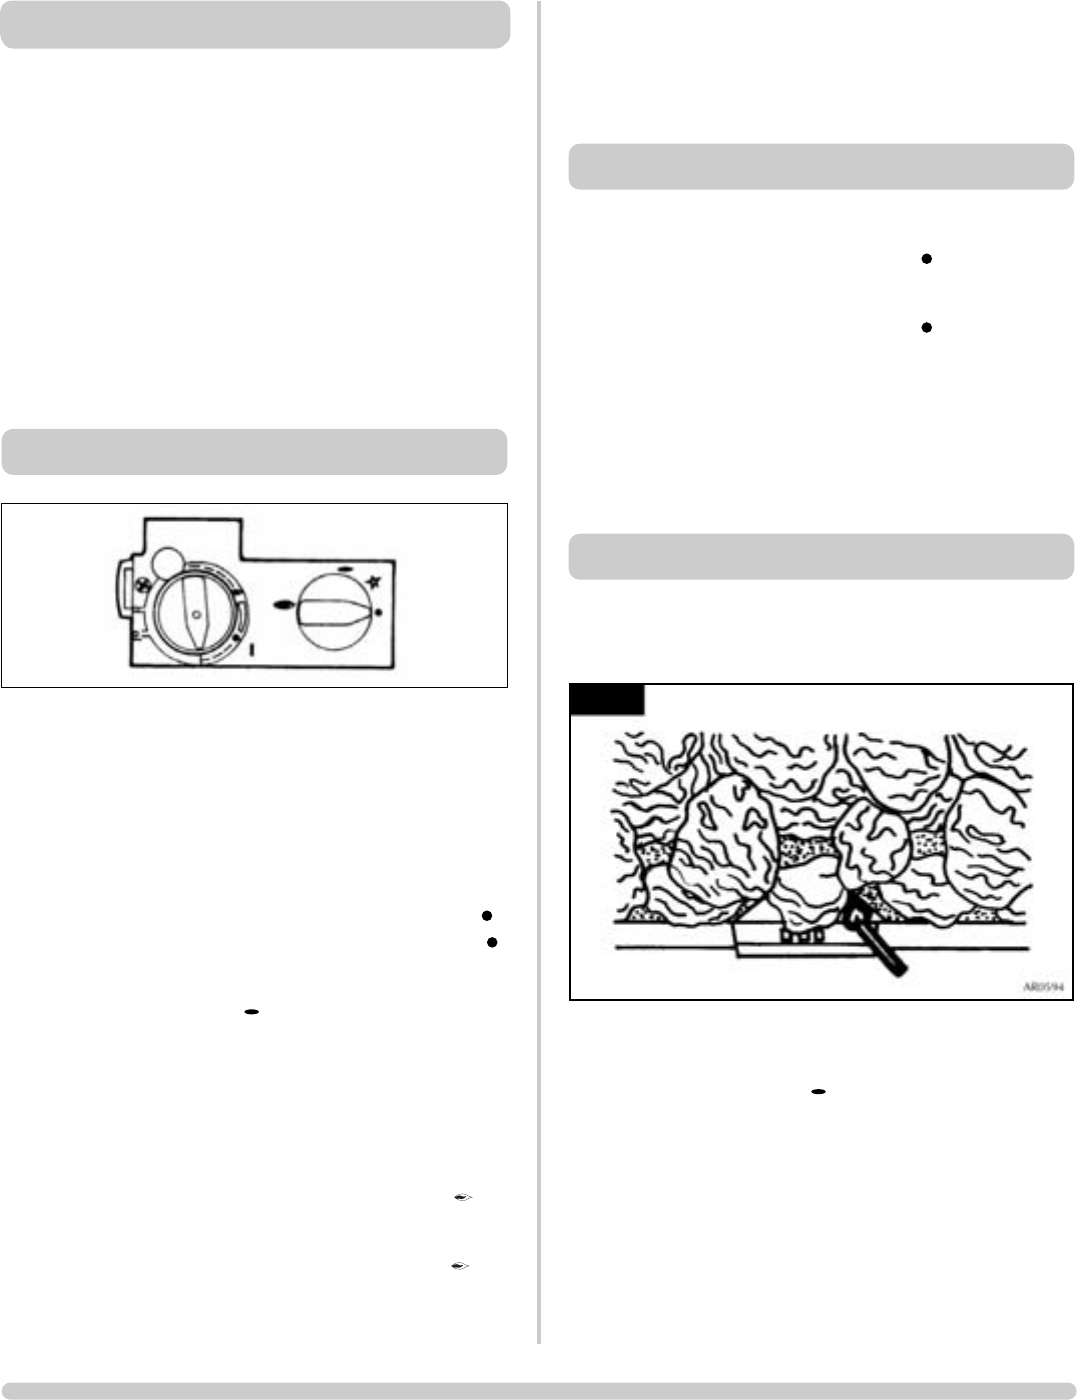
If the pilot does not ignite as described in Section 2, it may
be lit with a match.
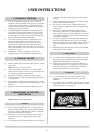
4.1 Press in the right hand control knob and rotate it anti-
clockwise until a click is heard (keep pressing in) and the
knob is pointing to pilot ( ), apply a lighted match to the
pilot hood, see diagram 1.
4.2 When the pilot is alight, extinguish the match and continue
to depress for 5 to 10 seconds.
4.3 The fire may now be controlled as previously described.
4. LIGHTING THE FIRE WITH A MATCH
3. TURNING THE APPLIANCE OFF
1