En-5
PREPARATION
CAUTION!
● Take care to prevent infants from acciden-
tally swallowing batteries.
● When not using the Remote Controller for
an extended period, remove the batteries to
avoid possible leakage and damage to the
unit.
● If leaking battery fl uid comes in contact
with your skin, eyes, or mouth, immediately
wash with copious amounts of water, and
consult your physician.
● Dead batteries should be removed im-
mediately and disposed of properly, either
in a battery collection receptacle or to the
appropriate authority.
● Do not attem pt to recharge dry batteries.
Never mix new and used batteries, or bat-
teries of different types.
Batteries should last about one year under
normal use. If the Remote Controller’s
operating range becomes appreciably
reduced, replace the batteries and press
the RESET button with the tip of a ballpoint
pen or other small object.
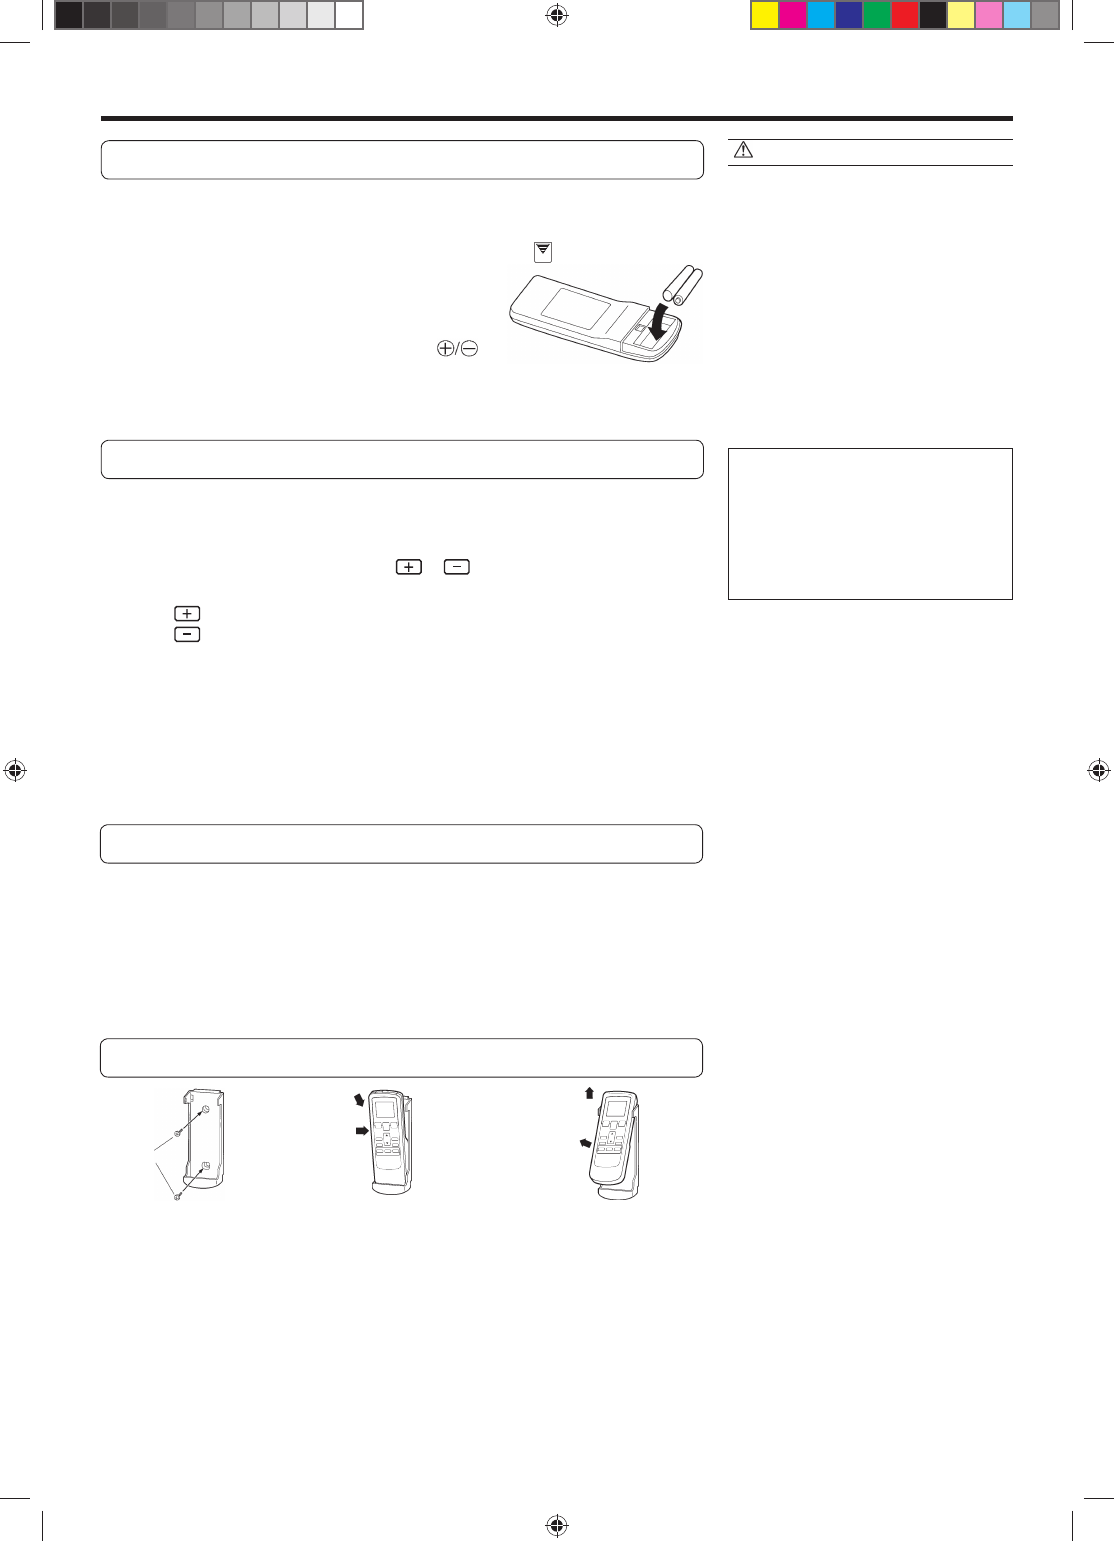
Load Batteries (AAA/R03/LR03 2)
1
Press and slide the battery compartment lid on the
reverse side to open it.
Slide in the direction of the arrow while pressing the mark.
2
Insert batteries.
Be sure to align the battery polarities ( ) correctly.
3
Close the battery compartment lid.
Set the Current time
1
Press the CLOCK ADJUST button (Fig. 6 V).
Use the tip of a ball-point pen or other small object to press the button.
2
Use the TIMER SET ( / ) buttons (Fig. 6 N) to
adjust the clock to the current time.
button: Press to advance the time.
button: Press to reverse the time.
(Each time the buttons are pressed, the time will be advanced/reversed in one-
minute increments; hold the buttons depressed to change the time quickly in
ten-minute increments.)
3
Press the CLOCK ADJUST button (Fig. 6 V) again.
This completes the time setting and starts the clock.
To Use the Remote Controller
● The Remote Controller must be pointed at signal receiver (Fig. 3 4) to operate cor-
rectly.
● Operating Range: About 7 meters.
● When a signal is properly received by the air conditioner, a beeping sound will be
heard.
● If no beep is heard, press the Remote Controller button again.
Remote Controller Holder
3 To remove the Remote Con-
troller (when use at hand).
1 Mount the Holder. 2 Set the Remote Controller
Screws
Insert
Press in
Slide up
Pull out
9315345394_OM.indb 59315345394_OM.indb 5 9/30/2010 2:44:22 PM9/30/2010 2:44:22 PM


