


www.desatech.com
121341-01A
3
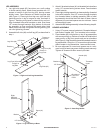
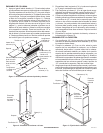
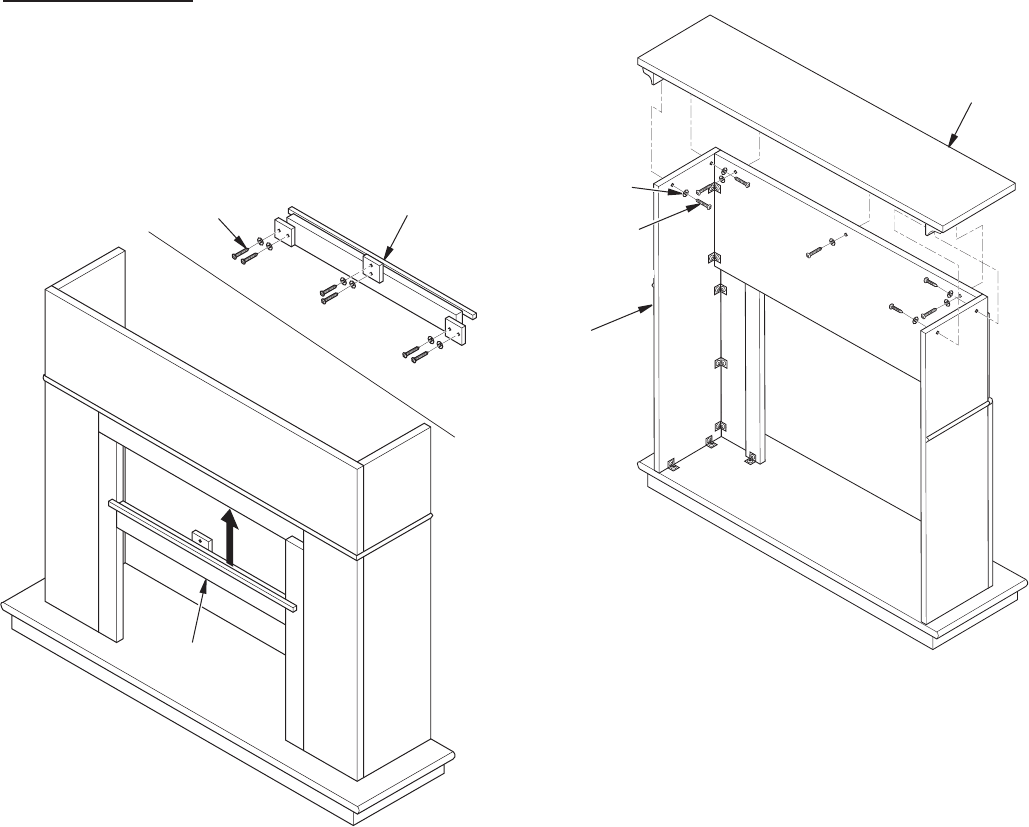
Back View
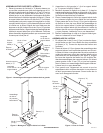
FILLER PANEL ASSEMBLY (FOR USE WITH STYLE
SELECTIONS GAS FIREPLACE ONLY)
If you are installing a Style Selections Gas Fireplace in this
mantel, you will need to follow the instructions in this section.
If you are not installing a Style Selections Gas Fireplace, go
to Mantel Top Assembly and discard items #14 and #15.
1. Place Style Selections ller panel (#14) in position in front
of mantel with trim strip to outside covering joint between
ller panel and mantel (see Figure 4).
2. With one person holding ller panel in place, attach ller
assembly (#14) to bottom of header mantel side using 3
ller panel blocks #15 and six 1
1
/
4
" screws with washers
(see Figure 4). Do not tighten screws.
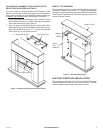
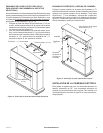
Figure 5 - Attaching Mantel Top
1
1
/
4
"
Screw
Washer
Mantel Top (#7)
Mantel
Side
Assembly
MANTEL TOP ASSEMBLY
Place mantel top (#7) on mantel assembly. Align back of top
with back of sides. Using seven 1
1
/
4
" screws with washers,
place two in each mantel side assembly and three in the header
(see Figure 5). Make sure all pieces are aligned properly and
tighten all seven screws.
Filler Panel (#14)
1
1
/
4
" Screw with Washer
Figure 4 - Attaching Style Selections Filler Panel
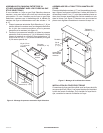
ELECTRIC FIREPLACE INSTALLATION
This mantel can be used with a 26" intermediate Fireplace.
Electric replaces install from the front of mantel. To install
electric replace see replace instruction manual.
Filler Panel (#14)