11
105192
OWNER’S MANUAL
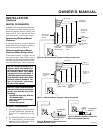
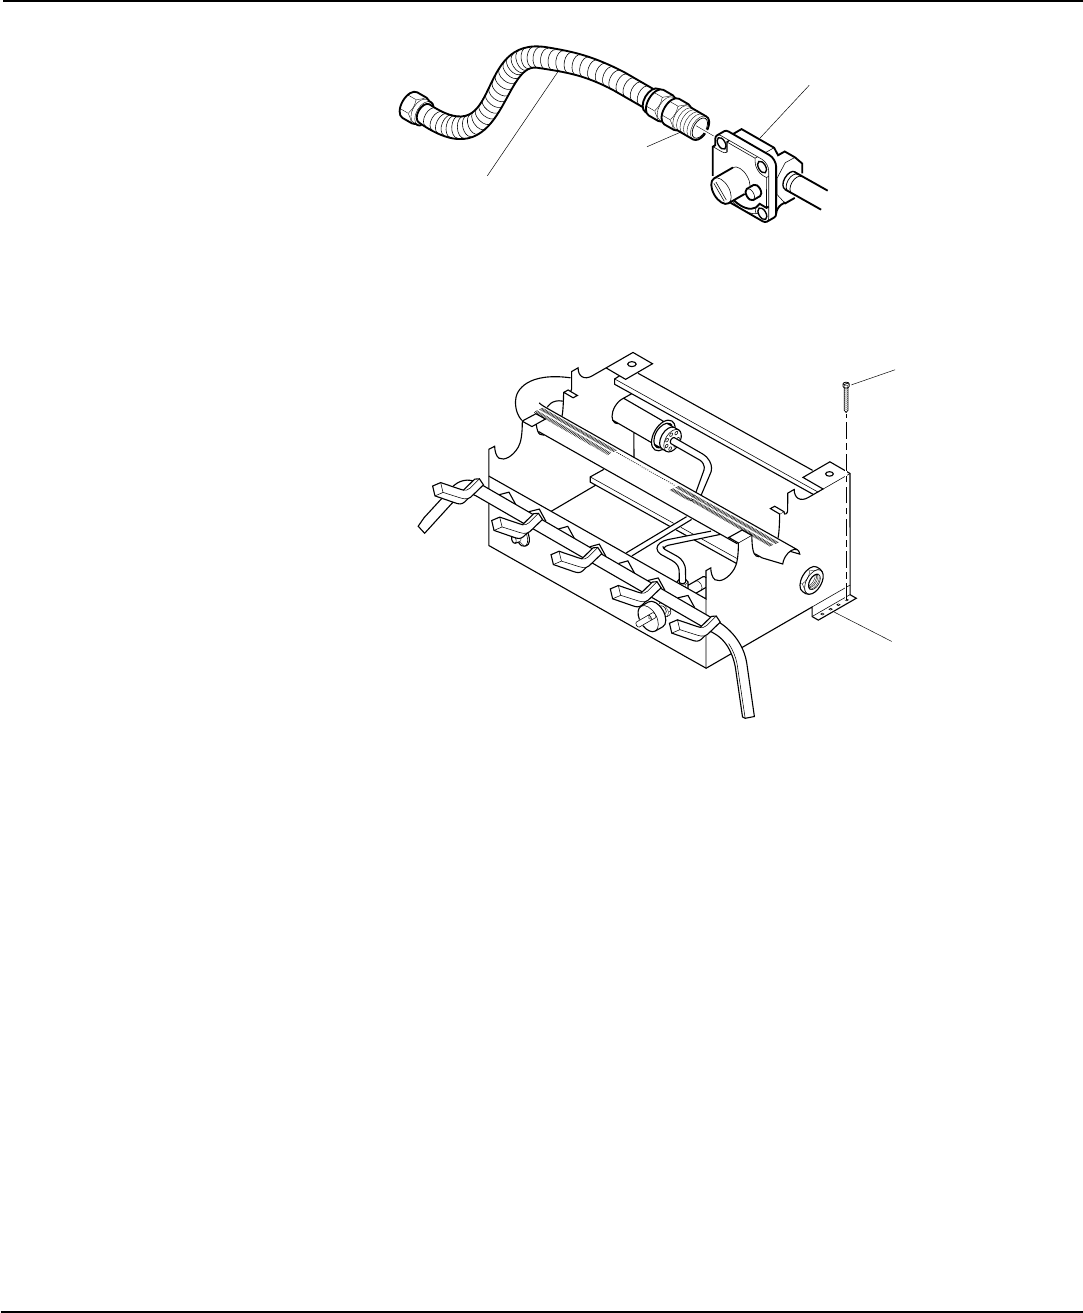
Masonry Screw
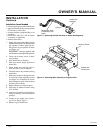
Figure 12 - Attaching Base Assembly to Fireplace Floor
Bracket with
Screw Holes
INSTALLATION
Continued
Heater Gas
Regulator
Flexible Gas Hose
(if allowed by local
codes)
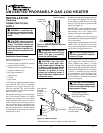
Figure 11 - Attaching Flexible Gas Hose to Heater Gas Regulator
Fitting
Continued
Installation Items Needed
• hardware package (provided with heater)
• approved flexible gas hose (not provided)
(if allowed by local codes)
• sealant (resistant to propane/LP gas, not
provided)
• electric drill with 3/16" drill bit (metal
or masonry as applicable)
• flathead screwdriver
1. Apply pipe joint sealant lightly to male
threads of the fitting to be threaded into
gas regulator. Connect approved flex-
ible gas hose to gas regulator of heater
(see Figure 11).
IMPORTANT:
Hold gas regulator with
wrench when connecting flexible gas hose.
2. Locate two masonry screws in hard-
ware package.
3. Place heater base in fireplace.
4. Place logs in their proper position on
heater base.
5. Center heater base and logs front-to-
back and side-to-side in fireplace.
6. Carefully remove logs without moving
heater base.
7. Mark screw locations through one hole
on each side of the mounting bracket
(see Figure 12). If installing in a brick-
bottom fireplace, mark screw locations
in mortar joint of bricks.
8. Remove heater base from fireplace.
9. Drill holes at marked locations using
3/16" drill bit.
10. Attach base assembly to fireplace floor
using two masonry screws (in hardware
package).
11. Connect to gas supply. See Connect-
ing To Gas Supply, page 12.
12. Replace logs on heater base.


