2
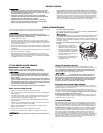
ADDING AND LINKING ADDITIONAL ONELINK
®
ALARMS
NOTE: Steps 1 through 3 below need to be completed within two
minutes. If more than two minutes pass, the Green power LED will
stop blinking. Simply open the battery drawer of the second Alarm
and repeat steps 1 through 3.
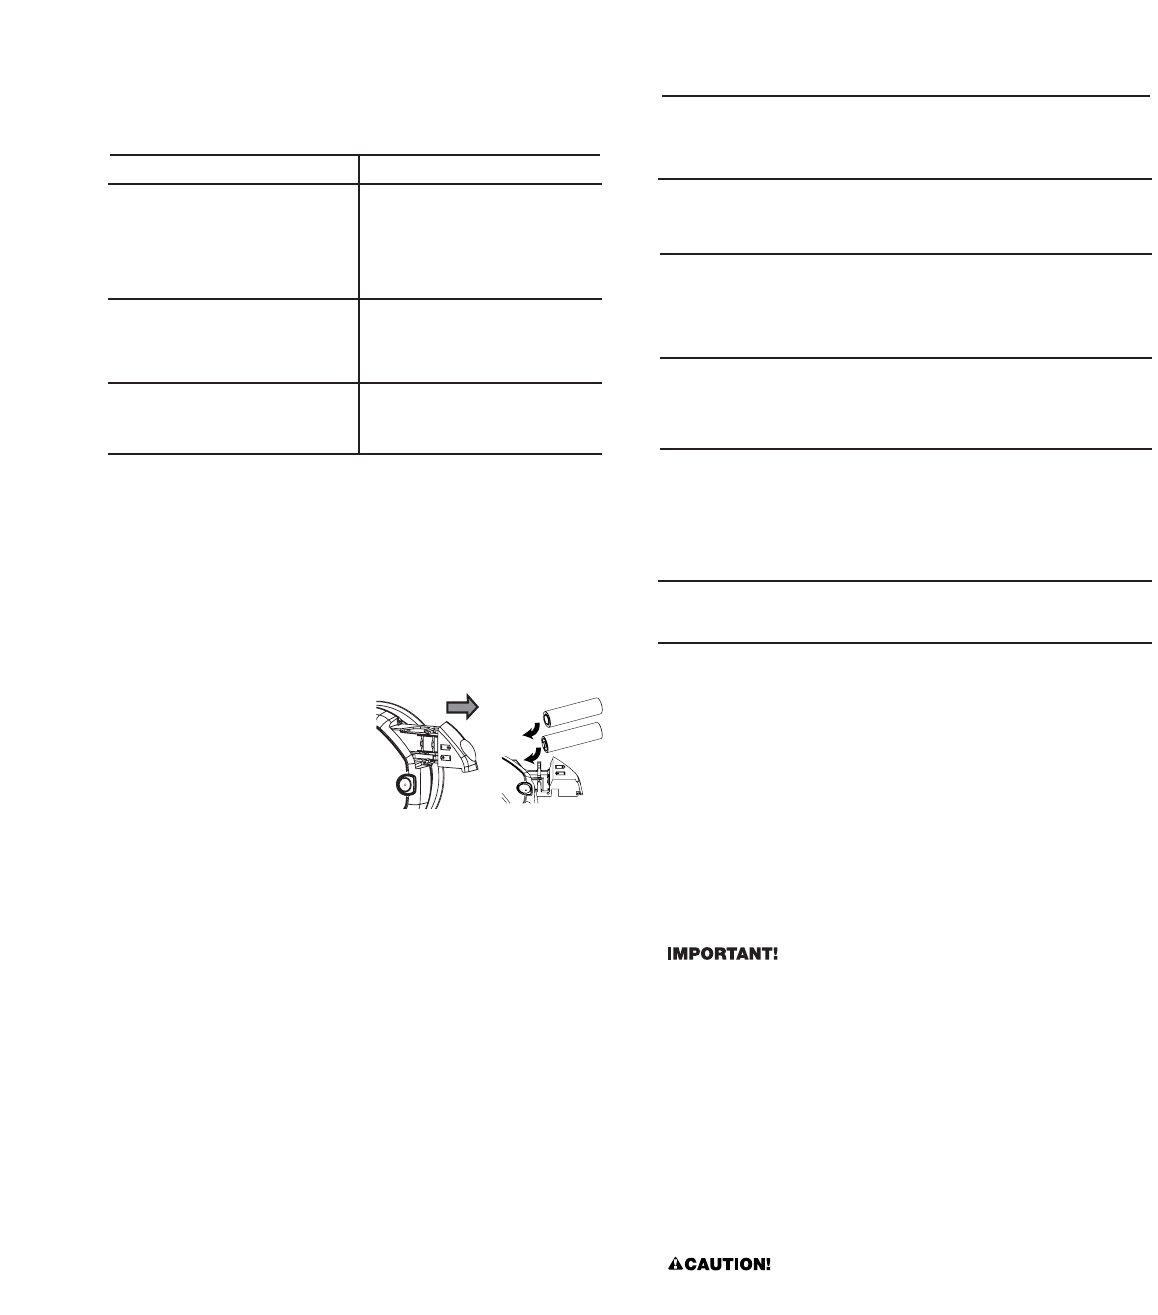
1. Insert the batteries into the battery
drawer of the next Alarm.
DO NOT CLOSE THE DRAWER.
2. Press and hold the test button and
then close the battery drawer.
3. Once you hear the unit chirp, release
the test button. The Green power
LED will start to blink indicating the
ONELINK
®
Alarm is waiting for program data
from one of the other setup ONELINK
®
Alarms.
4. Press and hold the test button on the first Alarm, until the second Alarm
chirps and its Green power LED stops blinking. Then release the test button.
5. If you purchased a Talking Smoke Alarm, you will now be prompted to set
the Alarm's location. Follow the directions given by the Alarm.
6. If you have purchased the hardwired battery back-up ONELINK
®
Alarm,
you can now connect the hardwired Alarm by installing the three-wire
connector on the ceiling to the Alarm.
7. Repeat steps 1-6 for additional ONELINK
®
Alarms.
You have now successfully linked your new ONELINK
®
Alarms. To add
additional Alarms at a later time, follow steps 1 through 6.
WIRELESS OPERATION
First Alert
®
ONELINK
®
Technology is the easy, cost-effective way to provide
your family with whole-home safety. All ONELINK
®
Alarms communicate with
each other without wires or connectors. When one Alarm sounds, they all
sound. This provides your family with an earlier warning of potential danger,
and gives you more time to react.
The communication distance (range) between any two ONELINK
®
Alarms is
typically 50 feet (15 meters) inside of a home. Some features of a home, such
as the number of floors, number/size of rooms, furniture and types of building
materials used may reduce the range of the Alarms.
Examples include: suspended ceilings, ductwork, large metallic appliances
(refrigerators) and metal studs. A feature of ONELINK
®
Alarms is that they
operate as a mesh network. All Alarms will repeat any alarm signal that is
received to all other ONELINK
®
Alarms. Interference from structural conditions
can be overcome by adding additional Alarms to route the wireless signal
around obstructions.
• The range and proper operation of any wireless device will vary
depending on its surroundings. It is very important that each Alarm is
tested individually before and after installation to make sure that all
Alarms respond properly.
• The ONELINK
®
Alarms are not to be used outdoors or to transmit
between buildings. The Alarms will not communicate properly under
these conditions.
• Metal objects and metallic wallpaper may interfere with signals from
wireless Alarms. Alarms should be tested after changes to your home
such as remodeling, moving furniture, and with metal doors opened
and closed.
Your First Alert
®
ONELINK
®
Smoke Alarm will automatically communicate
potential fires with all other First Alert
®
ONELINK
®
Smoke Alarms.
FCC NOTICE: This device complies with Part 15 of the FCC Rules.
Operation is subject to the following two conditions: (1) This device may not
cause harmful interference, and (2) this device must accept any interference
received, including interference that may cause undesir
ed operation.
FCC ID: M7U5001L
Changes or modifications not expressly approved by BRK Brands, Inc.
could void the user’s authority to operate the equipment.
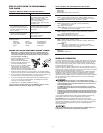
STEP BY STEP GUIDE TO PROGRAMMING
THIS ALARM
FOR FIRST TIME AND WHEN CHANGING BATTERIES
Action:
1. Insert batteries (2, AA batteries).
Alarm Will Say:
“Welcome, First Alert Smoke Alarm.”
“No location programmed” if first
time or “[Location, example:
“Basement”] location programmed”
when changing batteries.
“To select location, press and hold
test button now.”
2. Press & Hold Test Button if
you would like to program the
location or change the location of
the Alarm. Release button after
Alarm responds.
“To save location, press and hold
test button after location is heard.”
Alarm will speak list of locations
(see below).
3. After you hear the location of
where you are placing the Alarm,
Press & Hold the Test Button.
“[Location, example: “Basement”]
location saved.”
If no location is chosen:
“No location saved.”
Your Alarm has now been programmed for the location of your choice.
Available locations:
Basement Kitchen Child’s Bedroom
Living Room Dining Room Master Bedroom
Family Room No Location Guest Bedroom
Office Hallway Utility Room
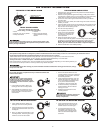
WHAT YOU WILL SEE AND HEAR WITH THIS ALARM
Under Normal Operations
Voice: Silent
Horn: Silent
Power LED: Flashes Green once/minute
When You Test the Alarm
Voice: “Testing.” Horn: 3 beeps, pause, 3 beeps; Voice: “Warning,
evacuate smoke in [Location, example: “Basement”]. Evacuate.”
Smoke LED: Flashes Red in sync with the horn pattern
If Battery Becomes Low or is Missing
Voice: “Replace battery in [Location, example “Basement”].”
Repeated every 5 hours
Horn: chirps once a minute
Power LED: Flashes Green On for 2 seconds/Off for 2 seconds.
Low Battery Latch is now engaged.
If Alarm is Not Operating Properly (MALFUNCTION SIGNAL)
Voice: “Detector error in [Location, example “Basement”], please see
manual.” Repeated every 5 hours
Horn: Three rapid chirps every minute
Smoke LED: Flashes approximately once a minute
Smoke is Detected
Horn: 3 beeps, pause, repeating 3 times
Voice: “Warning, evacuate smoke in [Location, example: “Basement”].
Evacuate.”
Smoke LED:
During Alarm: Flashes Red in sync with the horn pattern.
After Alarm: Flashes Red On for 2 seconds/Off for 2 seconds.
Smoke Alarm Latch is now engaged.
Smoke Alarm is Silenced
Horn: Off
Smoke LED: Flashes Red


