12
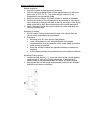
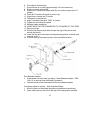
6. Pull cable to full extension.
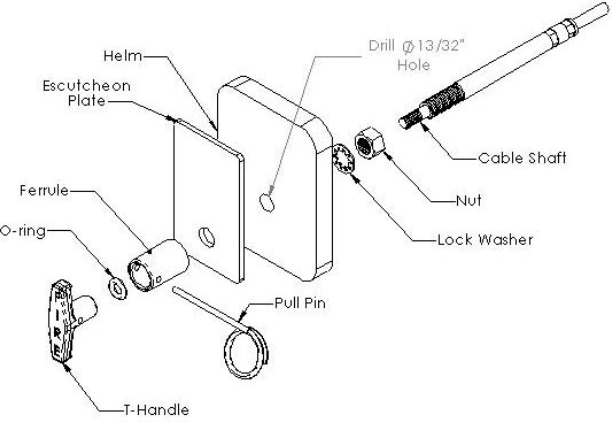
7. Screw ferrule on to cable (approximately 4-5 turns maximum).
8. Slide o-ring onto cable shaft.
9. Screw red T-handle onto cable shaft (Do not obstruct cross hole in T-
handle).
10. Push red T-handle into ferrule to seat o-ring.
11. Align holes in ferrule and T-handle.
12. Temporarily install pull pin.
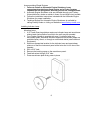
13. Align T-handle so the word “FIRE” is vertical.
14. Tighten the nut behind the panel.
15. Recheck cable installation.
16. CABLE MUST NOT BE CONNECTED TO CYLINDER AT THIS TIME.
17. Remove pull pin.
18. Pass the red tamper proof seal through the ring of the pull pin and
around the ferrule.
19. Insert the free end of the seal into the projecting portion of the tab end
(marked “enter”).
20. Pull seal snug to secure the pull pin from accidental release.
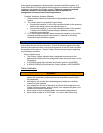
Dual Release Adapter:
• If the vessel has more than one helm, a Dual Release Adapter , DRA-
1001-01 is required (see Additional Equipment)
• Follow the instructions enclosed with the dual release adapter
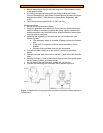
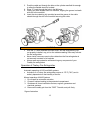
Connecting cable to cylinder – See Illustration Below
1. Mount cylinder as described (see Marine Installation Instructions).
2. Insert cable end into the hole in the top of the extinguisher manifold.


