


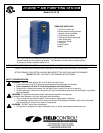


Page 5
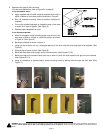
8. Insert lamp through hole until lamp cannot be inserted any further. (See
Figure 16)
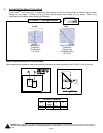
9. Swing the swivel bracket over end of lamp. Hand-tighten the wing nut
on stud. (See Figure 17) Be careful not to over tighten the wing nut. The
porcelain at the lamp base may crack when over tightened.
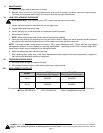
10. Plug ballast plug into end of lamp. (See Figure 18)
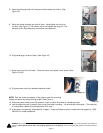
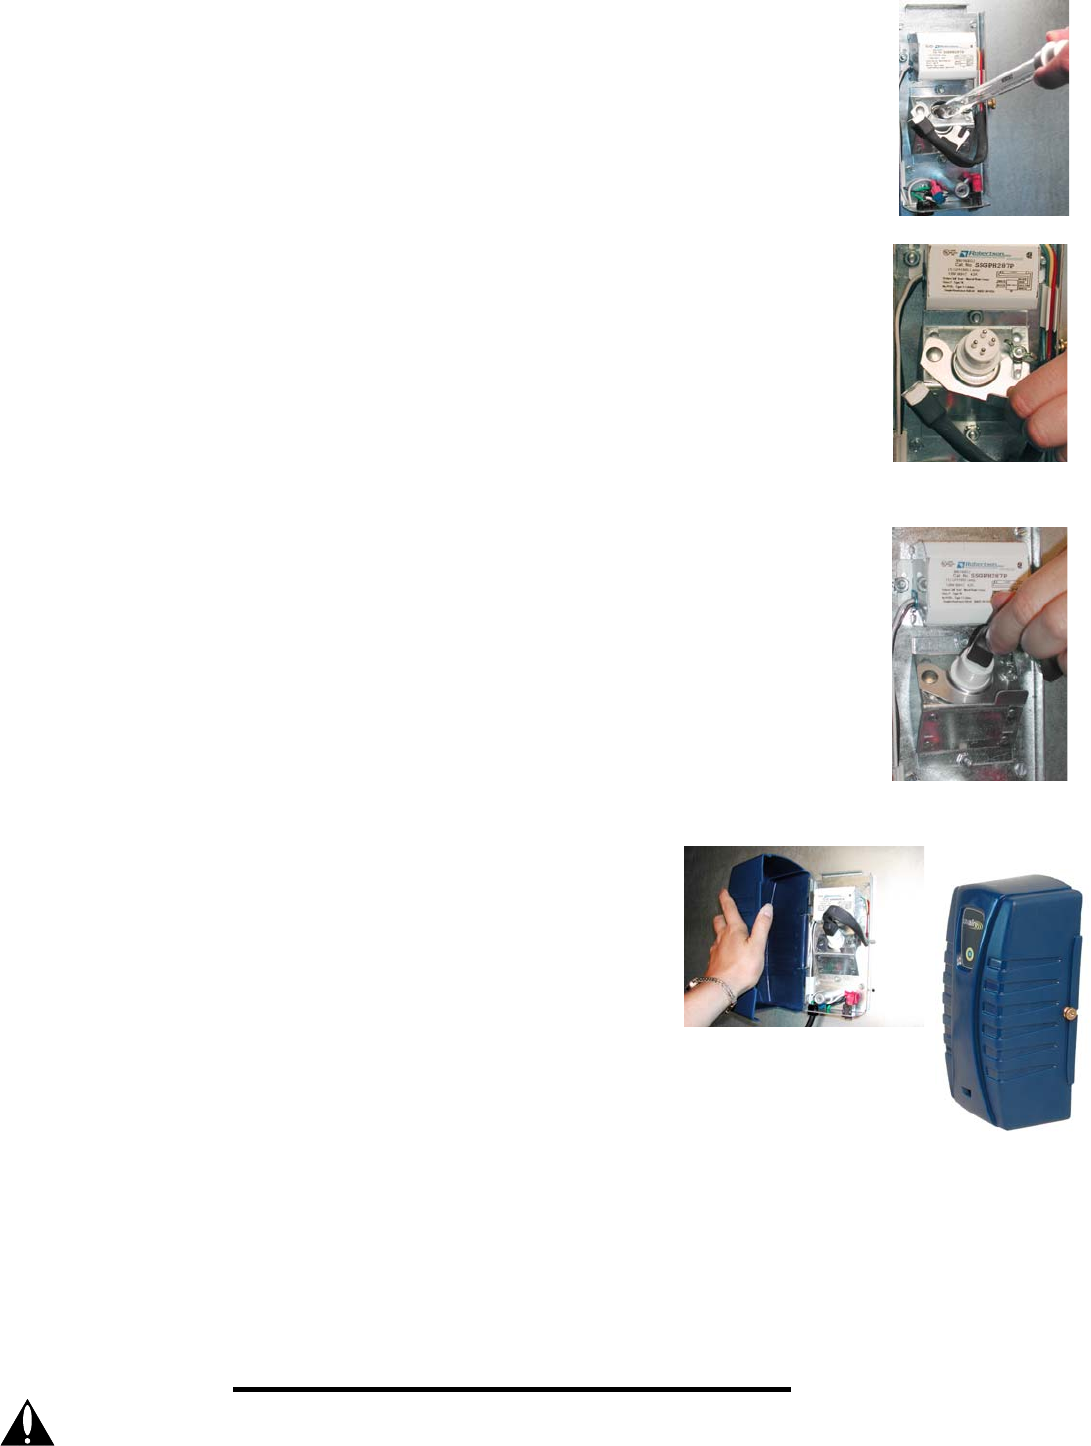
11. Snap cover onto the unit base. Close the cover and tighten cover screw. (See
Figure 19 & 20)
12. Plug the power cord into a standard electrical outlet.
NOTE: Seal the joints and seams of the plenum near the mounting
location to reduce any direct viewing of light. (See Figure 1)
13. Press the power switch to the ‘ON’ position. (Light on switch should be on indicating power.)
14. Look through view port in the box cover to be sure lamp is working. You should see a blue glow. (The view port
is covered with a plastic lens that blocks the UVC rays.)
15. If the lamp is not glowing, follow steps 8-14 again. If lamp still does not glow, contact technical support at 1-252-
522-3031 for further assistance.
Figure 16
Figure 18
Figure 19
WARNING: Never expose eyes or skin to UVC light from any source. Looking directly at the UVC light may cause permanent eye damage o
r
blindness. Never operate the UV-Aire™ Air Purifying System out of the plenum. Avoid touching the glass portion of the lamp with you
r
hands.
Figure 17
Figure 20