


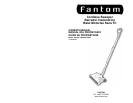

Changing the Rotating Brush & Gear Box FONCTIONNEMENT DE LE BALAI MOTORISÉ
SANS FIL
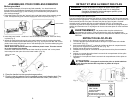
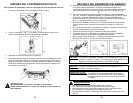
WARNING: Use caution when changing the rotating brush
and gear box so that the unit does not turn ON when pressing
down on the sweeper power head.
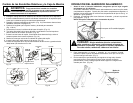
1.Chargez le balai motorisé pendant 16 à 20 heures avant de l'utiliser.
Le balai sans fil ne fonctionnera de façon adéquate qu'avec des piles entièrement
chargées. Chargée à fond, le balai fonctionnera pendant 35 à 40 minutes – en
fonction de l'usage (exemple – tapis ou planchers nus).
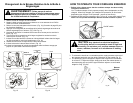
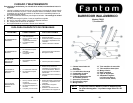
2.Appuyer sur l'interrupteur marche/arrêt pour la mettre en marche. Pour l'éteindre,
appuyer à nouveau sur l'interrupteur marche/arrêt (Fig.4).
REMARQUE: Ne pas utiliser le balai sans son vide-poussière.
Interrupteur marche/arrêt
Fig. 4
ATTENTION: Ne pas entreposer les appareils ménagers
électriques dans des endroits très chauds ou humides et ne
pas les y exposer. Ne pas ranger le balai sans fil à proximité
de cuisinières, radiateurs, chaudières ou dans une salle
de bains.
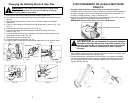
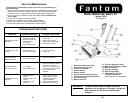
1. Remove the extension tube handle from the sweeper power head.
2. Turn sweeper power head upside down being careful Not to accidentally turn the
unit ON.
3. Remove the transparent brush cover. (Fig. 12) (Refer to page 5 for detailed
instructions.)
4. Push in on the locking tab of the gear box and lift gear box to remove. (Fig. 13 &
Fig. 14)
5. Lift the brush bar end cap up from the slot. (Fig. 15)
6. Pull the brush bar out from the bushing and slip off the belt to remove the
brush bar. (Fig. 16)
7. Insert the new brush bar by first inserting the brush bar into the bushing on the
end opposite the driver belt. (Fig. 16)
8. Slip the belt over the brush bar cap.
9. Insert the brush bar into the slot. (Fig. 15)
10.Insert the gear box tabs into the tab slots and push down until it clicks into place.
Gear box
tabs
Locking
tab
Lift
Gear box
Fig. 13
Fig. 14
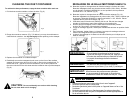
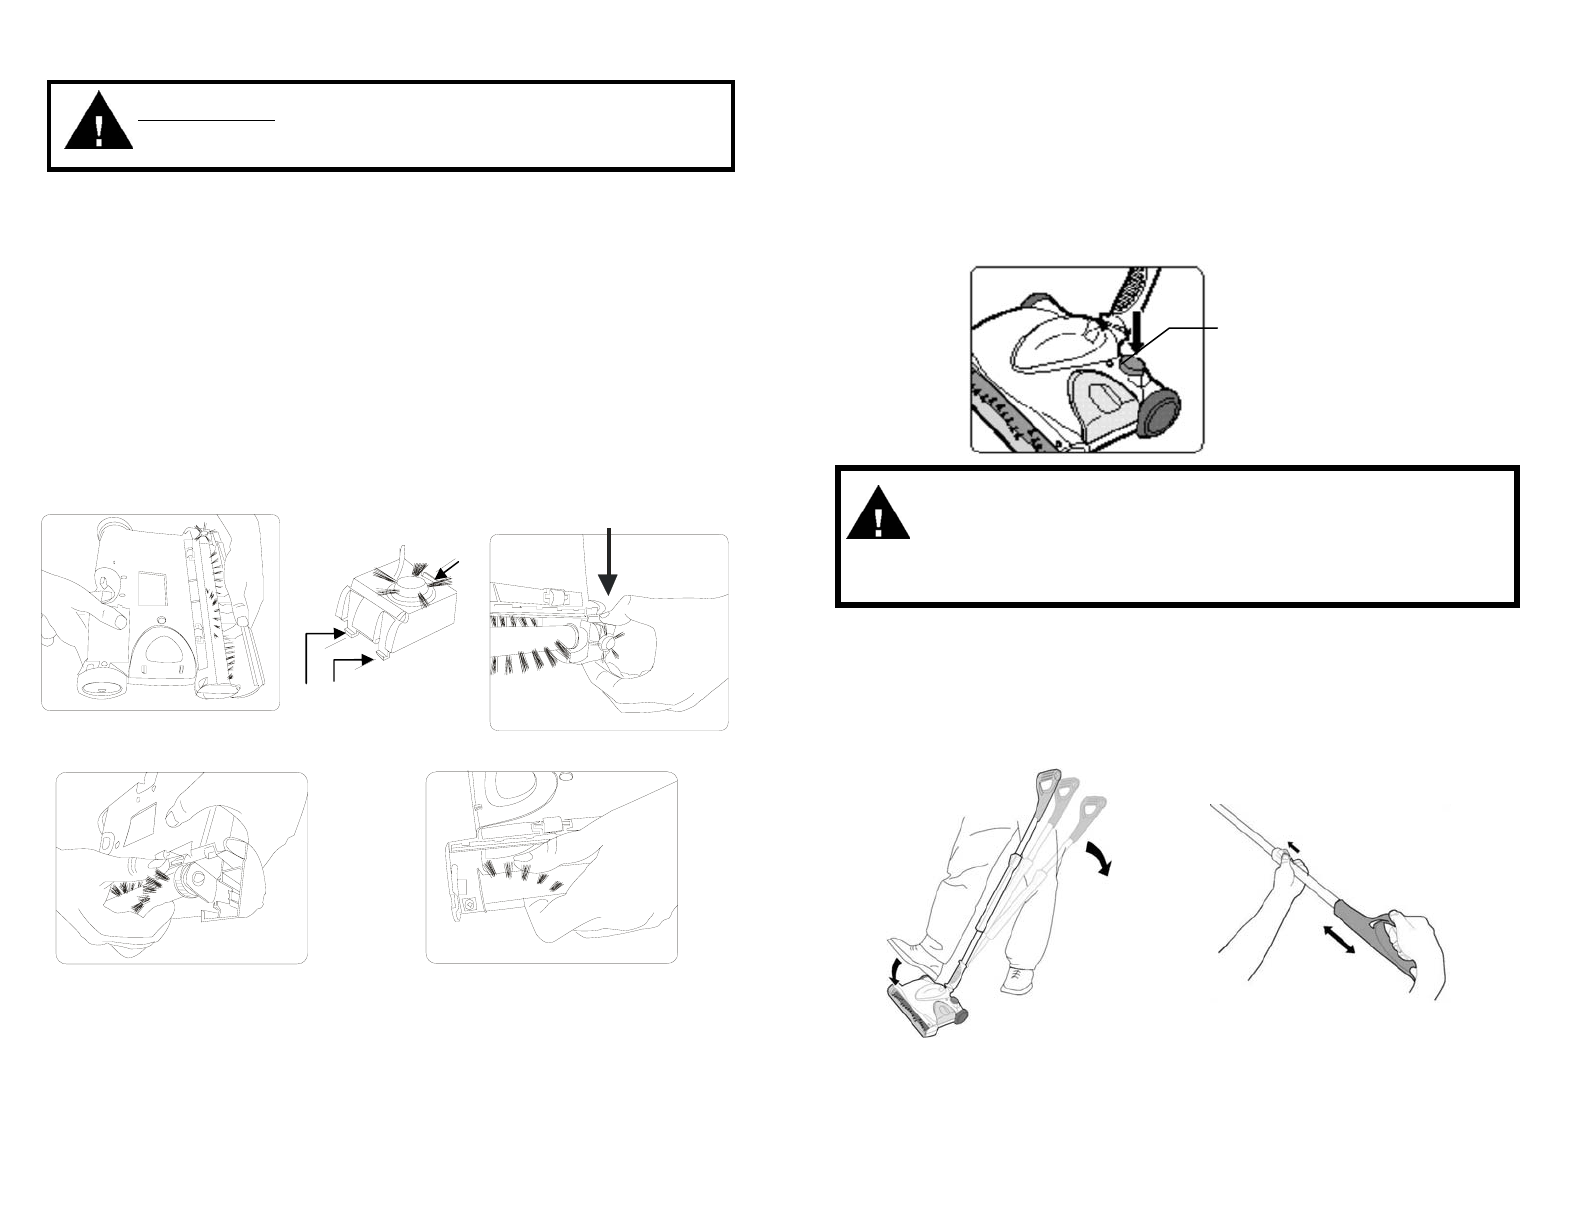
3.Pour modifier l'angle du manche, appuyer sur l'élément moteur de le balai avec le
pied tout en tirant le manche vers l'arrière (Fig.5).
4.Le tube télescopique a été dessiné pour être ajusté à une hauteur confortable
pour tous. Pour ajuster la hauteur requise, simplement pousser le bouton situé
sur le tube télescopique et tirer la poignée supérieure pour la positionner à la
hauteur désirée. (Fig. 5a)
Fig. 12
Fig. 5
Fig. 5a
Fig. 15 Fig. 16
7 24