


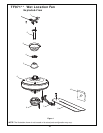


Assembling and Mounting the Fan Blades
9
Assembling and Mounting the Fan Blades
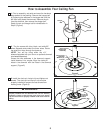
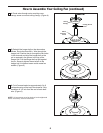
1. Remove and discard the (rubber) motor “stops” by
removing the five screws. (Figure 13)
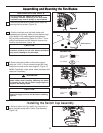
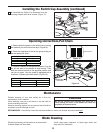
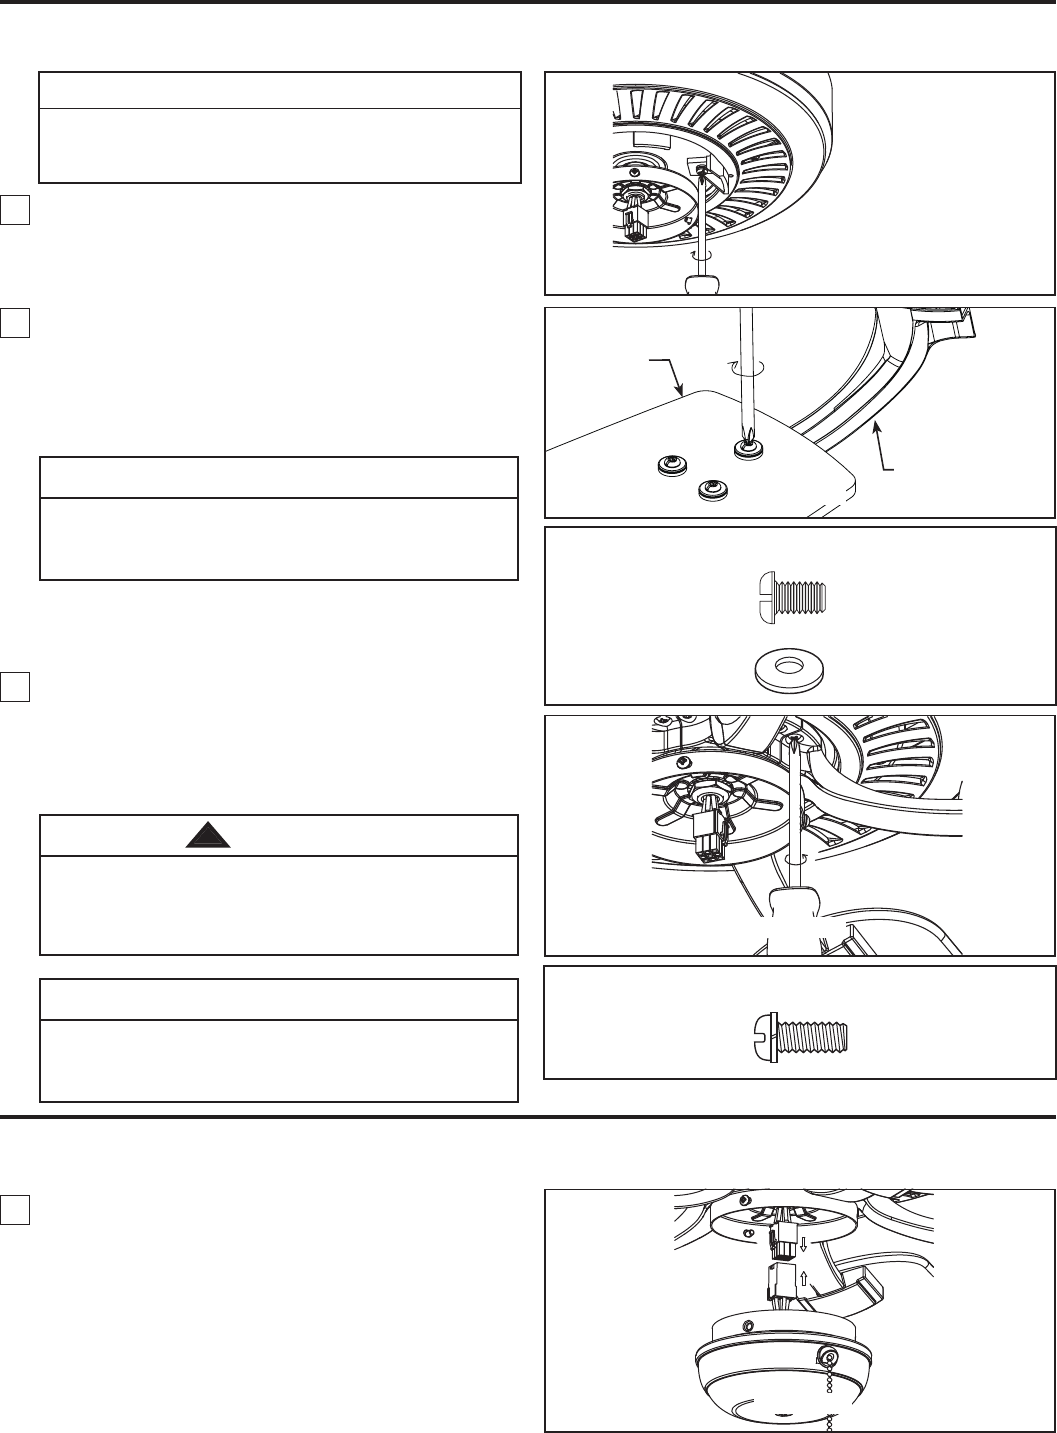
1. Securely attach the 9-pin switch cup connector to
wiring harness socket within Switch Cup Assembly.
(Figure 16)
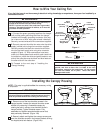
3. Secure the blade holders to the motor support
using the 1/4-20 x 15 mm screws throught the holes
located on the side of the motor support. (Figure 15)
To reduce the risk of electric shock, disconnect the
electrical supply circuit to the fan before installing
light kit.
CAUTION
To reduce the risk of personal injury, do not bend the
blade holders when installing, balancing the blades
or cleaning the fan. Do not insert foreign objects in
between the rotating blades.
WARNING
!
NOTE:
Periodically check blade holder hardware and
resecure if necessary.
x 10
1/4-20 x 15mm
SCREWS
HARDWARE USED:
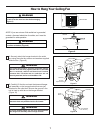
2. Position the blade over the blade holder with
threaded posts showing. Make sure the bottom edge
of the blade is fully seated against the blade arm.
With a phillips screwdriver, tighten 3/16-24 x 7.5 mm
phillips head screws and flat washers to secure the
blade to the blade arm. (Figure 14)
Do not connect fan blades until the fan is completely
installed. Installing the fan with blades assembled
may result in damage to the fan blades.
CAUTION
x 15
x 15
FLAT WASHER
3/16-24 x 7.5mm
PHILLIPS HEAD
SCREWS
HARDWARE USED:
Blade
Blade Holder Arm
Figure 14
INSTALLATION NOTE
Do not connect fan blades until the fan is
completely installed. Installing the fan with blades
assembled may result in damage to the fan blades.
Figure 13Figure 13
Figure 15
Figure 16
Installing the Switch Cup Assembly