


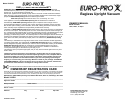
OPERATING INSTRUCTIONS OPERATING INSTRUCTIONS
The dusting brush is used
for the furniture, Venetian
blinds, lamp shades,
shelves, etc.
Caution: Do NOT pull the vacuum
cleaner around the room by the hose as it
could tip over and cause damage. When
using the attachments, Do NOT over
extend the hose length when reaching.
Trying to reach beyond the hose reach
could cause the vacuum to tip over. The
dust cup cover handle can be used to lift
the vacuum when changing locations.
For radiators, crevices,
corners, baseboards and
between cushions.
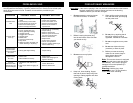
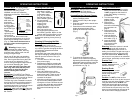
Assembling the Vacuum Cleaner
1. Carefully unpack all the components,
set the packaging aside.
2. Lift the vacuum body to the upright
position.
3. Insert the handle into the handle inlet
of the vacuum.
4. Press down on the telescopic tube
height adjustment button while
pushing the telescopic tube down.
(Fig. 1)
Fig. 1
Telescopic Tube
Height Adjustment
Button
WARNING: Always remove the power
plug from the wall outlet before
assembling or removing accessories.
Assembling Your Vacuum Cleaner
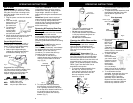
Cleaning the Filter Ring
1. Around the HEPA-Type
filter there is a filter
ring. This is washable
in lukewarm water.
(Fig. 10) To remove
the filter ring, slide it
off the HEPA-Type filter.
2. We recommend
washing the filter ring
when you are
washing your
HEPA-Type filter.
Always allow the
filter ring to air dry for
24 hours before replacing onto
the HEPA-Type filter. Never run the
vacuum without all the filters in place.
Note: This is a washable filter, but we
recommend replacing it every three (3)
months.
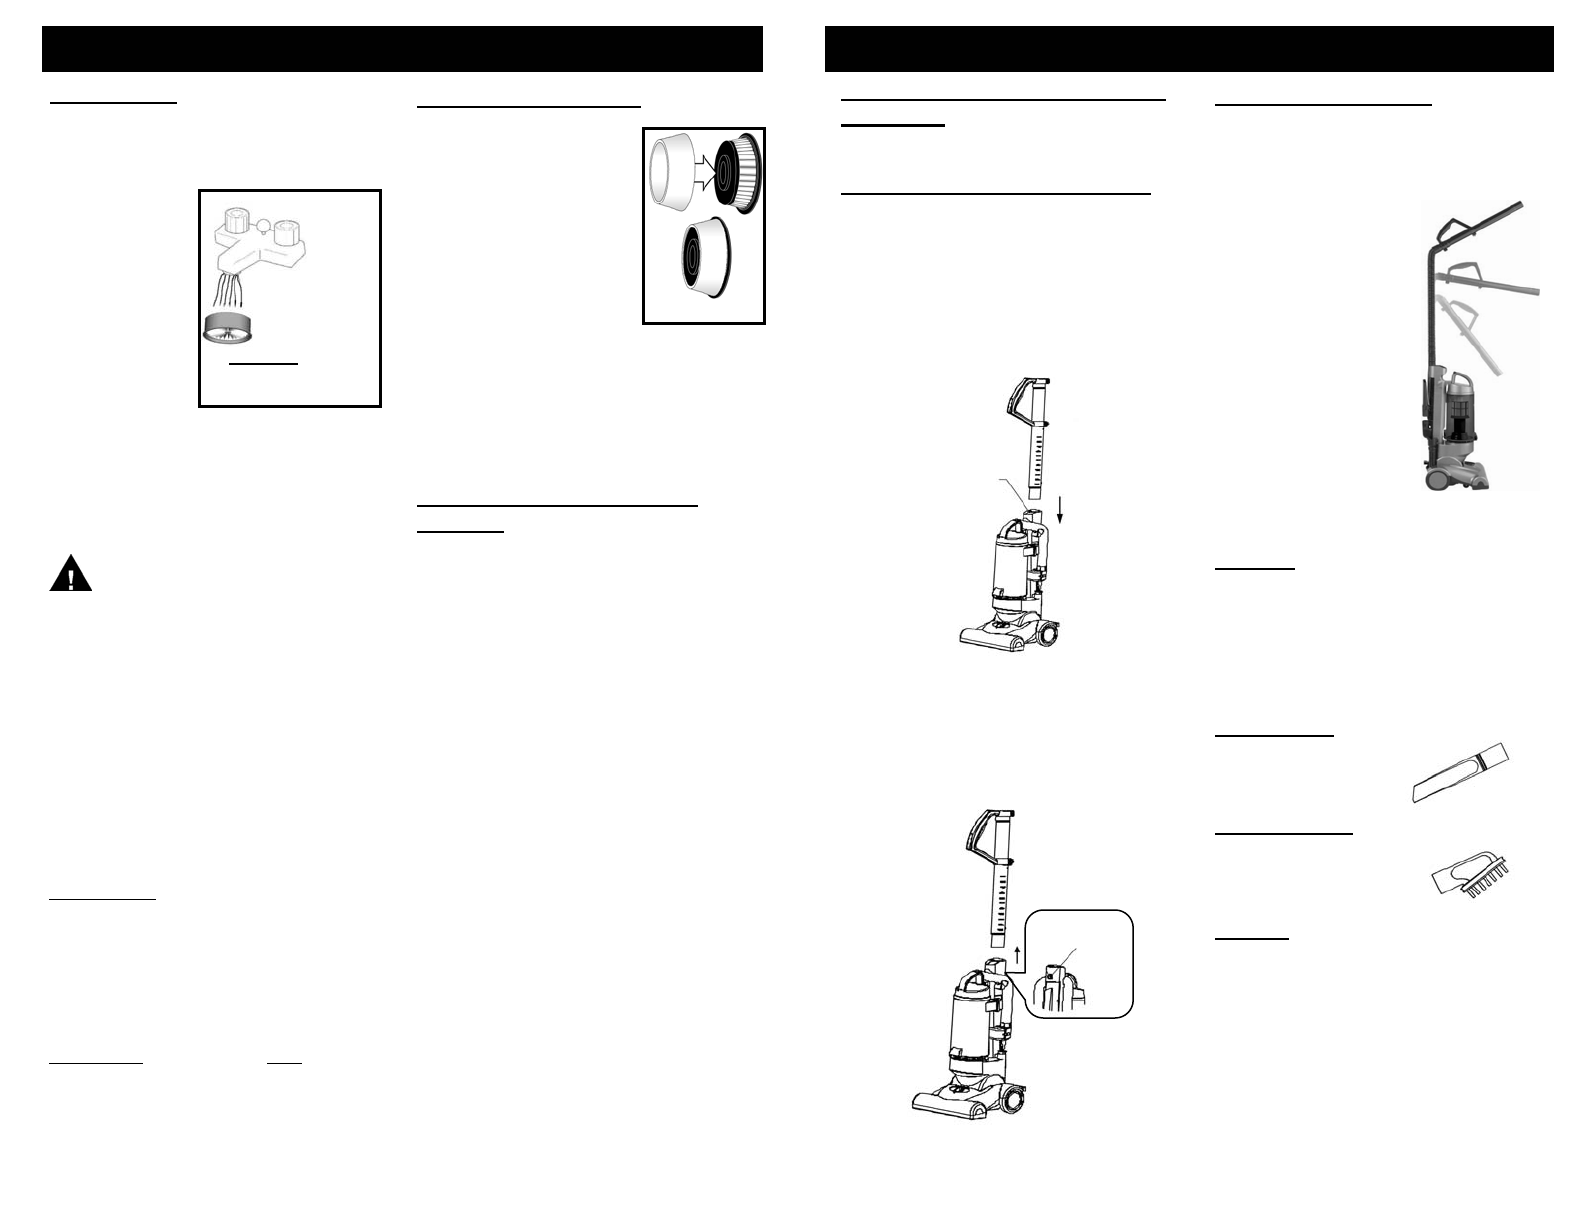
5. To remove the telescopic tube,
extend it to its maximum height by
depressing the telescopic tube height
adjustment button and then press the
telescopic tube release button and
pull the tube out. (Fig. 2)
4
Fig. 2
Dusting Brush
Crevice Tool
Fig. 3
Using the Attachments
1. Place vacuum in its upright position.
Make sure that the vacuum cleaner
is NOT plugged into the electrical
outlet when adding or removing
accessories.
2. Turn the carpet height
selector to the
highest position.
3. Remove the
telescopic tube
from the unit following
the instructions on
page 4.
4. Remove the hose
connector from the
side of the unit.
5. Insert the flexible
hose into the top of
the handle. (Fig. 3)
6. Insert the desired
attachment firmly
onto the end of the
telescopic tube.
Warning: When the vacuum is turned
on, the beater brush will continue to
rotate. AVOID tipping the vacuum or
setting it on furniture, fringed area rugs or
carpeted stairs while you are using the
hose with attachments. AVOID leaving
the vacuum in one place for an extended
period of time, particularly on thick carpet.
Wash
once a
month or
when
suction
appears
reduced
Warning: Allow 24
hours for drying before
replacing in unit.
Fig. A
PLEASE NOTE: The white pleated
filter material in the HEPA-Type Filter
will discolor over time -This is
NORMAL and will NOT affect the
performance of the filter. If the HEPA-
Type Filter
is properly
"TapCleaned”
after each use
and suction
does not return
to 100%, then
we suggest that
the HEPA-Type
filter be
“TapCleaned”
vigorously until
no more dust
can be removed, then rinsed under
the faucet and allowed to air dry for 24
hours before refitting into the vacuum.
(Fig. A) This should be done once a
month or when suction appears to
be reduced .
Warning: Always empty
the dust cup container and
clean the HEPA-Type filter, filter ring
and filter frame before each use and
during prolonged usage.
Fig. 10
Cleaning & Changing the Belt
Warning: To reduce the risk of electric
shock, the power cord must be
disconnected before removing the dust
cup, HEPA-Type filter,changing the filters
or performing maintenance/trouble
shooting checks.
Occasionally the power head drive belt
will require changing, the frequency will
depend upon the amount of use your
vacuum sees.
1. Turn the vacuum "Off" and unplug
from power supply.
2. Release the handle by pressing the
handle release pedal and pull back
on the handle unit it releases from its
upright position, and turn the unit over
on the floor.
3. With a #2 Phillips screw driver,
remove the four (4) screws on the
bottom base plate. There are two in
the front of the unit and 2 screws
recessed in the back.
4. With the unit still lying down, hold the
top and bottom plates together while
turning the unit over. Remove the one
(1) screw that holds the carpet height
adjustment button Lift the cover of
the power head starting from the
back.
Telescopic Tube
Release Button
Please Note: The HEPA-Type Filter is
washable. It should, however, be replaced
every three (3) to six (6) months to ensure
peak performance of your vacuum.
The filter ring is also rinseable but should
be air dried for 24 hours before replacing
into the vacuum. It should however be
replaced every three (3) months to ensure
peak performance of your vacuum.
Important:
Make sure that ALL filters are
completely dry before re-installing back in
the vacuum.
Never over fill the dust cup container -
remove dirt and clean the HEPA-Type
filter, filter ring and filter frame when dirt
in dust cup is at or below the “FULL"
level or during prolonged usage because
you could risk damaging the motor.
If you wash the Hepa-Type filter and
filter ring, make sure that they have
completely air dried for 24 hours
before inserting back into the
vacuum.
7