


OPERATING INSTRUCTIONS
5
Your Cordless Vacuum is powered by
Nickel-Cadmium Ni-Cd) batteries, which
must be recycled or disposed of
properly in accordance with state,
federal and local laws.
If uncertain as to how to remove the
battery pack, we suggest you take your
hand vacuum to a reputable small
appliance service technician to have
this service preformed.
Do NOT attempt to replace the batteries
used in this product with any other type
of battery.
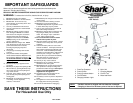
WARNING: NEVER use ordinary
batteries for replacement, as these may
leak and damage your vacuum cleaner.
Use only battery pack XBP736 provided
by EURO-PRO Operating LLC for
replacement.
CAUTION:NEVER use the unit without
the battery compartment cover in place.
NOTE: Any other servicing should be
performed by an authorized service
representative.
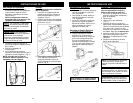
Battery Pack Replacement
& Disposal
The battery pack of your cordless vac is
replaceable, however care should be taken
when doing so. Follow these steps when
replacement is required:
1. Using a #1 Phillips head screw driver,
remove the single screw securing the
battery compartment cover located on
the under side of the unit.
2. To remove the cover, press down on
the battery compartment cover while
sliding towards the rear of the unit.
NEVER open the battery compartment
except to change the battery.
3. Set aside battery compartment cover
and screw.
4. Lift off the battery strap and set aside.
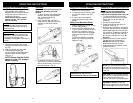
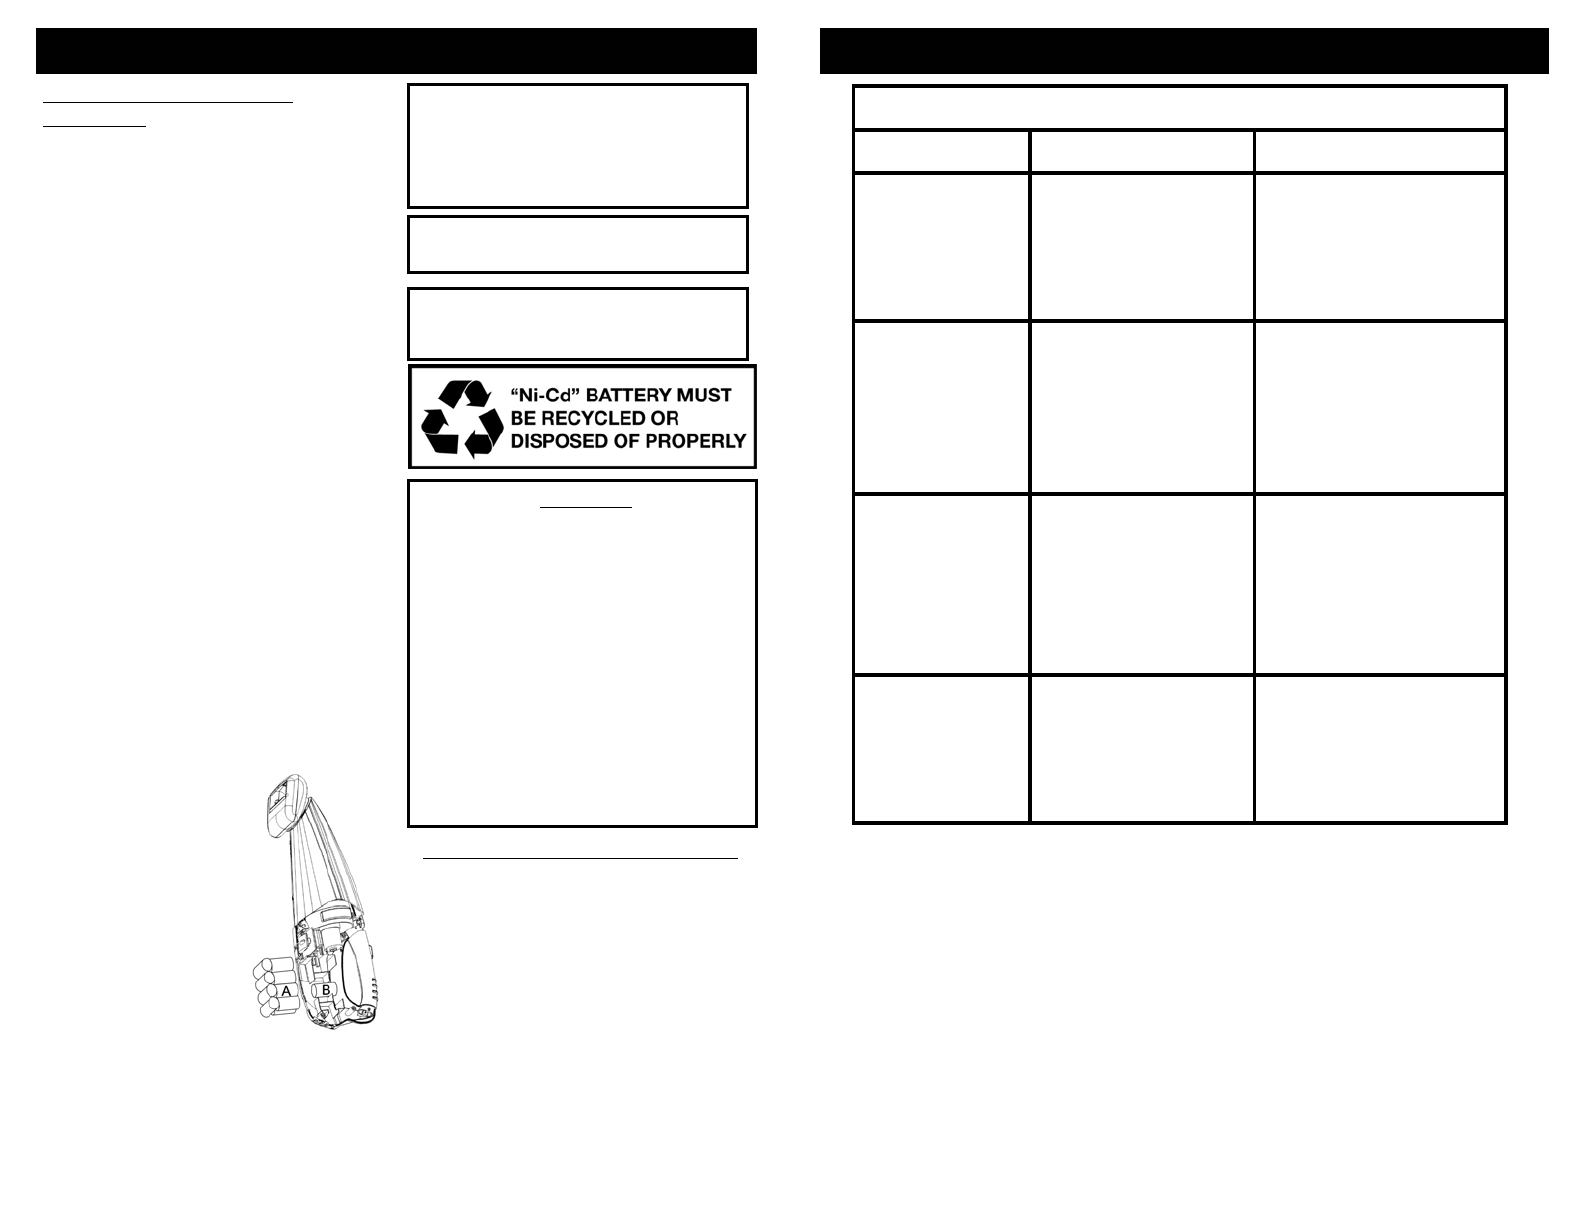
5. Carefully lift out the top battery pack
(A) and disconnect the terminals. Then
remove the single battery (B) that is on
the bottom and disconnect the terminal.
(Fig. 8)
6. Connect the terminals
to the single battery (B)
first and insert into the
new unit. Then connect
the terminals to the battery
pack (A) taking care to
connect the black leads (-)
to the negative connectors
first and the red leads
(+) to the positive
connectors second.
Place the new battery
(A) into the battery
compartment.
7. Tuck the wiring inside the battery
compartment so that the wiring does
not interfere with the battery
compartment cover when it is replaced.
8. Re-install the battery strap and battery
compartment cover.
CAUTION
• Use only with the battery pack
supplied with the unit.
• Do not attempt to remove the battery
pack from the unit to charge it.
• Never attempt to throw the battery
pack or unit into a fire or incinerate it.
• Do not attempt to remove or damage
the battery casing.
• Battery must be recycled or disposed
of properly at the end of it's
service life.
• Do not place batteries on metal
surfaces.
• Do not touch metal parts of the
batteries together as the batteries will
overheat.
Fig. 8
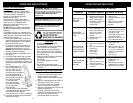
1. Make sure that the intended wall area
for the wall mounting bracket to be
drilled is free from any hidden
electrical wires, water pipes and gas
lines.
2. Select an appropriate place close to a
wall power outlet (120V., 60 Hz).
3. Do not mount near direct sunlight,
near a heat source or outdoors.
4. Select an appropriate drill type for the
material to be drilled.
5. Carefully measure and mark the
location of all bracket holes and then
drill holes and screw the wall
mounting bracket onto the wall.
Wall Mounting Bracket (Optional)
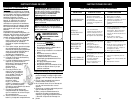
TROUBLESHOOTING GUIDE
PROBLEM POSSIBLE REASON POSSIBLE SOLUTION
HAND VACUUM
WILL NOT
OPERATE
1. Batteries discharged.
2. Dead battery (battery
won't hold charge).
3. No power in electrical
outlet supplying
transformer.
1. Charge unit.
2. Replace batteries. (See
page 5.)
3. Check fuse or breaker.
Replace fuse/reset
breaker.
MOTORIZED
BRUSH WILL NOT
WORK
1. The 2 metal pins of
the motorized brush
are not in contact
with the vacuum
cleaner.
2. Motorized brush is
clogged up.
1. Firmly insert the
motorized brush into the
air-intake nozzle. This
will connect the
motorized nozzle to the
unit power supply.
2. Remove all lint, hair etc.
from motorized brush.
HAND VACUUM
WILL NOT PICK-
UP OR SUCTION
POWER IS WEAK
1. Dust cup container is
full.
2. Dust cup filter needs
cleaning or
replacement.
3. Unit needs
recharging.
1. Empty dust cup
container
2. Remove dust cup filter
and check for object(s)
in air duct and remove.
Clean or replace dust
cup filter.
3. Charge unit.
DUST ESCAPING
FROM HAND
VACUUM
1. Dust cup container is
full.
2. Dust cup filter is not
installed correctly.
3. Puncture/hole in dust
cup filter.
1. Empty dust cup
container.
2. Review dust cup filter
installation instructions.
3. Replace dust cup filter.
OPERATING INSTRUCTIONS
6