


2
ADDITIONAL IMPORTANT SAFEGUARDS
1. To avoid circuit overload, do not operate another appliance on the same socket
(circuit) as the steam cleaner.
2. If an extension cord is absolutely necessary, an extension cord rated a minimum
of 15 ampere, 14 gage cord should be used. Cords rated for less amperage may
overheat. Care should be taken to arrange cord so that it cannot be pulled or
tripped over.
3. Do not leave unattended when the system is connected to a power
supply/electrical outlet.
Warning: This appliance is equipped with a grounded-type 3-wire cord
(3-prong plug). This plug will only fit into an electrical outlet
made for a 3-prong plug. This is a safety feature. If the plug
should fail to fit the outlet, contact an electrician to replace
the outlet. Do not attempt to defeat the safety purpose of
the grounding pin, part of the 3-prong plug.
Caution: The force and heat of the steam may adversely affect certain materials.
Always check the suitability of using the steam cleaner on a surface by
carrying out a preliminary test on a hidden area.
Examples for guidance only:
• Varnished wood or glossy leather can be bleached by
the effects of steam.
• Shiny plastic materials risk being tarnished.
• Acrylic, velvets and linen are very sensitive to the
temperature of steam.
The manufacturer accepts no responsibility for damage caused to objects,
materials, animals or persons due to the inappropriate use of steam, and through
ignoring the advice and recommendations set down in the Owner's Manual.
Maintenance & Cleaning
Instructions
Caution: This appliance must be
unplugged from the electrical outlet and
allowed to cool down before all
cleaning and maintenance tasks.
• Let the appliance cool down
completely before cleaning or
storing.
• Empty all water from the water tank
after each use.
• Store in a dry, cool place.
• A periodic rinse of your steam
cleaner will free it from deposits. This
is recommended every 10-15 tank-
fulls to free up any scale
deposits. Fill the boiler with water
and shake vigorously. Tilt the cleaner
upside down to empty the boiler of
water and any scale deposits.
Cleaning the Nozzles
Your steamer should not normally
require cleaning, however, should you
notice a marked decrease in steam
output it may be necessary to remove
mineral deposit build-up from the
nozzle orifice. First ensure that there is
water in the tank.
If tank is empty, fill with water, (we
recommend using purified or distilled
water), then re-start unit noting whether
steam output is normal. If steam output
is still low, follow these cleaning
instructions:
1. Unplug steam cleaner from wall
outlet.
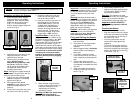
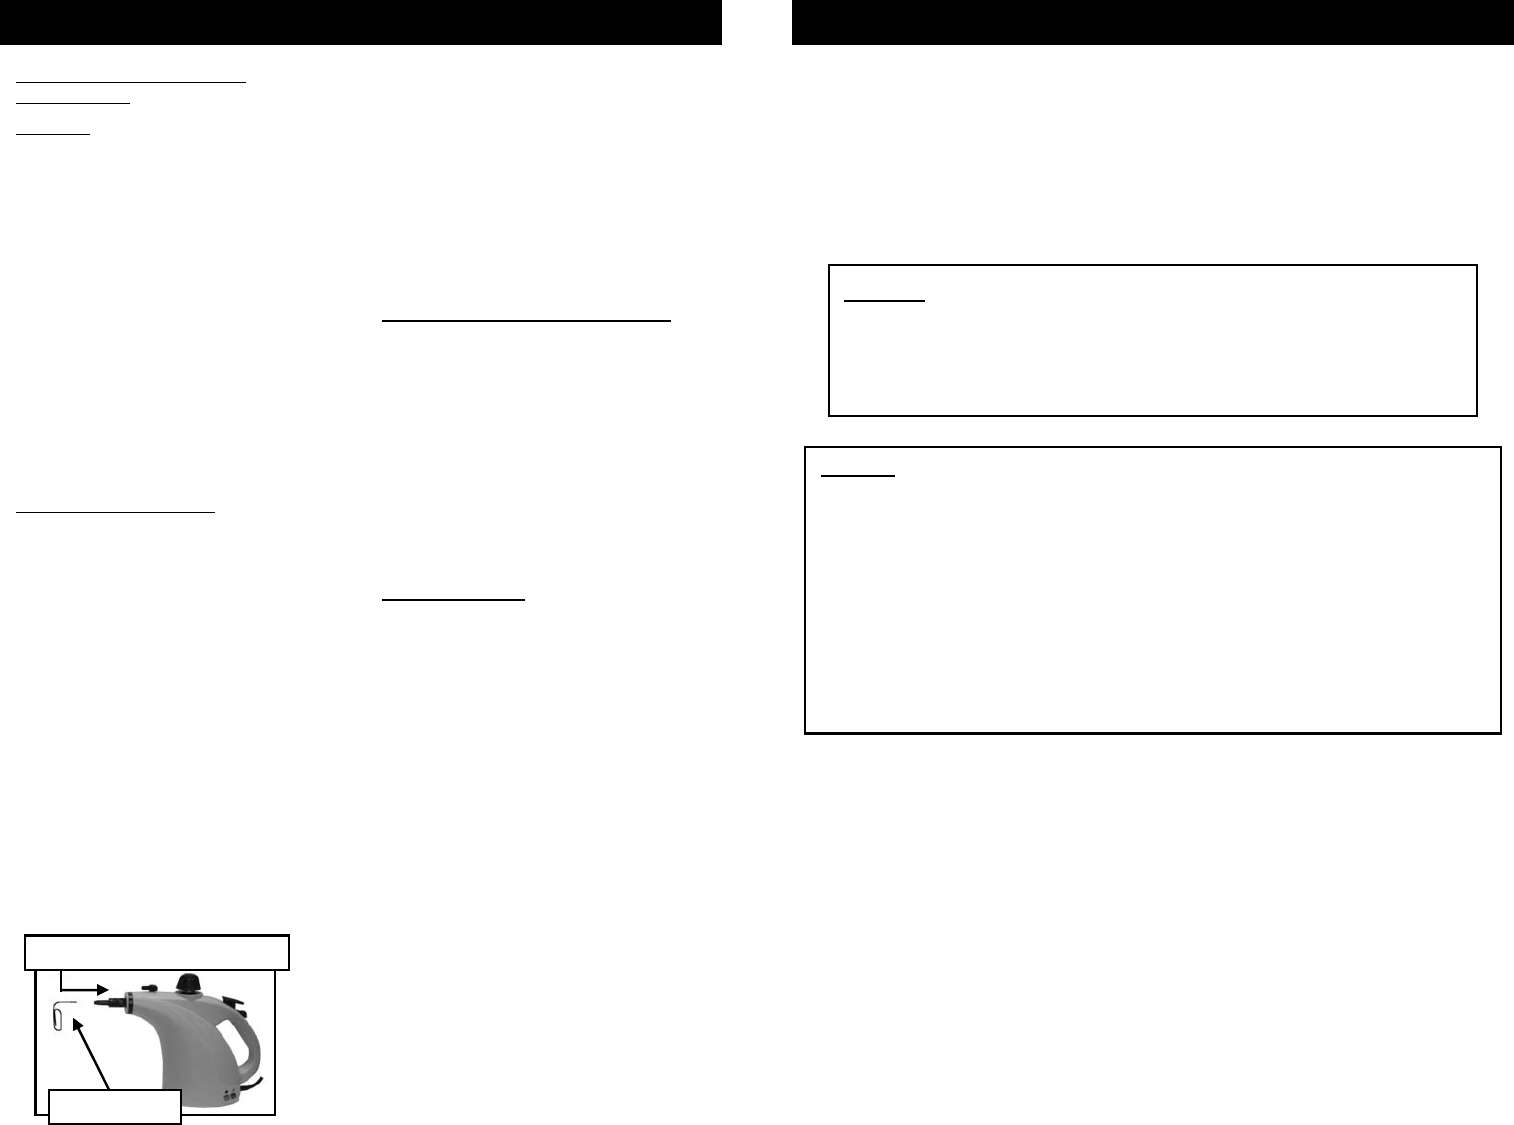
2. Use a small diameter stiff metal
wire such as a straightened metal
paperclip and carefully insert the
end of the wire into the nozzle
orifice. (Fig. 10)
Maintenance & Cleaning Instructions
9
3. Move wire back and forth several
times to remove any deposits.
4. Reconnect appliance to power
outlet, assure that the variable
steam adjustment is in the
maximum flow position, depress
the trigger and note steam output.
5. If steam performance does not
improve, descale your steam
cleaner and then repeat steps #1
through #4.
Descaling Your Steam Cleaner
If the tap water in you area contains a
high level of calcium deposits and you
have been using tap water to do your
steam cleaning, you should descale
your unit after 10-15 tankfulls.
1. Unplug the steam cleaner from the
power source before you descale
the boiler. Allow to cool.
2. Fill the boiler with 1 part vinegar
and 5 parts water and leave
overnight or for a period of
approximately 8 hours.
Important Note: Do not screw the
safety cap onto the steam cleaner while
you are descaling the boiler. Do not
use the steam cleaner while
descaling solution is inside the
boiler.
3. After the period of soaking, turn
the steam cleaner upside down to
empty solution from the boiler. Due
to the fact that a small amount of
solution will be left in the boiler, it is
necessary to rinse the boiler out
with clean water 2 or 3 times. Your
steam cleaner is now ready for use.
Paper Clip
Insert paper clip into nozzle
Fig. 10