


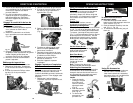
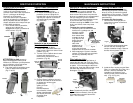
Fig. 18
Carpet Height
Adjustment Knob
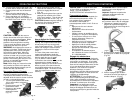
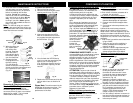
Fig. 15
OPERATING INSTRUCTIONS
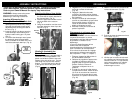
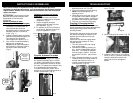
How to Adjust for Carpet Height
WARNING: To avoid injury, keep loose
clothing, hair, fingers and all other parts
of body away from any moving parts
(such as the beater brush). Turn off the
switch and unplug the vacuum before
adjusting the vacuum for the carpet
height.
The front of the power nozzle has a
carpet height adjustment knob that
raises and lowers the motorized power
head to match the type of carpet.
(Fig. 18) With the vacuum NOT
connected to the electrical outlet, set the
adjustment to the lowest setting for
maximum cleaning. If the vacuum is too
difficult to push, move the knob to the
next highest setting until the vacuum is
comfortable to push. The brush roll must
reach the carpet for the most effective
cleaning.
Vacuuming Floors & Carpets
The upright vacuum can be used to vacuum
all types of carpeting and bare floors.
The carpet-to-floor selector should only be
adjusted while the vacuum cleaner is turned
on and is in the upright position.
1. Turn the quick release cord holder
180° to either side to release the
power cord.
2. Plug the power cord into
the electrical outlet.
3. Depress on the handle
release pedal to
release the handle.
(Fig. 15)
2. Turn the quick release cord holder 180°
to either side to release the power cord.
3. Plug the power cord into the electrical
outlet.
4. When using the attachments, the
vacuum must be in the upright position.
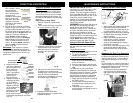
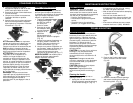
5. Ensure that brush roll is locked by
pressing the carpet-to-floor selector to
the “Bare Floor/Tools” position. (Fig. 14)
6
Bare Floor / Tools
Fig. 14
4. When vacuuming carpets, set the
carpet-to-floor selector to the “Carpet”
position to engage the brush roll.
(Fig. 16)
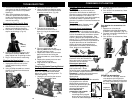
5. When vacuuming bare floors, set the
carpet-to-floor selector to the “Bare
Floor/Tools” position. This will lock the
brush roll and it wil
l not turn. (Fig. 17)
CAUTION: Do not change the setting of
the carpet-to-floor selector while the
vacuum cleaner is turned off.
Carpet
Position
Fig. 16
Fig. 17
Bare Floor /
Tools
CAUTION: Do NOT pull the vacuum
cleaner around the room by the hose as it
could tip over and cause damage. When
using the attachments, do NOT over
extend the hose length when reaching.
Trying to reach beyond the hose reach
could cause the vacuum to tip over.
WARNING: Avoid tipping the vacuum or
setting it on furniture, fringed area rugs or
carpeted stairs while you are using the
hose with the attachments. When the
vacuum is turned on, the brush roll will
continue to rotate until you put the carpet-
to-floor selector to the “Bare Floor/Tools”
position. Avoid leaving the vacuum in one
place for an extended period of time,
particularly on thick carpet.
Note: When lifting your vacuum from the
carry handle, be careful not to press the
dust cup release button because you will
release the dust cup assembly.
DIRECTIVES D’ENTRETIEN
43
Dégager les obstructions
Occasionnellement l’aspirateur deviendra
obstrué par une accumulation de débris qui
vont requérir un nettoyage. Si la lumière
d’indicateur du filtre clignote mais que les
filtres ont été nettoyés récemment, vérifiez
s’il y a des obstructions dans les voies
d’aération. Pour réduire le risque de
décharge électrique, le cordon
d’alimentation doit être débranché avant de
dégager l’obstruction ou avant de faire de
l’entretien ou du dépannage.
ATTENTION: S’il y a une obstruction
dans n’importe quelle partie de votre unité,
celle-ci peut surchauffer et s’éteindre
automatiquement. Débranchez l’aspirateur
et laissez le refroidir pour 45 minutes.
Important: Les dommages causés
pendant que vous dégagez ou que vous
essayez de dégager les obstructions ne
sont pas couverts par la garantie limitée de
votre produit.
Veuillez noter: Le matériel blanc dans
le filtre HEPA va se décolorer avec le
temps – Ceci est NORMAL et
N’AFFECTERA PAS l’efficacité du filtre.
Thermostat du moteur
Important: Cette unité est équipée d’un
thermostat de protection du moteur. Si
pour quelque raison l’aspirateur
surchauffe, le thermostat va
automatiquement arrêter l’unité. Si tel est
le cas:
• Appuyez une fois sur le bouton
Marche/Arrêt.
• Débranchez la fiche de la source
d’alimentation.
• Vérifiez la source du problème de sur
chauffage. (i.e. boyau ou filtre obstrué)
• Si vous trouvez le boyau ou un filtre
obstrué, débouchez le boyau ou
remplacez les filtres.
• Attendez au moins 45 minutes avant
d’essayer de réutiliser l’aspirateur.
• Après que l’unité ait refroidi pendant
45 minutes, branchez l’unité et
appuyez sur Marche/Arrêt. L’aspirateur
devrait démarrer.
• Si l’aspirateur ne démarre toujours
pas, contactez le service à la clientèle
au 1 (888) 668-9600.
ATTENTION: Méfiez-vous des objets
pointus lorsque vous dégager les
obstructions.
Important: Replacez les parties de
l’aspirateur solidement avant de
continuer à l’utiliser.
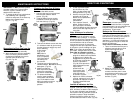
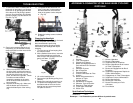
Dégager la poignée
Ne jamais insérer d’objets pointus dans
une ouverture dans le but de la dégager.
1. Débranchez l’appareil et retirez la
poignée du tuyau télescopique en
enfonçant la tige de verrouillage de la
poignée. (Fig. 41)
Tige de
verrouillage
Fig. 41
2. Enfoncez les 2 onglets de verrouillage
du tuyau pour le libérer de la poignée.
(Fig. 42)
Onglet
de verrouillage
Fig. 42
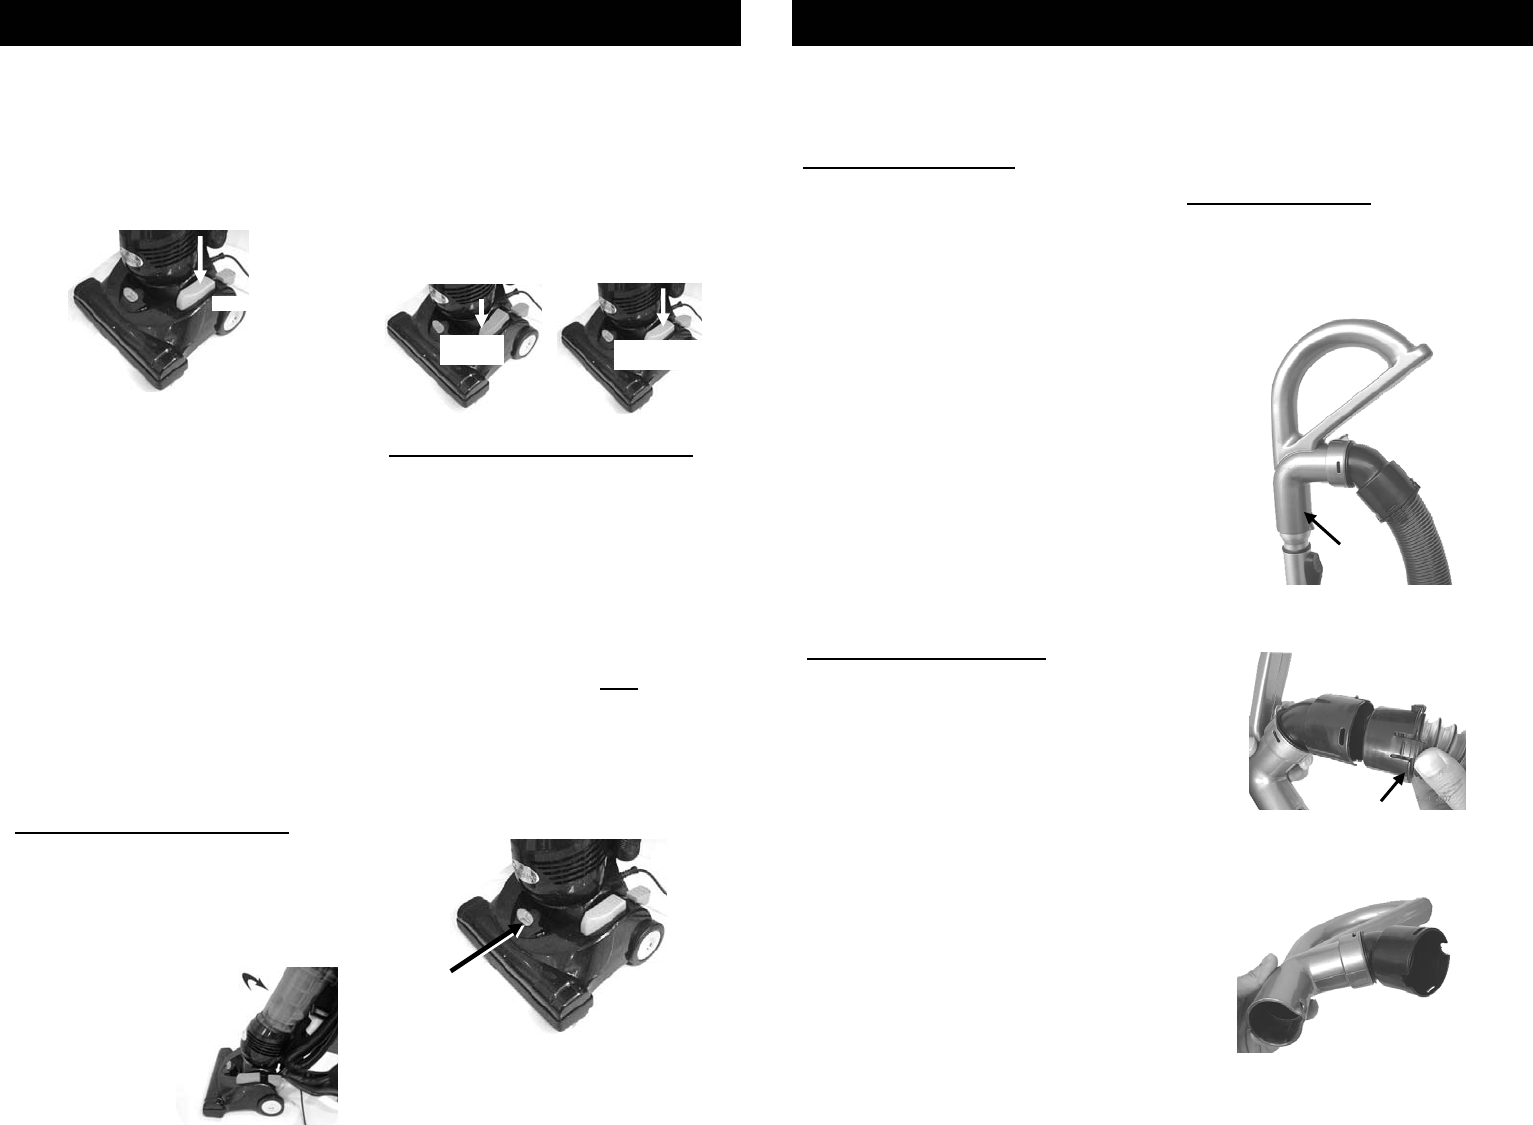
3. Vérifiez la poignée par les deux
ouvertures et retirez tout objet qui
semble la bloquer. (Fig. 43)
Fig. 43