


Assembling Your Vacuum Cleaner
Warning: Do not plug in vacuum unit until it is fully assembled.
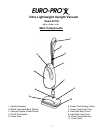
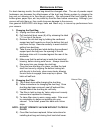
1. Carefully unpack all components, set aside packaging.
2. Place power nozzle section on a flat surface, loosen
clamping collar. Make sure that the power nozzle elbow is
in the vertical and locked position.
3. Take the middle body section and insert the tapered end
of the dirt tube into the top opening of the power nozzle
elbow. Clamp in place by turning the locking collar
clockwise. (Do not over-tighten.)
4. To assemble the handle, align the handle tube with the
locking collar on the upper middle body section. Insert the
tube until it is bottomed and then turn locking collar
clockwise until secure. (Do not over-tighten.)
Power Cord
Clamping Collar
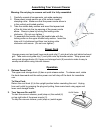
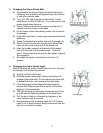
Unwrap power cord and push lower cord guide clip (7) onto dust tube just behind exhaust
grill. Take extra cord guide clip (7) and push onto top handle section. Wrap power cord
using cord storage hooks (6). Upper cord storage hook (6) swivels to make it easy to
unwrap cord before using vacuum cleaner.
Operation
1. Release Power Cord:
The upper cord storage hook (6) has a quick release action. To release cord, rotate
the hook downward and the entire power cord will drop off the hook for immediate
use.
To Store Cord:
Return the cord hook (6) to the upright position before rewinding the cord. Unplug
from wall outlet by grasping the plug and pulling, then rewind cord using upper and
lower cord storage hooks.
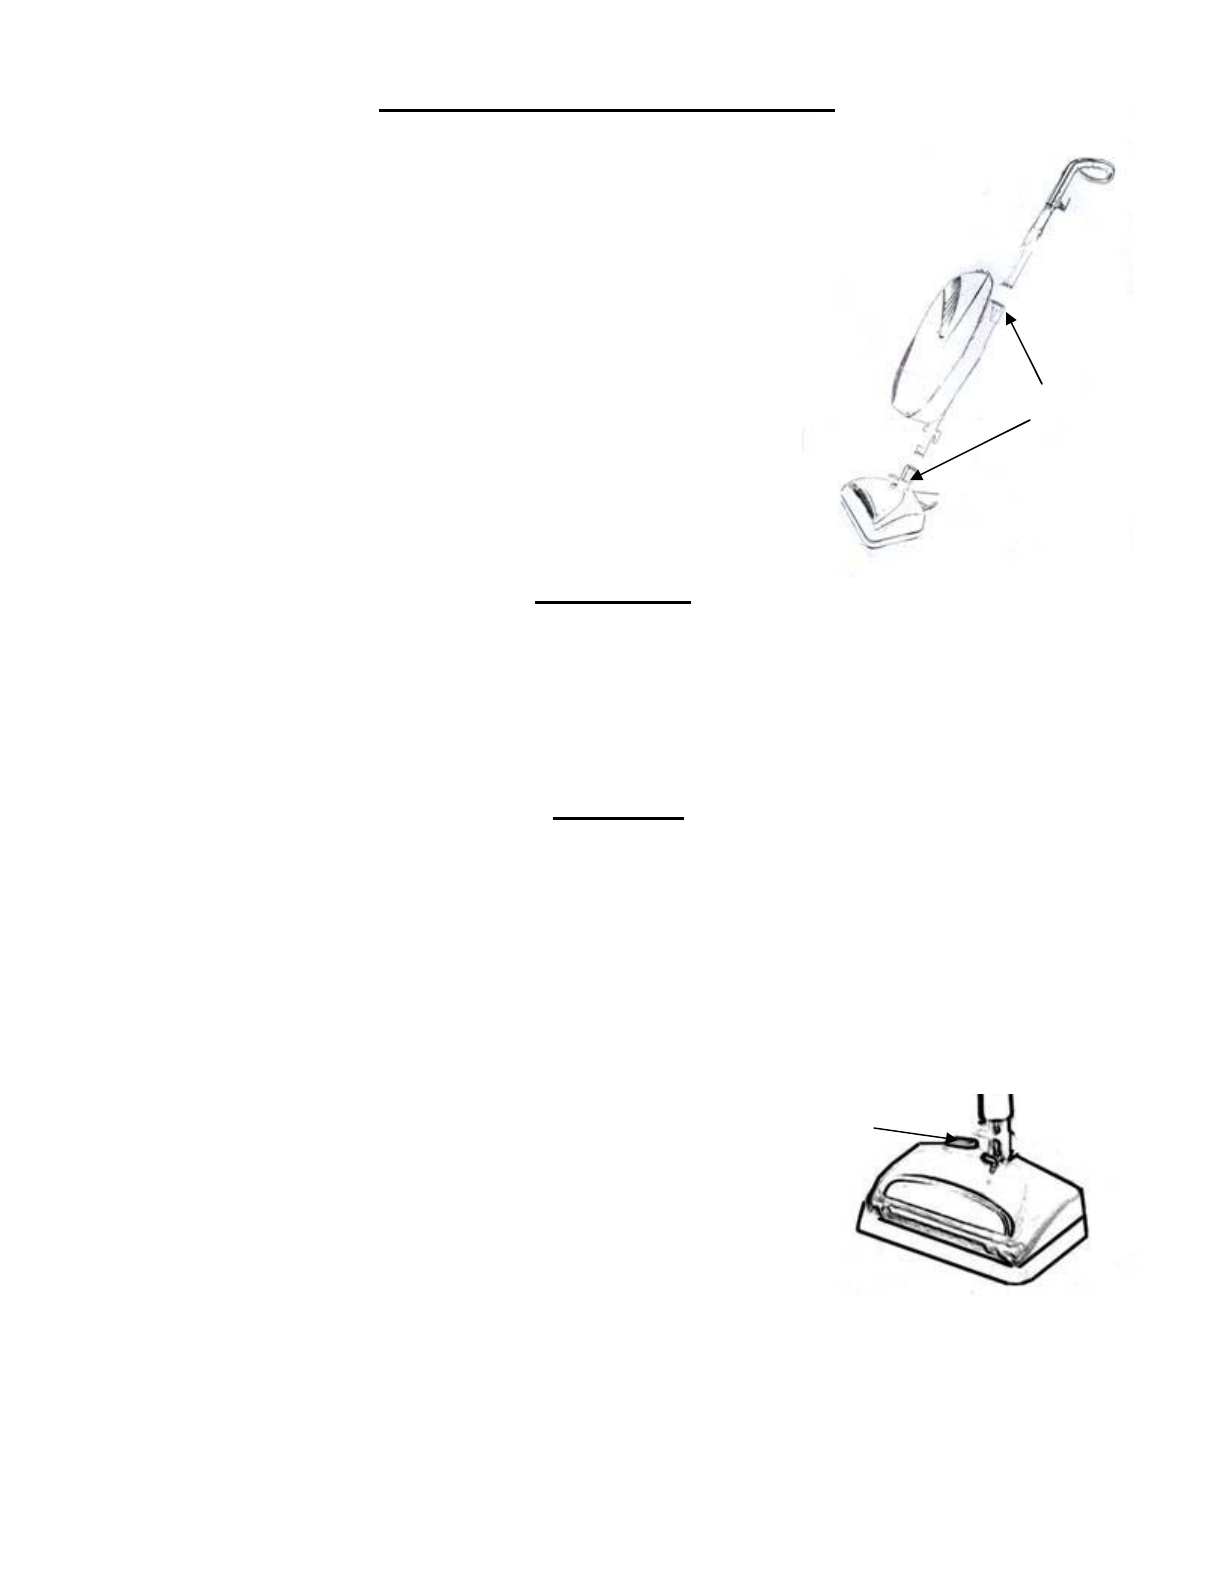
2. Turn Vacuum On and Off:
To start the vacuum cleaner, push (step on) the switch (4)
on top right side of the power nozzle (3).
To stop the vacuum cleaner, push (step on) switch again.
On/Off Switch
2