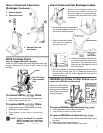
How To Replace Bags–Style AA Filteraire
NOTE: Turn off the switch and unplug the
electrical cord before changing dust
bag. Never operate the vacuum cleaner
without the dust bag or the lter.
NOTE: Style AA Filteraire bags must be used
to maintain HEPA grade ltration and
prolong the life of the HEPA lter. Also
use AA Filteraire bags to maintain Micron
grade ltration and prolong the life of the
Micron lter.
NOTE: Models without HEPA or Micron lter
option, may use Style AA bags rather
than Style AA Filteraire.
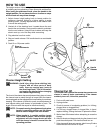
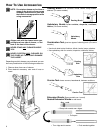
It may be more convenient to lower the handle to the oor
before changing the bag.
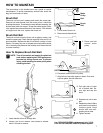
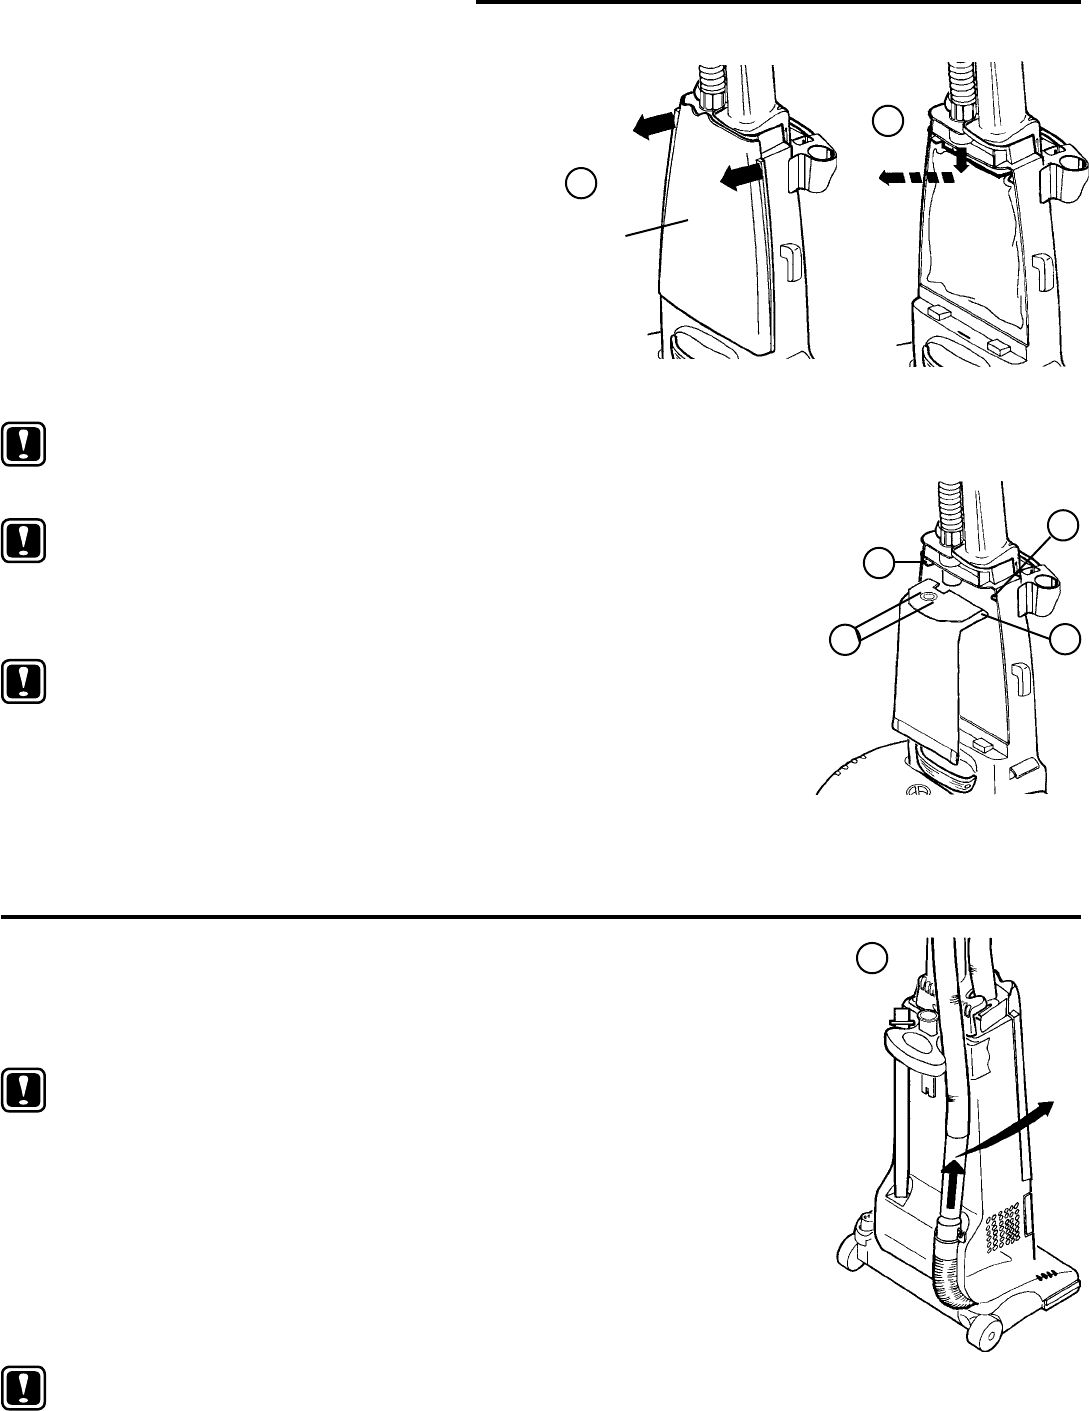
To Replace New Bag:
C. Fold sides of paper bag
below bag collar.
D. Align bag collar hole and
notch with hose adapter.
E. Place bag collar corners
on ledges. Push collar
to rear of compartment.
Check to be sure hose
adapter inserts into bag
collar.
F. Tuck bag into bottom and along sides.
G. Replace front cover. Make sure disposable bag does not
catch under front cover.
8
Disposable Dust Bag and Filters
The disposable dust bag plays a very important role in
the efciency of a vacuum cleaner. The purpose of the
paper bag is to trap dirt. As the bag traps dirt, it must also
be porous enough to allow air to pass on through. If the
paper bag becomes clogged, no air can pass through the
cleaner and no cleaning can take place regardless of how
powerful the unit. Change the dust bag and check the
lters frequently. Some ne particles can restrict airow
very quickly and will decrease performance even before
the bag appears to be full.
When vacuuming carpet fresheners or cleaners, powder,
plaster dust, or similar ne substances, the bag and lters
may require more frequent maintenance.
HOW TO MAINTAIN (Continued)
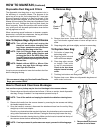
A. Remove front cover. Grasp both sides of bag cover near
top. Push thumbs against center of cover and pull out on
sides.
B. Grasp bag collar; pull down slightly and out to remove bag.
* We recommend using only Genuine Eureka Filteraire
Bags, part number 58623.
To Remove Bag:
How to Check and Clear Hose Blockages
Low suction or poor pickup may be due to a blockage in the vacuum cleaner.
1. Remove hose and check suction at end of hose - if little or no suction, check disposable
dust bag. Change if needed. If no improvement proceed to step 2.
NOTE: Turn off the switch and unplug the electrical cord before clearing hose.
2. Remove the handle from the vacuum cleaner by removing the two screws and sliding
the handle towards the rear.
3. Once the handle is removed, disconnect the attachment hose from the unit by lifting
straight up on the hose adapter.
Check for any obstructions that may be in the hose. Any obstructions can be removed by
using a blunt instrument to clear the hose. Flexing the hose may help loosen the clog.
4. Reinstall the hose after clearing the clog. Make sure the hose is inserted into the top of
the vacuum cleaner before reattaching the handle.
NOTE: If no improvement in performance on carpet, proceed to following page.
1. Remove hose and check
suction at end of hose.
B
A
Front
Cover
E
E
C
D
1


