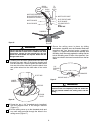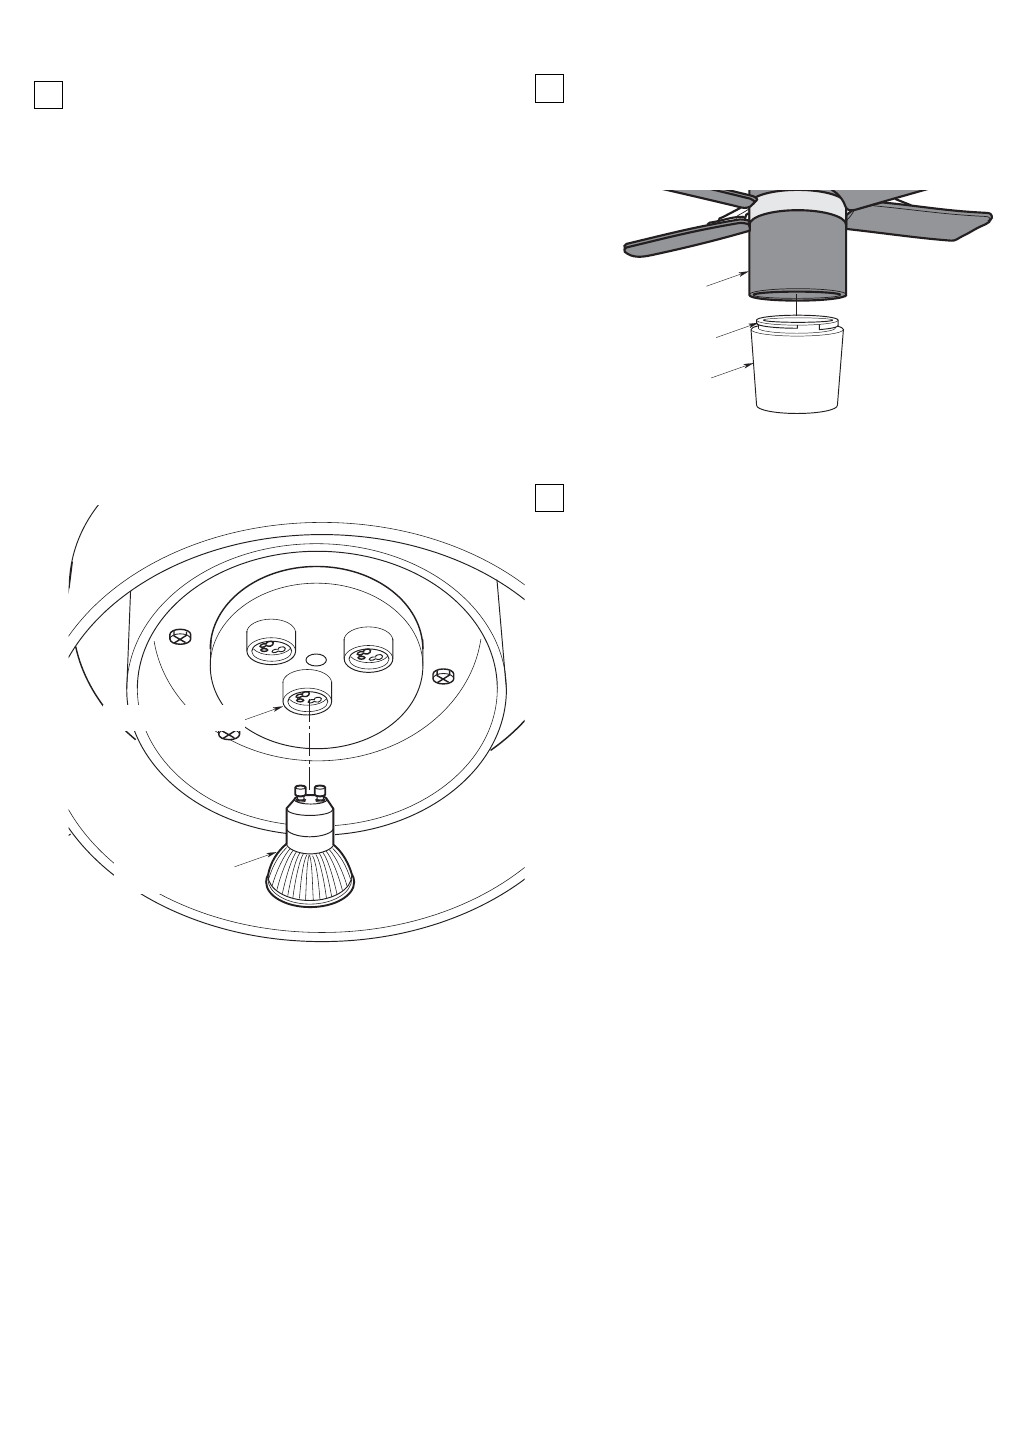
2. Place the glass onto the light kit assembly aligning
the three flat areas on the top flange of the glass
with the three pins on the inside of the assembly
(Figure 19). Then turn the glass clockwise until it
stops turning.
3. Your ceiling fan is now installed and wire to be
controlled by your remote control system.
10
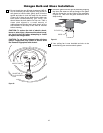
50-WATT MR-16,
GU-10 HALOGEN
BULB
LIGHT KIT SOCKET
Figure 18
FLAT AREA (3)
GLASS
LIGHT KIT
ASSEMBLY
Figure 19
1. Do not touch the new 50-watt (maximum) MR-16,
GU-10 bulb with your bare fingers; using a cloth or
soft gloves to hold the bulb, gently push it into the
socket and twist to lock the lamp into the socket
(Figure 18). If there is any doubt that the bulb may
have been contaminated by your touch, you
should clean the bulb before its first use. Take a
clean cloth dipped in a small amount of
rubbing/isopropyl alcohol and gently brush off the
bulb surface. If the lamp is hot, wait 30 minutes
before cleaning.
CAUTION: To reduce the risk of electric shock,
burns or other injury, disconnect the electric sup-
ply circuit to the fan before attempting to install
or replace the halogen bulb.
CAUTION: To not touch halogen bulbs with bare
hands. Fingerprints may result in shorter bulb
life. Remove fingerprints with alcohol.
Halogen Bulb and Glass Installation


