Maintenance
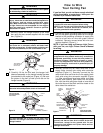
1. Restore electrical power to the outlet box by turning
the electricity on at the main fuse box.
2. Check the operation of the fan by gently pulling on
the pull chain switch.
3. All fans are shipped from the factory with the
reversing switch positioned to circulate air down-
ward. If airflow is desired in opposite direction, turn
your fan off and wait for the blades to stop turning,
then slide the reversing switch to opposite position,
and turn fan on again. The fan blades will turn in
the opposite direction and reverse the airflow.
Your fan model is equipped with a 4-position,
3-speed pull chain switch. The operating sequence
is as follows:
THREE-SPEED
1st Pull—HIGH
2nd Pull—Medium
3rd Pull—Low
4th Pull—OFF
7
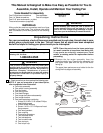
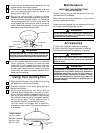
Using Your Ceiling Fan
SPEED CONTROL
SWITCH PULL
CHAIN
REVERSIBLE
SWITCH
IMPORTANT CARE INSTRUCTIONS
for your Ceiling Fan
Periodic cleaning of your new ceiling fan is the only
maintenance that is needed.
When cleaning, use only a soft brush or lint free cloth
to avoid scratching the finish.
Abrasive cleaning agents are not required and should
be avoided to prevent damage to finish.
Accessories
1. Ceiling Fan Light Kits (see store or catalog).
2. Ceiling Fan/Light Controls (see store or catalog).
3. Downrod Extension Kits (see store or catalog).
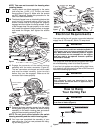
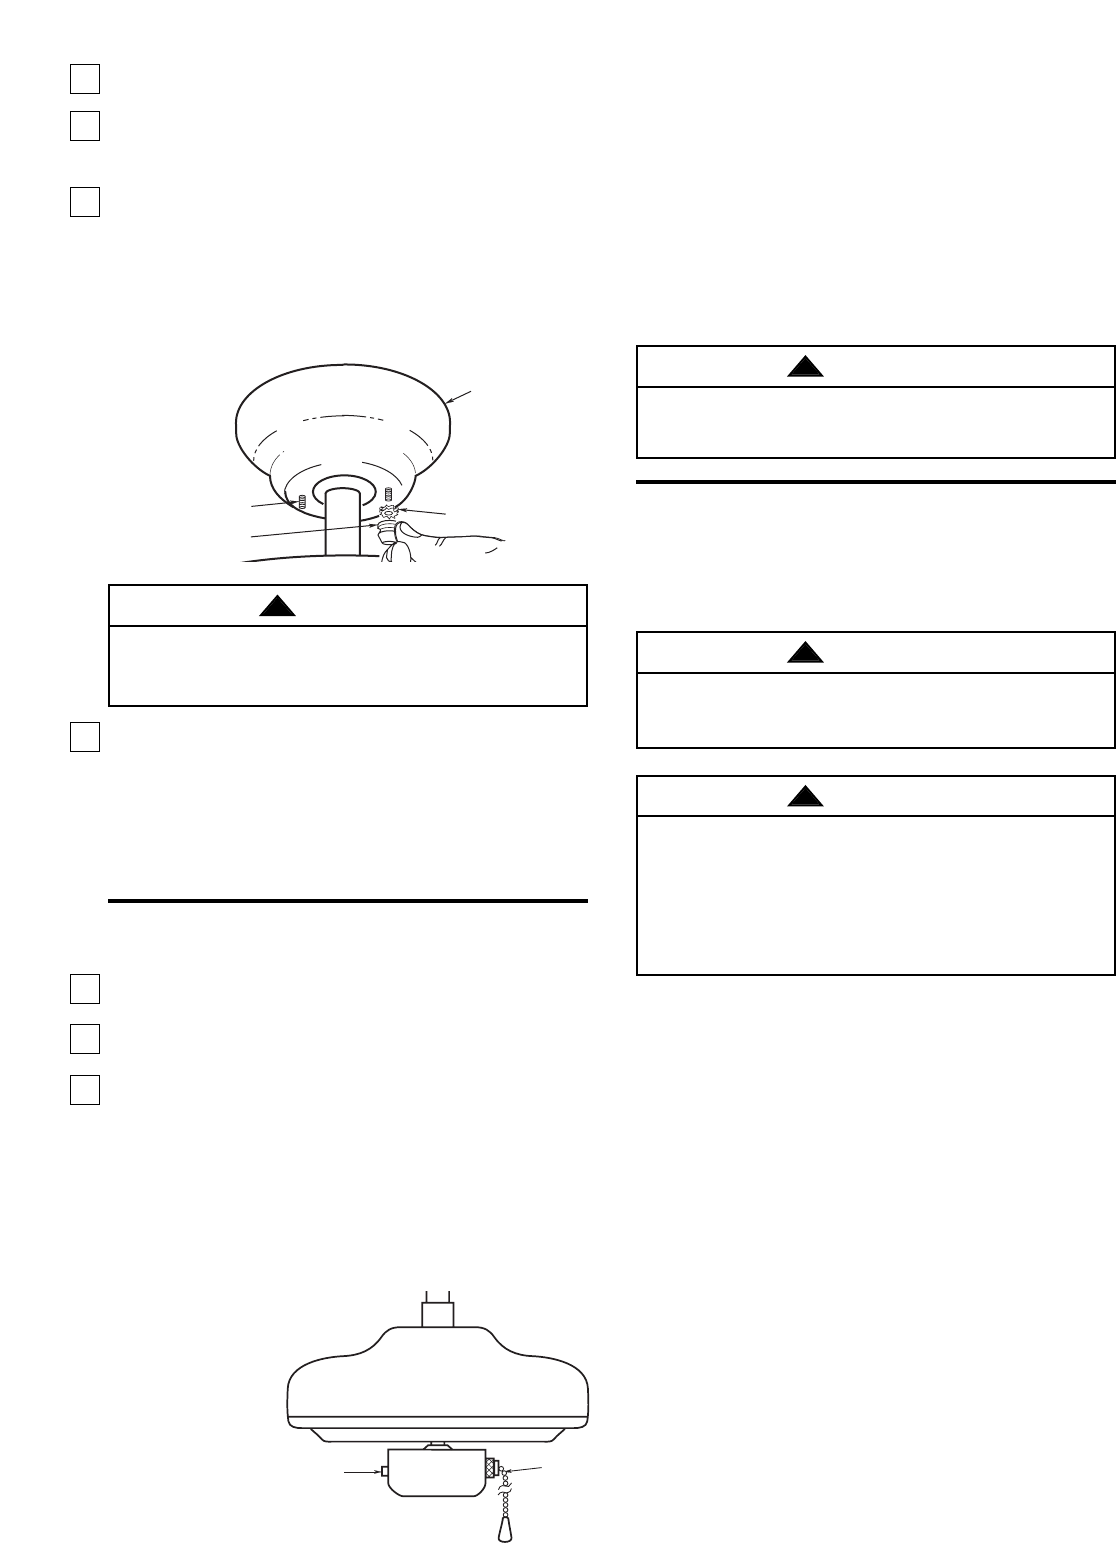
3. Screw the two threaded studs (supplied) into the
tapped holes in the hanger bracket.
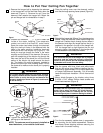
4. Lift the ceiling cover up to the threaded studs and
turn until studs protrude through the holes in the
ceiling cover (Figure 12).
Do not use water when cleaning your ceiling fan. It
could damage the motor or the blades and create the
possibility of an electrical shock.
WARNING
!
This product is designed to use only those parts
supplied with this product and/or any accessories
designated specifically for use with this product by
Emerson Company. Substitution of parts or acces-
sories not designated for use with this product by
Emerson Company could result in personal injury or
property damage.
The use of any other control not specifically
approved for this fan could result in fire, shock and
personal injury.
WARNING
!
WARNING
!
5. Secure the ceiling cover in place by sliding
lockwashers over the threaded studs and installing the
two knurled knobs (supplied). (Figure 12.) Tighten the
knurled knobs securely until the ceiling cover fits
snugly against the ceiling and the hole in the ceiling
cover is clear of the downrod. Your fan is now wired to
be turned on and off from the fan switch.
6. Cut the 3-speed switch pull chain to a desired
length (optional). Connect the wood pendant
(supplied) to the 3-speed switch pull chain by
sliding the wooden pendant (small hole first) onto
the pull chain. Attach the chain coupler to the end
of the chain and allow the wooden pendant to fall
down over the coupling.
CEILING COVER
THREADED STUD
KNURLED KNOB
LOCKWASHERS (2)
Figure 12
To avoid possible fire or shock, make sure that the
electrical wires are completely inside the outlet box and
not pinched between the ceiling cover and the ceiling.
WARNING
!


