


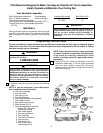
Removal Of The
Light Fixture
NOTE: In some instances it may be desirable to
install the ceiling fan without the light fixture. If
this is the case, proceed as follows. (You may
want to keep the light fixture for possible future
use.)
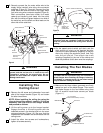
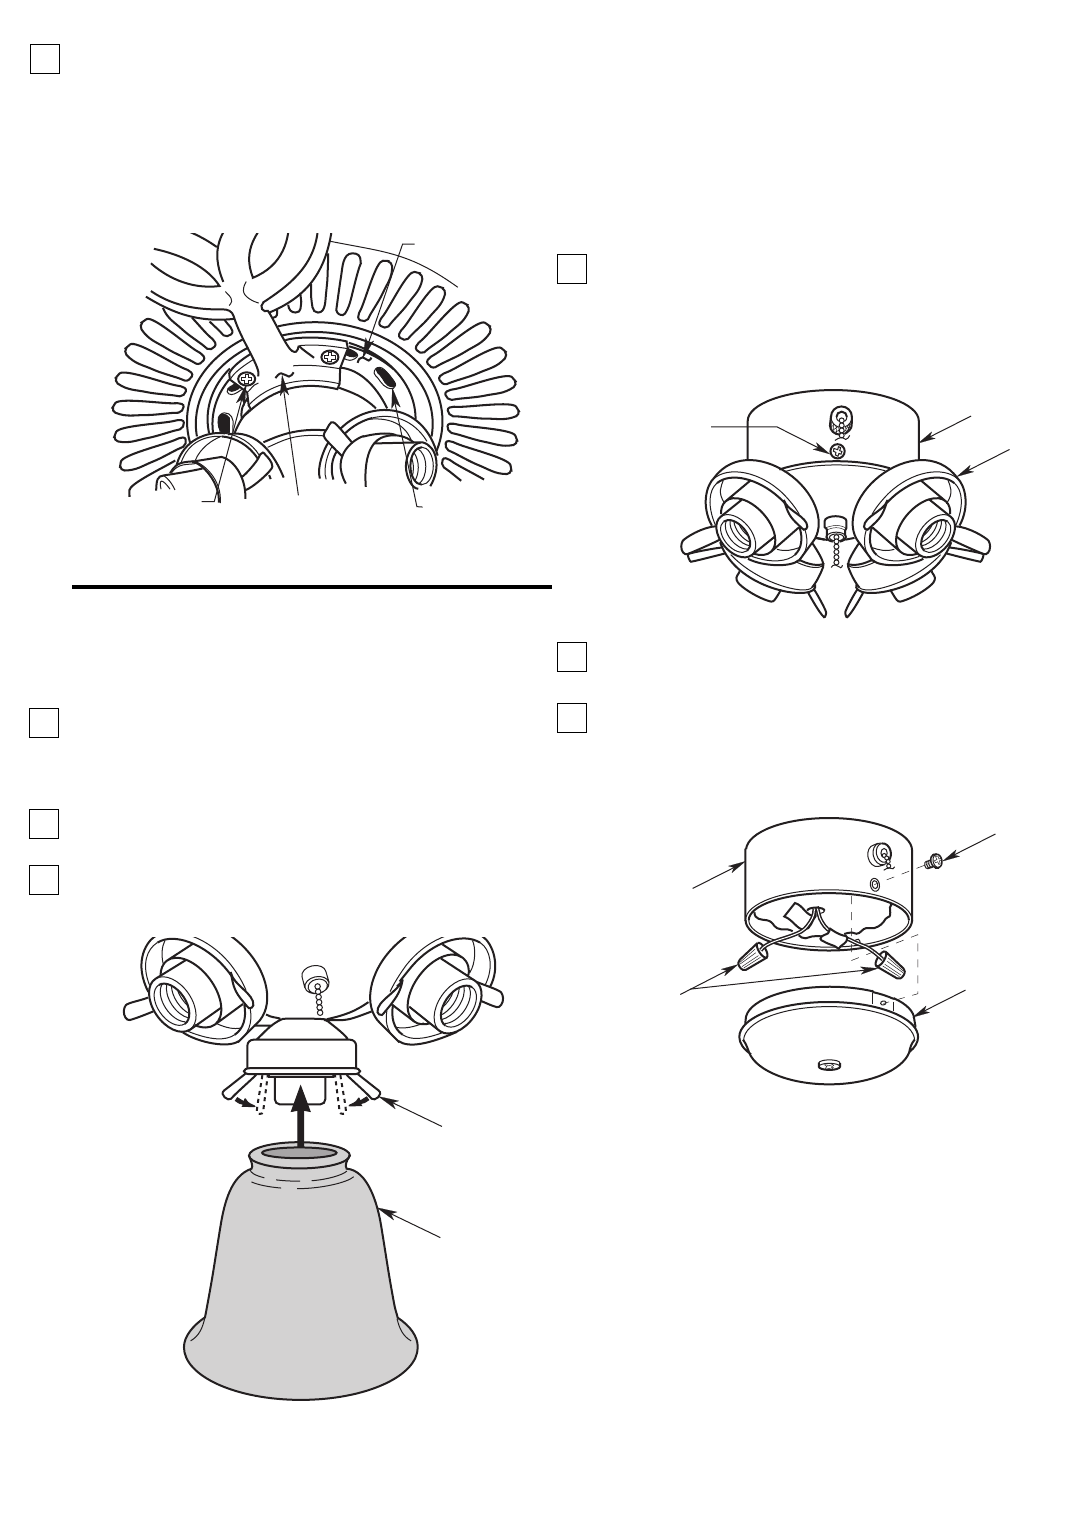
1. Remove and retain the three screws securing the
light fixture to the switch housing (Fixture 14).
Remove and retain two wire connectors and
disconnect the light fixture from the switch
housing.
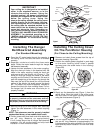
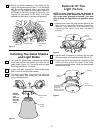
2. Use the wire connectors to securely cap the each
of the two wires in the switch housing (Figure 15).
3. Position the switch housing cover (supplied) on the
switch housing so that the notch in the cover
clears the reversing switch. Install the three screws
to secure the cover.
8
SWITCH
HOUSING
LIGHT
FIXTURE
SCREW (3)
Figure 14
SCREW (3)
SWITCH
HOUSING COVER
SWITCH
HOUSING
DISCONNECT TWO
WIRES FROM LIGHT
FIXTURE AND
SECURELY CAP WITH
WIRE CONNECTORS
Figure 15
CAPTIVE
SCREW (2)
BLADE FLANGE
ALIGNMENT
SLOT
MOTOR HUB
Figure 12
RETAINING
CLIP
SQUEEZE
RETAINING
CLIPS
TOGETHER
AND SLIDE
ON GLASS
SHADE
GLASS
SHADE
Figure 13
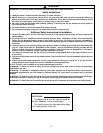
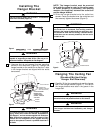
2. Mount one blade assembly to the motor hub by
mating the alignment post (Figure 11) of the flange
with one of the alignment slots in the motor hub
(Figure 12). Then tighten the two captive screws in
the flange to secure the flange to the motor hub.
Repeat this procedure for the other four blade
assemblies. Make sure all screws are tightened.
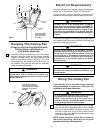
Installing The Glass Shades
and Light Bulbs
1. To install the glass shade, squeeze the retaining
clips towards the bulb socket and slide on the
glass shade (Figure 13). The spring clips will seat
the shade and secure it in place.
2. Install a 60-watt (maximum) intermediate base
bulb in each of the light fitter sockets.
3. To remove the shade, first remove the light bulb
from the socket, then simply pull the shade off
using a twisting motion.