11
ETL Model No.: CF550
Wall Control Installation (continued)
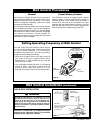
6. Screw wall control into wall box using the supplied
screws. Leave wall control in “OFF” mode until
fan installation is completed.
7. The wall control is supplied with a white, ivory, and
almond color switch covers. Choose the finish that
best suits your needs and snap the cover onto the
wall control (Figure 17).
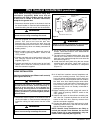
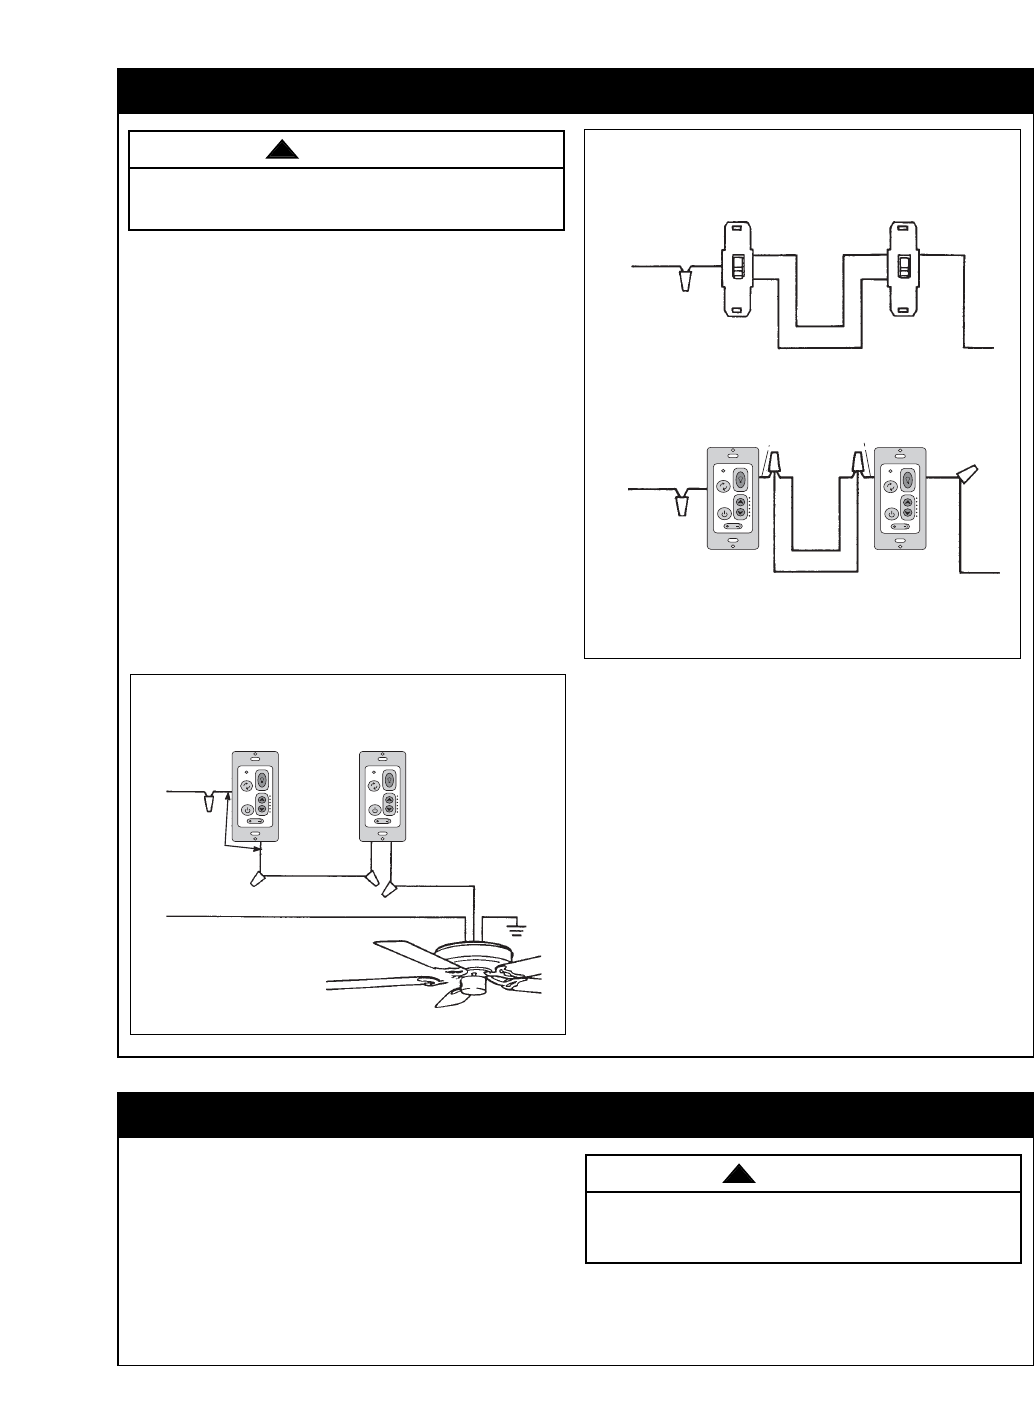
8. Next, install the other wall control into the wall box
containing the load wire. Connect the black wire of
the wall control to the traveler wire(s) already
connected to the black wire (in the other wall box).
Secure with wire connectors supplied.
9. Connect one black wire of the wall control to the
“load” (black) wire and secure with wire connector
supplied.
10.Restore electricity to your ceiling fan from the main
fuse box or breaker panel.
Check to see that all connections are tight and that
no bare wires are visible at the wire connectors.
WARNING
!
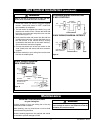
STANDARD WIRING FOR EXISTING
3-WAY CONTROLS
HOT
BLACK
SW605
FAN/LIGHT
WALL
CONTROL
TRAVELER
WIRE
BLK
BLK
LOAD
BLACK
GROUND
NEUTRAL
RECEIVER LOCATED
ON TOP OF THE
CEILING FAN
EMERSON
®
EMERSON
®
HI
MED
LOW
FAN OFF
LIGHT
ONOFF
HI
MED
LOW
FAN OFF
LIGHT
ONOFF
Figure 18
Figure 19
HOT
BLK
TRAVELER WIRES
BLACK
LOAD
EXISTING
WALL CONTROL
FAN/LIGHT
WALL CONTROL
BLK
BLACK
LOAD
TRAVELER WIRES
HOT BLK
EMERSON
®
EMERSON
®
BLK
BLK
HI
MED
LOW
FAN OFF
LIGHT
ONOFF
HI
MED
LOW
FAN OFF
LIGHT
ONOFF
3-WAY WIRING DIAGRAM: RETROFIT
3-WAY WIRING DIAGRAM:
NEW CONSTRUCTION
Maintenance
IMPORTANT CARE INSTRUCTIONS
for your Ceiling Fan
Periodic cleaning of your new ceiling fan is the only
maintenance that is needed.
When cleaning, use only a soft brush or lint free cloth
to avoid scratching the finish.
Abrasive cleaning agents are not required and should
be avoided to prevent damage to finish.
Do not use water when cleaning your ceiling fan. It
could damage the motor or the blades and create the
possibility of an electrical shock.
WARNING
!


