5
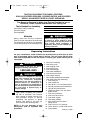
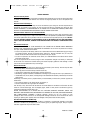
Your new ceiling fan will require a
grounded electrical supply line of 120 volts
AC, 60 Hz, 15 amp circuit.
The outlet box must be securely anchored
and capable of withstanding a load of at
least 50 pounds.
To reduce the risk of fire, electric shock,
or personal injury, mount fan to outlet box
marked “Acceptable for Fan Support”,
and use screws supplied with outlet box.
Most outlet boxes commonly used for
support of light fixtures are not
acceptable for fan support and may need
to be replaced. Consult a qualified
electrician if in doubt.
!
WARNING
If your fan is to replace an existing ceiling
light fixture, turn electricity off at the main
fuse or circuit breaker box at this time and
remove the existing light fixture.
Electrical Requirements
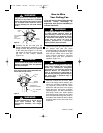
How to Assemble Your
Ceiling Fan
Turning off wall switch is not sufficient.
To avoid possible electrical shock, be
sure electricity is turned off at the main
fuse or circuit breaker box before wiring.
All wiring must be in accordance with
National and Local codes and the ceiling
fan must be properly grounded as a
precaution against possible electrical
shock.
!
WARNING
To reduce the risk of personal injury, do
not bend the blade flange when installing
the blade flanges, balancing the blades or
cleaning the fan. Do not insert foreign
objects in between rotating fan blades.
!
WARNING
Model No.: CF3600
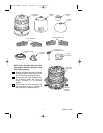
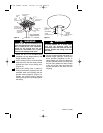
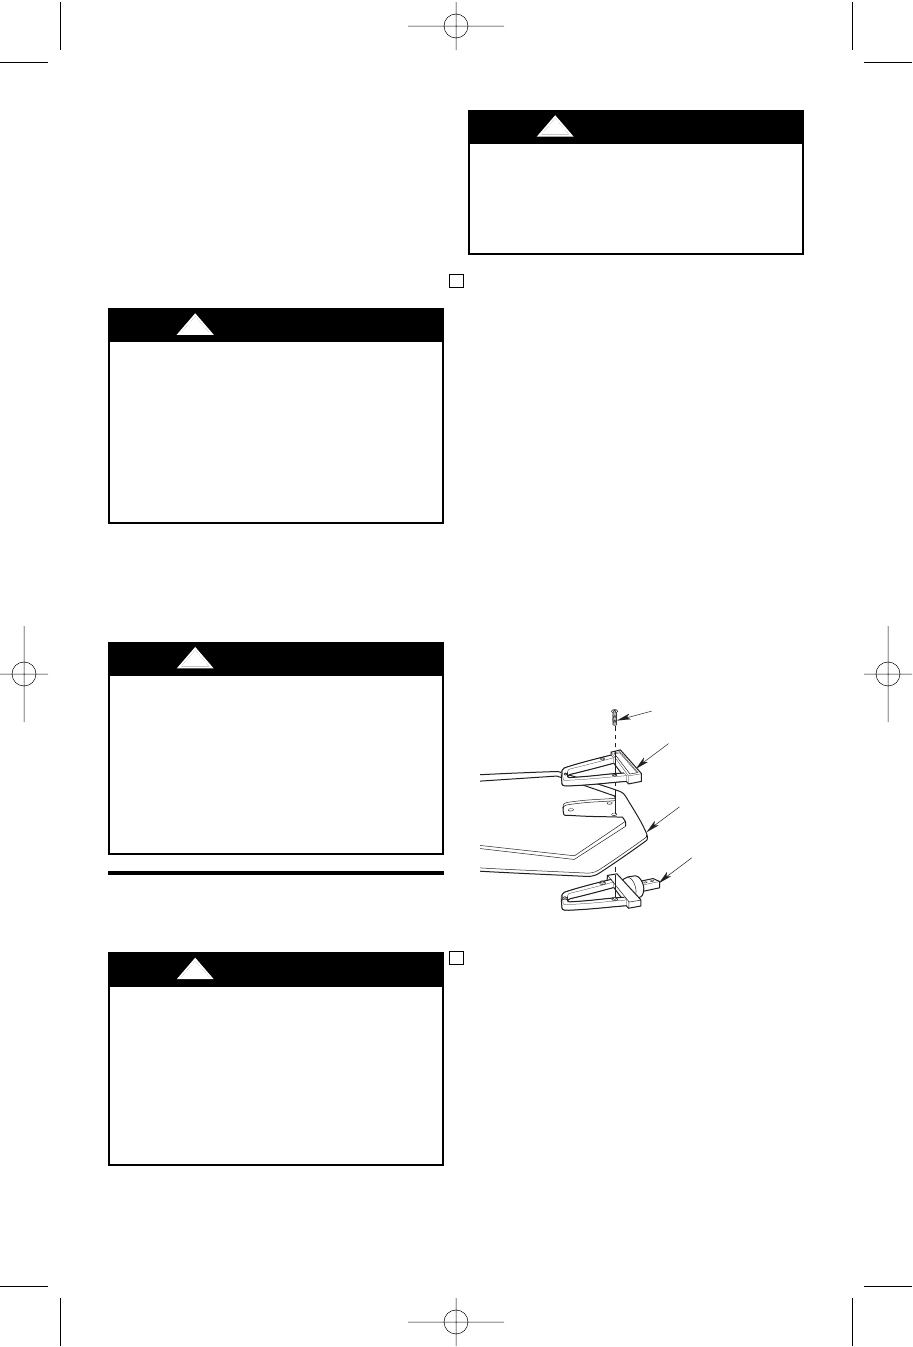
#10-32 x 1/4" OVAL HEAD
SCREW (2 per blade
assembly)
BLADE
FLANGE
BLADE
(Sold Separately)
BLADE
MEDALLION
Figure 1
1. Position the blade medallion on top o f
the blade by aligning the raised bosses
into the blade mounting holes.
Carefully position the blade flange onto
the bottom of the blade by aligning the
bosses with the blade holes. Install
three #10-32 x 1/4” oval head screws
into the mounting holes of the
medallion and tighten. Be sure the
flange and medallion are aligned with
the blade holes (Figure 1). If using
wooden blades, be very careful not to
over tighten the blade screws.
NOTE: Screws for the wooden blades
are shipped with the blades. Do not
discard the blade packaging until you
have located the screws.
NOTE: Recommend the blades screws
be checked regularly for tightness.
2. Assemble remaining three blades per
previous instructions.
NOTE: Take care not to scratch fan
blades while installing flanges.
BP7384 Camden, CF3600 2/18/09 2:57 PM Page 5


