


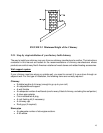

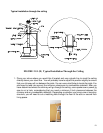
19
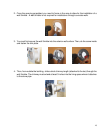
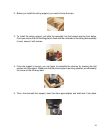
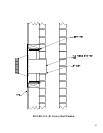
5- You can now install the wall support. Simply slide the wall support up to the tee, ensuring that
the adapter on the support engages with the female coupler on the bottom of the tee. When
the wall support is level and properly positioned, you can use lag bolts to secure it into the wall
studs. TO complete the installation, install an insulated tee plug below the wall support.
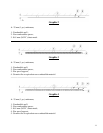
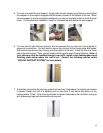
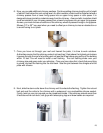
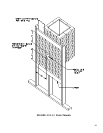
6- You can start to add chimney sections. We recommend that you also use locking bands to
secure all connections. You will need to secure the chimney to the house using wall bands.
Wall bands wrap around the chimney and then attach to the wall. Install the first one 3 feet
above the wall support. Then, you will need another band for each 8 feet of chimney. Note: if
your chimney must be installed through your soffit, install a roof flashing above and
finishing plate below where the roof is cut. Consult the following section called
“CEILING SUPPORT SYSTEM” for more details.
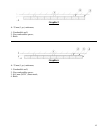
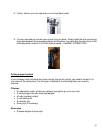
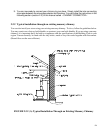
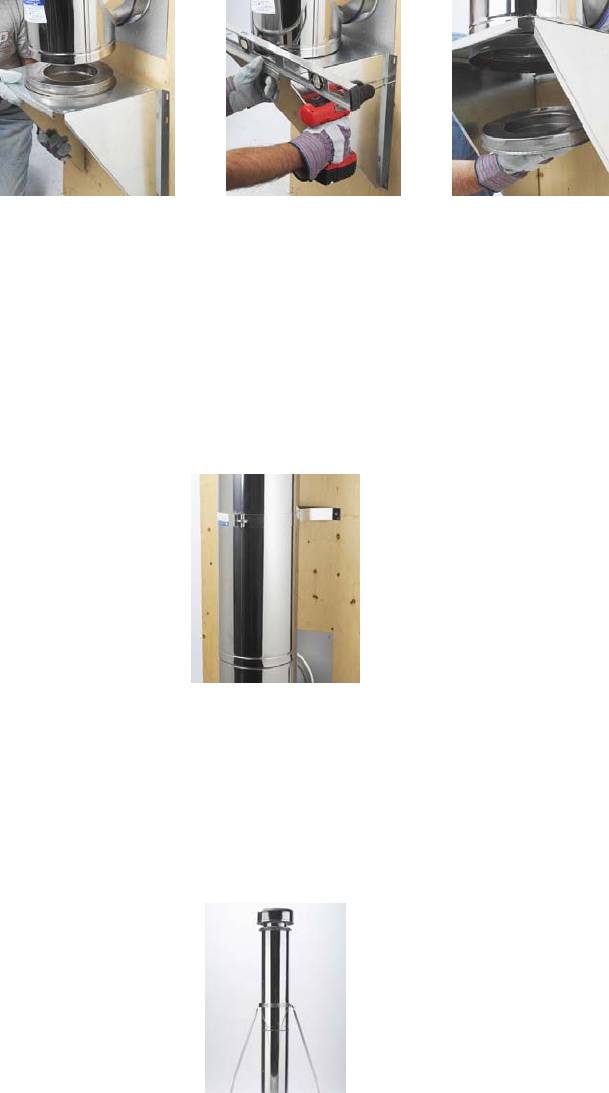
7- Authorities require that the chimney extend not less than 3 feet above the highest point where
it passes through the roof of a building and not less than 2 feet above any portion of the
building within 10 feet. If the chimney extends more than 5 feet above the roof deck, roof guys
with telescoping legs and draw bands are required.