28
1. You may either wire direct into the junction box for
a permanent connection or wire a molded plug into
the junction box for a plug-in connection.
a. If a Permanent Connection: Route the power
supply line, previously installed to the roof
opening, into the junction box on the ceiling
template. Connect as described in paragraph 2.
b. If a Plug-in Connection: Use the electric supply
line, of "D. Wiring Requirements", to power and
electrical outlet installed, according to appli-
cable law, at the end of the roof opening furthest
from the junction box.
Important: Do not plug the molded cord in until you
have completely installed the air conditioner and are
ready for an operational check. (Operating Instructions)
• Route the molded plug set from the electric
outlet into the junctions box insuring not to
coil excess wire so it will block air flow.
Connect the plug set to the terminal block
as described in paragraph 2.
2. Connect the power supply line to the air conditioner
at the terminal block provided in the junction box.
Connect white to white, black to black and green to
green or bare copper wire (L. N. and respectively).
3. Tighten the strain relief onto the power supply line to
hold firmly in place. Be careful not to pinch and short
wires.
Note: If optional electric heater is part of this installation, now
is the time to install it. Installation instructions are provided
with the electric heater kit.
4. Carefully push all excess wire back into the junction
box and install cover onto the box with two blunt
screws provided.
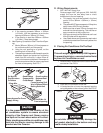
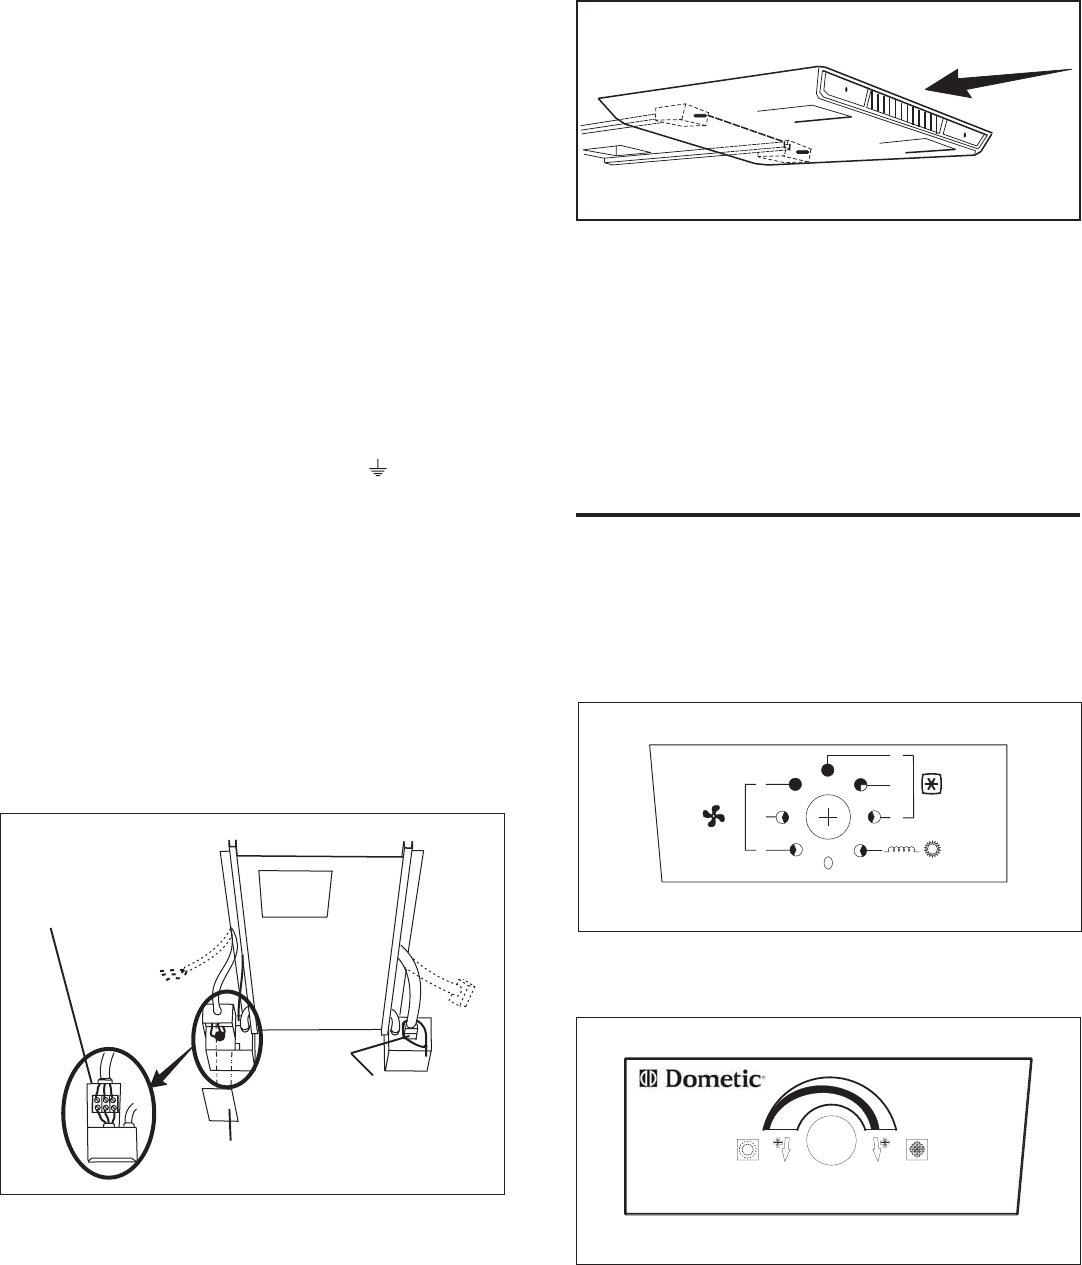
5. Plug the electrical conduit from the upper unit into
the mating switch box connector. See FIG. 13.
6. Wrap wire tie around plug connector(s) to prevent
removal in field service.
FIG. 13
Route Power Supply
Through Romex
Connector
Plug Conduit Into
Switch Box And
Secure With Wire
Tie To Prevent
Removal
Install
Cover
H. Air Distribution Box Installation
1. Remove the two return air grills and filters.
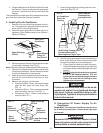
2. Slide the front end of the air box over the shafts of
the thermostat and selector switch. See FIG. 14.
FIG. 14
Slide Air Box over Controls
3. Install four screws through legs in air box into the
pre-punched holes in the ceiling template.
4. Install the return air grills and filters by simply push-
ing them into place.
5. Install the two knobs provided on the ends of the
thermostat and selector switch shafts.
6. The power supply to the air conditioner may now
be turned "ON".
7. Your air conditioner is now installed and ready for
operation. Please read the following instructions be-
fore attempting to run the unit.
OPERATING INSTRUCTIONS
A. Controls
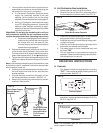
1. The Selector Switch has eight positions including
"OFF". This controls fan speed, heating mode, and
cooling modes. See FIG. 15.
FIG. 15
Selector Switch
3
2
1
1
2
3
FIG. 16
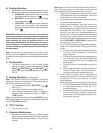
2. The thermostat controls the compressor ON/OFF
operation in cooling temperature range of 18.5° C to
32.5° C. See FIG. 16.
Note: The thermostat does not control the unit optional
electric heater if installed.
Thermostat


