


11
13
12
14
Automatic Operation
Set the timer switch to
position. The panel will now operate
during set ‘ON’ periods under the control of the thermostat.
To set the timer’s ‘ON’ and ‘OFF’ periods:
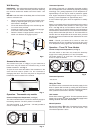
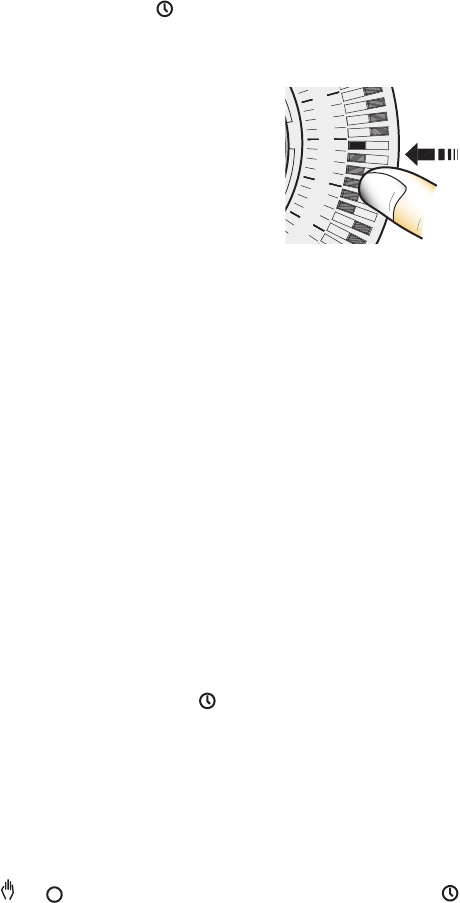
1. Using your finger tip or the tip of
a pencil, push in as many segments
as necessary around the dial,
according to the times you don’t
require heat – see Fig. 6. Each
segment pushed in switches the
heater OFF for that part of the hour.
All other segments will be ‘ON’.
2. You can select as many ‘ON’ periods as you like, within
the 24-hour day. The settings will repeat every day until
changed.
3. To change ‘ON’ and ‘OFF’ times, simply push in any ‘ON’
segments you wish to cancel and pull out new ‘ON’
segments as required.
Note: On TI models each segment on the timer represents
20 mins.
TX Models
TX Models are fitted with 7 day programmable timers. In all
other respects they are identical in installation and operation
to 24 hour timer operation on TI models.
1. Setting the Time
The current day and time is set by rotating the timer dial
clockwise until the correct day and time is indicated opposite
the datum mark.
2. Automatic Operation
Set the time switch to the
symbol. Select the days and
times you require the heater to come on by pulling out the
appropriate segments. Each segment represents a 1
3/
4
hour
period for the day indicated. The timer may be set to give as
many ‘ON’ periods of any length required in multiples of 1
3/
4
hours. The programme will repeat itself every 7 days until
changed.
The programme may be over-ridden at any time by switching
to
or and can be reinstated by switching back to
setting.
Fig. 6
Safety - Overheat protection
For your safety this appliance is fitted with a thermal cut-out.
In the event that the product overheats for some reason, the
cut-out prevents excessive temperatures on the product by
cutting the power to the heater. Once the heater has cooled
down, it will reset automatically, it will continue to cycle on
and off automatically until the reason for overheating is
removed.
Cleaning
Before commencing cleaning, unplug the heater and allow it
to cool. Disconnect the electricity supply to the appliance.
The outside can be cleaned by wiping it over with a soft damp
cloth and then dried. Do not use abrasive cleaning powders
or furniture polish, as this can damage the surface finish.
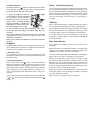
To release heater from the wall bracket for cleaning or
redecoration, depress latch on both brackets (see Fig. 2)
and hinge forward.
After Sales Service
Your product is guaranteed for two years from the date of
purchase.
Within this period, we undertake to repair or exchange this
product free of charge provided it has been installed and
operated in accordance with these instructions.
Your rights under this guarantee are additional to your statutory
rights, which in turn are not affected by this guarantee.
Should you require after sales service you should contact
our customer services help desk on 0870 727 0101. It would
assist us if you can quote the model number, series, date of
purchase, and nature of the fault at the time of your call. The
customer services help desk will also be able to advise you
should you need to purchase any spares.
Please do not return a faulty product to us in the first instance
as this may result in loss or damage and delay in providing
you with a satisfactory service.
Please retain your receipt as proof of purchase.