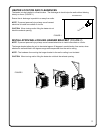
HEATER LOCATION AND CLEARANCES
The heater is to be installed in a fi xed location. The discharge air should wipe the walls without blowing
directly on them. (FIGURE 1)
Ensure the air discharge is parallel to or away from walls.
NOTE: To prevent personal injury always use a licensed
electrician to install new outlets or circuits.
CAUTION: When turning and/or tilting the heater do not
block the exhaust opening.
DISCHARGE
OUTSIDE WALL
FIGURE 1
2
FIGURE 2
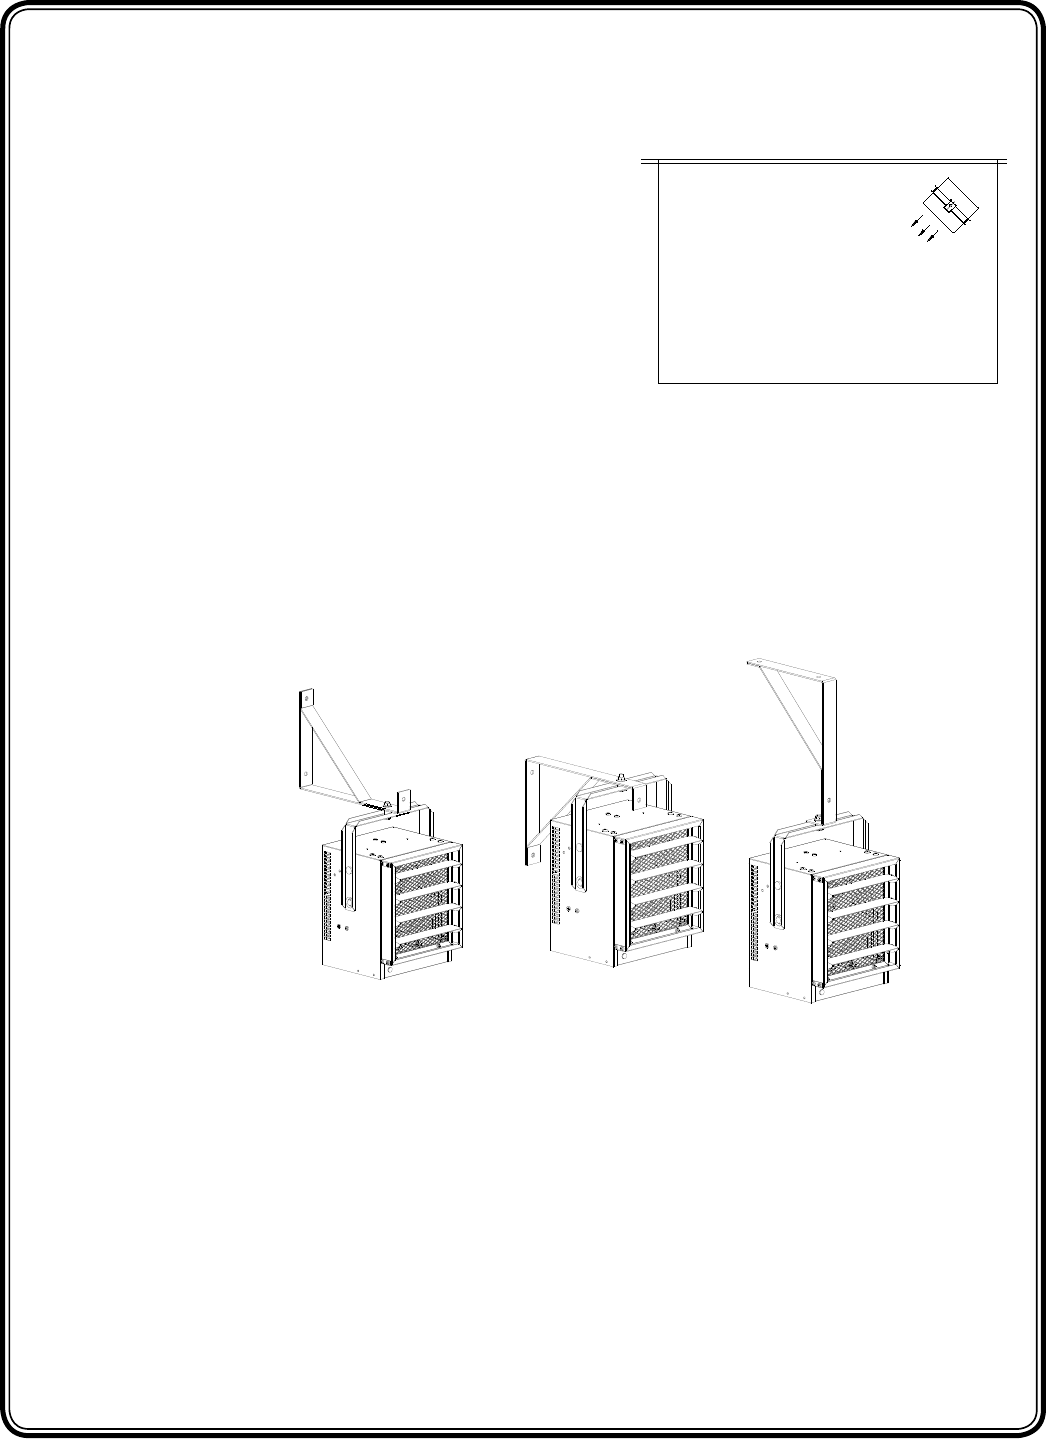
INSTALLATION WALL/CEILING HANGER BRACKET (FIGURE 2)
NOTE: To prevent personal injury always use a licensed electrician to install new outlets or circuits.
The hanger bracket allows the unit to be rotated approx 45 degrees in each direction from center, when
attached to wall and tilted in 45 degrees range while suspended from the wall or ceiling.
NOTE: The hardware for mounting the hanger bracket to the wall or ceiling is not included.
CAUTION: When turning and/or tilting the heater do not block the exhaust opening.


