


www.desatech.com
115481-01A 13
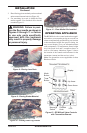
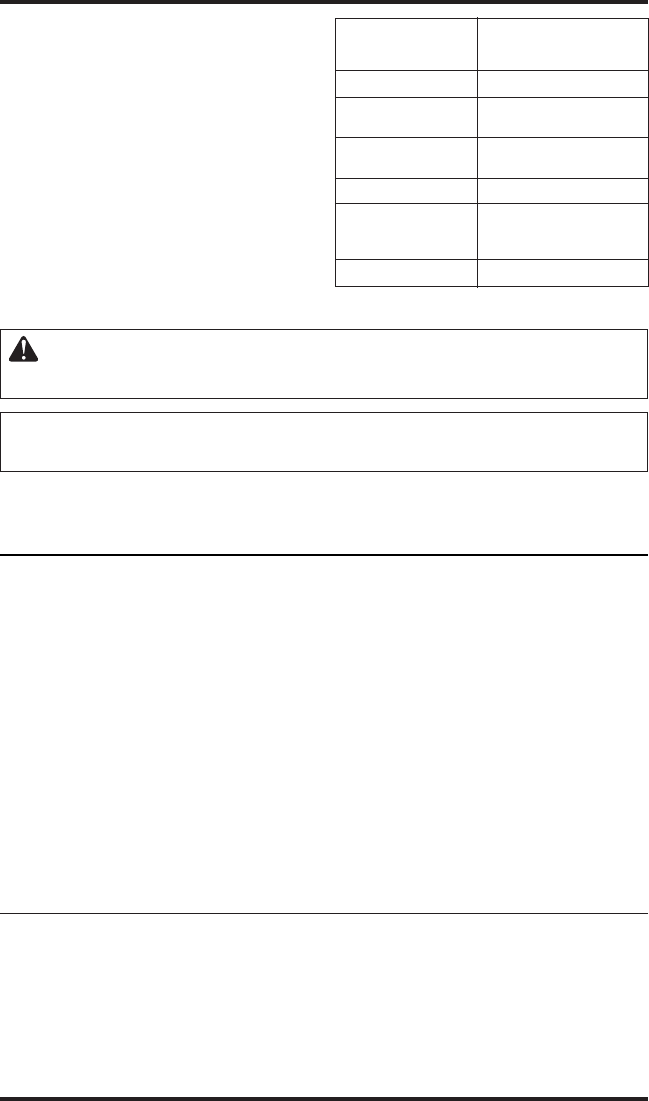
TROUBLESHOOTING
Note: In normal operation, LED blinks once
every two seconds; also, LED will be on for one
second after every valid command received by the
receiver/valve' these are not error codes.
Failure codes can occur anytime after the pilot
burner is lit. Failure code timing is 1/4 second
on, 1/2 second off.
Sequence is failure code followed by LED not
blinking for four seconds.
In the event of multiple failure codes, the next
failure code follows the previous failure code by
approximately 3 seconds.
LED Failure Code
(No. of Blinks) Service Action
8 Replace valve.
7 Confirm stepper motor
connection exists.
5 Confirm fan connection
exists and works.
3 Replace thermopiles.
2 Device too hot. Turn on fan
or if applicable, open glass
doors.
1 short blink Normal operation
LED Failure Codes and Service Action
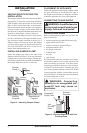
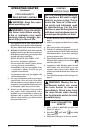
WARNING: Turn off and unplug heater and let cool before servicing.
Only a qualified service person should service and repair heater.
IMPORTANT: Valve system troubleshooting should only be accom
-
plished by a qualified service technician.
Note: Before troubleshooting the gas control system, be sure external gas shut off valve (located at gas
supply inlet) is in the "ON" position.
POSSIBLE CAUSE REMEDY
OBSERVED PROBLEM
1. Defective ignitor (no spark
at electrode)
2. Defective or misaligned
electrode at pilot (spark at
electrode)
3. Gas supply pressure errant
4. Pilot orifice plugged
1. Defective pilot generator
(thermocouple)
Spark ignitor will not light pilot
after repeated triggering of ig-
nitor button
Pilot will not stay lit after care
-
fully following the lighting
instructions
1. Check for spark at electrode
and pilot; if no spark and
electrode wire is properly
connected, replace ignitor
2. Using a match, light pilot. If
pilot lights, turn off pilot and
trigger the ignitor button again.
If pilot lights, an improper gas
mixture caused the bad lighting
and a longer purge period is
recommended. If pilot will not
light, check gap at electrode
and pilot - gap should be 1/8"
to have a strong spark. If gap
measures 1/8", replace pilot
3. Check inlet gas pressure. It
should be within the limits as
marked on the rating plate
4. Clean or replace pilot orifice
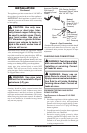
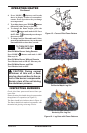
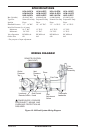
1. Check pilot flame, it must
impinge on thermocouple
(see Figure 13, page 11).
Clean and/or adjust pilot for
maximum flame impingement
on thermocouple. Ensure that
the connection between the
valve and thermocouple are
tight and secure.