www.desatech.com
110021-01M
20
WHAT TO DO IF YOU SMELL GAS
• Do not try to light any appliance.
• Do not touch any electric switch; do not
use any phone in your building.
• Immediately call your gas supplier
from a neighborʼs phone. Follow the
gas supplierʼs instructions.
• If you cannot reach your gas supplier,
call the fire department.
C. Use only your hand to push in or turn the
gas control knob. Never use tools. If the
knob will not push in or turn by hand, donʼt
try to repair it, call a qualified service tech
-
nician or gas supplier. Force or attempted
repair may result in a fire or explosion.
D.
Do not use this appliance if any part has been
under water. Immediately call a qualified
service technician to inspect the appliance and
to replace any part of the control system and
any gas control which has been under water.
LIGHTING
INSTRUCTIONS
WARNING:
• If fireplace has glass doors,
never operate this heater with
glass doors closed. If you op
-
erate heater with doors closed,
heat buildup inside fireplace
will cause glass to burst. Make
sure there are no obstructions
across openings of fireplace.
• You must operate this heater
with a fireplace screen in
place. Make sure fireplace
screen is closed before run
-
ning heater.
NOTICE: During initial operation
of new heater, burning logs will
give off a paper-burning smell.
Orange flame will also be pres-
ent. Open damper or window to
vent smell. This will only last a
few hours.
OPERATING HEATER
THERMOSTAT-CONTROLLED
MODELS
FOR YOUR SAFETY
READ BEFORE LIGHTING
WARNING: If you do not fol-
low these instructions exactly,
a fire or explosion may result
causing property damage, per-
sonal injury or loss of life.
A. This appliance has a pilot which must be
lighted by hand. When lighting the pilot,
follow these instructions exactly.
B. BEFORE LIGHTING smell all around the
appliance area for gas. Be sure to smell next
to the floor because some gas is heavier than
air and will settle on the floor.
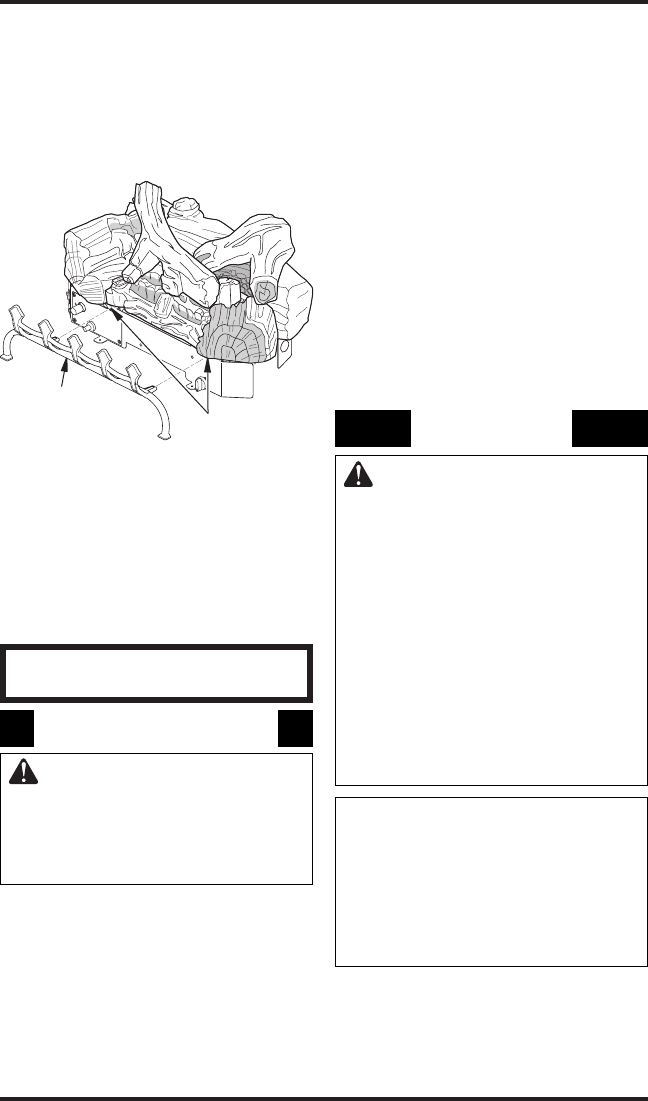
Figure 26 - Attaching Grate to Base
Assembly (Logs and Base Will Vary
According to Model)
Grate
Slots in Base
ATTACHING GRATE TO BASE
ASSEMBLY
Locate the two slots in the front of the base as-
sembly. Carefully slide the decorative grate into
these slots (see Figure 26).
ADDING LAVA ROCK
Place lava rock around base of heater if desired.
Be sure not to cover the control knobs or air inlet
openings on the front of heater.
INSTALLATION
Continued


