105850-01D
8
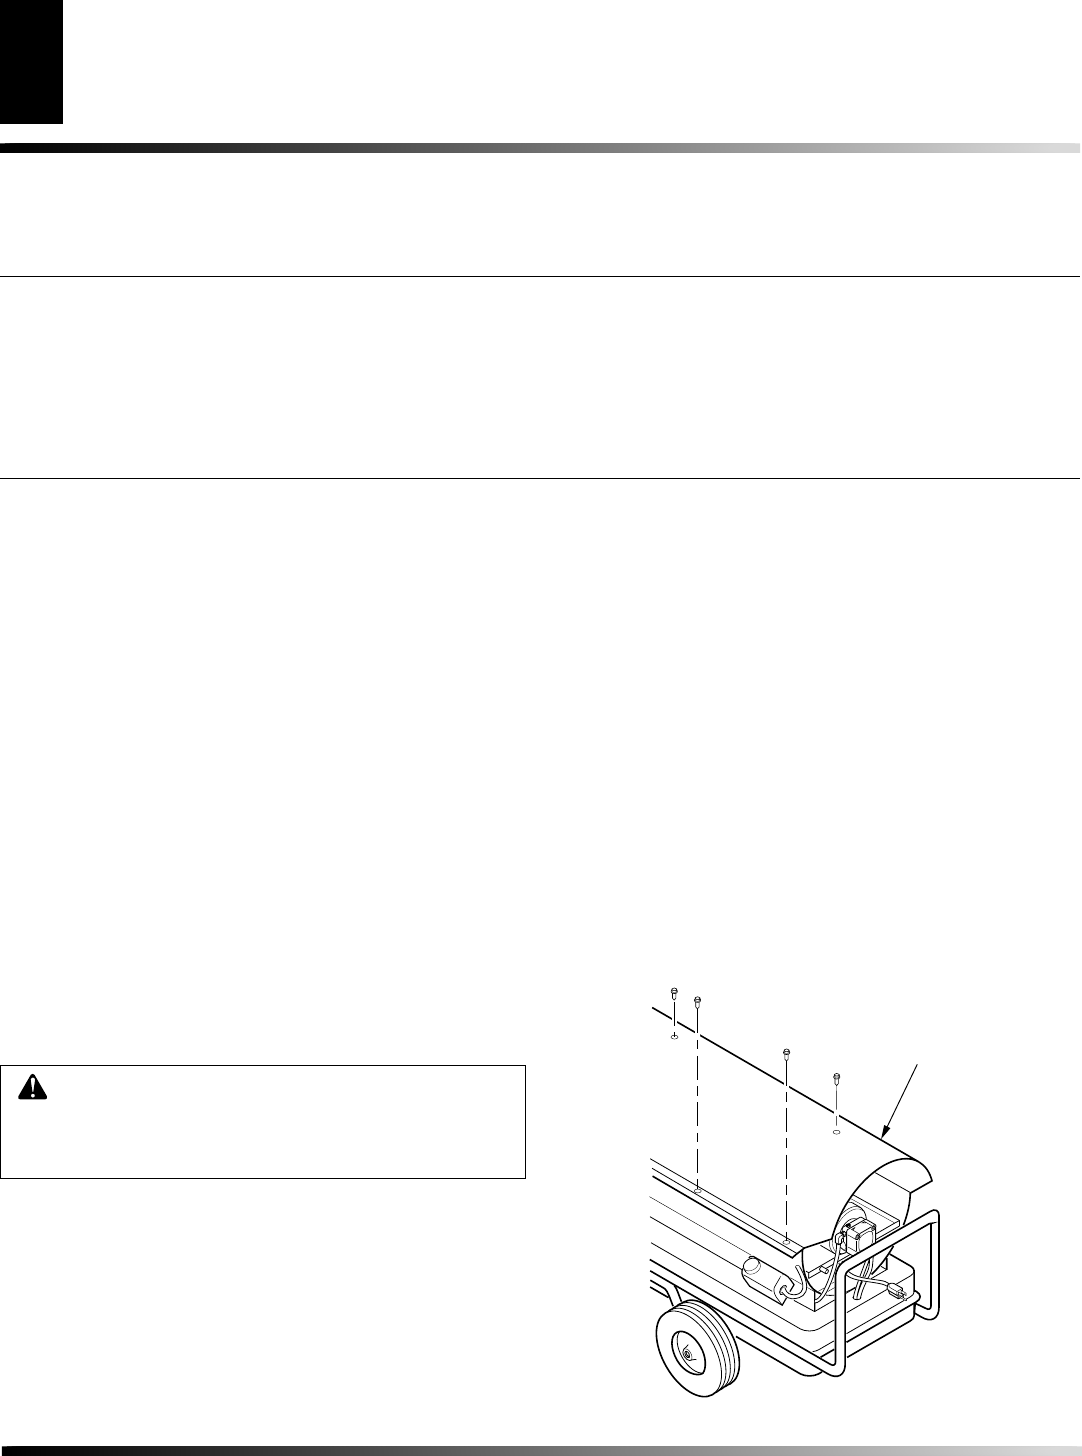
Upper Shell
OBSERVED PROBLEM
Heater ignites, but flame-out control shuts
off heater after a short period of time
Heater burns, but puffs of smoke can be seen
Heater does not burn steady
Heater burns with odor
Heater smokes continuously
1. Wrong pump pressure
2. Dirty fuel filters
3. Dirt in nozzle
4. Dirty photocell lens
5. Open or damaged photocell
6. Bad flame-out control
7. Damaged fan switch
1. Wrong pump pressure
2. A) Heater almost out of fuel
B) Water condensation in fuel tank
C) Wrong fuel
3. Dirty fuel filters
4. Air leak in suction system
5. Dirty nozzle
6. Low voltage causing motor to operate
below rated speed
7. Loose fuel line
1. Adjust pump pressure (see Pump Pres-
sure Adjustment sections, pages 9 and 10)
2. Clean fuel filters (see Fuel Filters, page 11)
3. Replace nozzle (see Nozzle, page 9)
4. Clean photocell lens with clean cotton swab
5. Replace photocell
6. Replace flame-out control
7. Replace fan switch
1. Adjust pump pressure (see Pump Pres-
sure Adjustment sections, pages 9 and 10)
2. A) Add fuel to tank
B) Check fuel tank for bubbles of water
in bottom. If found, remove fuel (see
Storing, Transporting, or Shipping, page
5). Clean tank and fuel filters (see Fuel
Filters, page 11). Fill with clean fuel
C) Remove wrong fuel (see Storing,
Transporting, or Shipping, page 5).
Clean tank and fuel filters (see Fuel Fil-
ters, page 11. Fill with correct fuel
3. Clean fuel filters (see Fuel Filters, page 11)
4. Tighten all fuel line connections (see
Fuel Lines, page 10)
5. Replace nozzle (see Nozzle, page 9)
6. Check voltage at heater. Voltage at heater
should be not less than 90% of rated volt-
age (108V minimum for 120V heaters)
7. Check and tighten all fuel line connec-
tions (see Fuel Lines, page 10)
POSSIBLE CAUSE REMEDY
TROUBLESHOOTING
Continued
TROUBLESHOOTING
SERVICE PROCEDURES
WARNING: Never service heater while it is plugged
in, operating, or hot. Severe burns and electrical
shock can occur. Only a qualified service person
should service and repair heater.
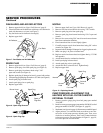
UPPER SHELL REMOVAL
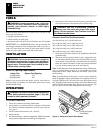
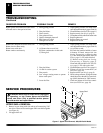
1. Remove screws along each side and top of heater using 5/16"
nut-driver. These screws attach upper and lower shells together
(see Figure 6).
2. Lift upper shell off.
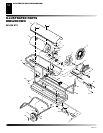
Figure 6 - Upper Shell Removal, 600,000 Btu/Hr Model
SERVICE PROCEDURES


