


12
102665
INSTALLING
Continued
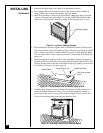
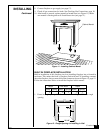
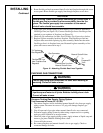
2. Break off nailing flanges (see Figure 8) with hammer or pliers.
3. Place mantel and base in desired location. Place heater in front opening of
mantel. Make sure all pieces fit properly. Remove mantel.
4. Mark floor and base or wall for gas line entrance. Make sure there is enough
clearance between heater and mantel for gas line. IMPORTANT: Make sure
there are no electrical lines where gas piping will go through floor or wall.
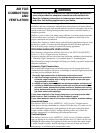
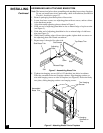
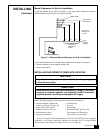
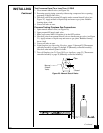
Figure 9 - Placing Hearth Base Accessory Against Wall
Electrical Outlet
Hearth Base
Flexible Gas Line
Gas Line Access
Hole
5. Place hearth base accessory against wall at installation location. Cut an access
hole in hearth base top to run flexible gas line to fireplace (see Figure 9). Make
sure to locate access hole so cabinet mantel will cover it when installed.
Note:
You can secure base to floor using wood screws. Countersink screw heads and
putty over.
6. Install gas piping to fireplace location. This installation includes an approved
flexible gas line (if allowed by local codes) after the manual shutoff valve. The
flexible gas line must be the last item installed on the gas piping. See Installing
Gas Piping to Fireplace Location, page 16.
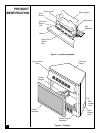
Nailing Flanges
Figure 8 - Location of Nailing Flanges
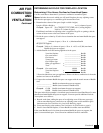
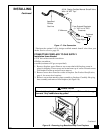
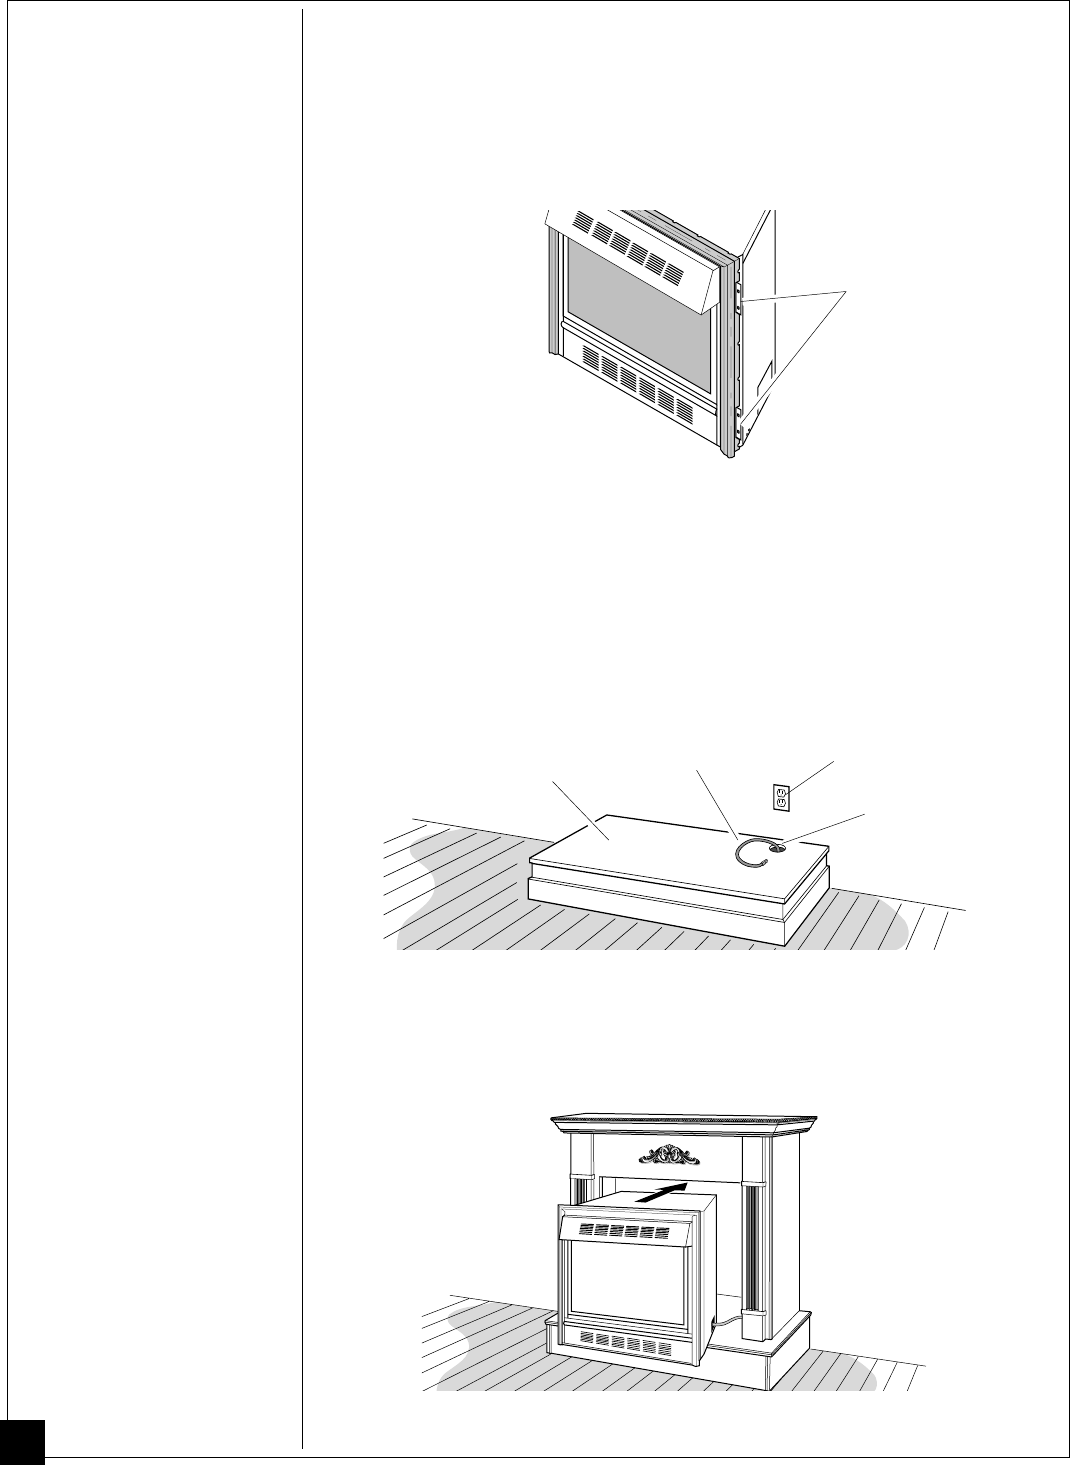
7. Carefully place fireplace on top of hearth base (Figure 10). Be careful not to
scratch or damage hearth base. Note: You can secure fireplace to hearth or
floor. Open lower louver. Locate screw holes in bottom of base. Secure with
wood screws through these holes and into hearth or floor.
Figure 10 - Inserting Fireplace Into Cabinet Mantel