


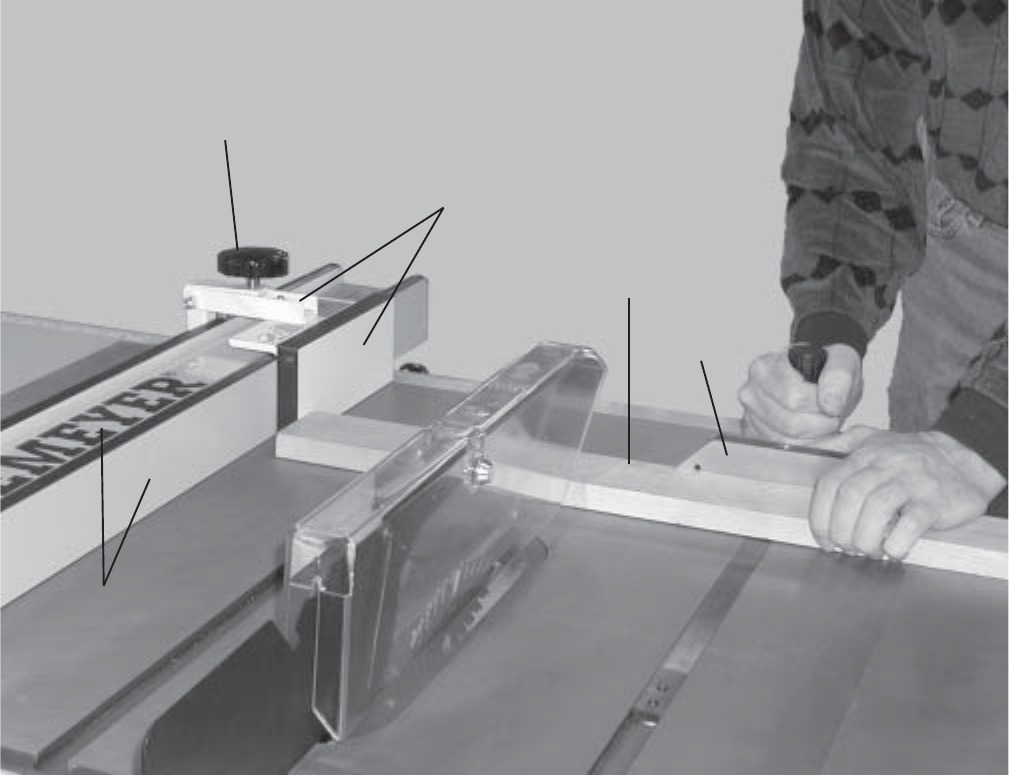
Fig. 10
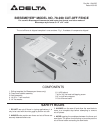
SET-UP AND USE
DISCONNECT SAW FROM POWER SOURCE
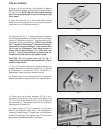
1. Place entire cut-off fence (X) Fig. 10, so it straddles saw fence (D), and is positioned close to the front
edge of saw table as shown. Then tighten knob (T).
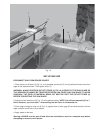
WARNING: ALWAYS POSITION CUT-OFF FENCE (X) FIG. 10, IN FRONT OF THE SAW BLADE SO
THE WORKPIECE CANNOT BE TRAPPED BETWEEN SAW FENCE AND SAW BLADE TO AVOID
KICKBACK. THE PIECE OF MATERIAL BEING CUT MUST BE PAST THE CUT-OFF FENCE (X)
BEFORE CONTACTING THE SAW BLADE.
2. Adjust and lock saw fence (D) Fig. 10, to the desired setting. NOTE: Cut-off fence assembly (X) is 1”
thick; therefore, you must add 1” when setting the saw fence to the desired cut.
3. Place edge of material to be cut (A) Fig. 10, against face of miter gage (B) and slide material until the
edge contacts cut-off fence (X) as shown.
4. Apply power to the saw.
Warning: ALWAYS turn the saw off and allow the saw blade to come to a complete stop before
attempting to remove cut-off pieces.
4
T
X
D
A
B