


4
Danger of burns!!
Failure to observe the warning could result in burns or scalds.
Please note:
This symbol indicates recommendations and important
information for the user.
Safety functions
- Safety device: the appliance is tted with a safety
device which switches it o in the event of accidental
overheating (e.g. obstruction of air intake and outlet
grilles, motor turning slowly or not at all).
To reset, unplug the appliance from the mains socket for
a few minutes, remove the cause of overheating then
plug in again.
- Tip over safety device: a tip over safety device turns
the appliance o if it falls over or is positioned inappro-
priately in such a way as to jeopardise safety.
The appliance emits a beep and a dot ashes on the di-
splay. The appliance resumes operation a few seconds
after being placed in an upright position again.
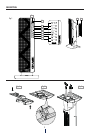
DESCRIPTION
(see g. 1)
A ON/STAND-BY button
B +/- adjustment buttons
C MODE button (selects the operating mode)
D “ECO plus” button
E Timer button
F Swing button
G Remote control receiver
H Indicator light
I Air intake grille
J Filter
USE
Installation
- The appliance can be used on any horizontal surface.
Do not overload the electrical circuit. Avoid using the
same socket for other appliances.
Electrical connection
-
Before plugging the appliance into the mains socket, check
that the mains power supply corresponds to the value
indicated on the rating plate and that the mains power
supply is adequate for the load.
- THIS APPLIANCE COMPLIES WITH DIRECTIVE 2004/108/EEC
ON RADIO INTERFERENCE SUPPRESSION.
Mounting the base
- Fit the two parts of the base together, matching the
guide pins on the front with the recesses on the back
and snapping the two clips into place (g. A and g. B).
- Turn the appliance upside down and x the base to the
body with the 6 screws supplied (g. C).
Operation and use
1. Plug into the mains socket.
2. The appliance emits a beep. The indicator light (H)
comes on and remains lit while the appliance is
powered.
3. The appliance switches to stand-by. A dot ashing
on the display means the tip over device has been
activated. See paragraph: “Safety functions”.
4.
Press the ON/STAND-BY (A) to turn the appliance on. It
begins heating the room according to the current settings.
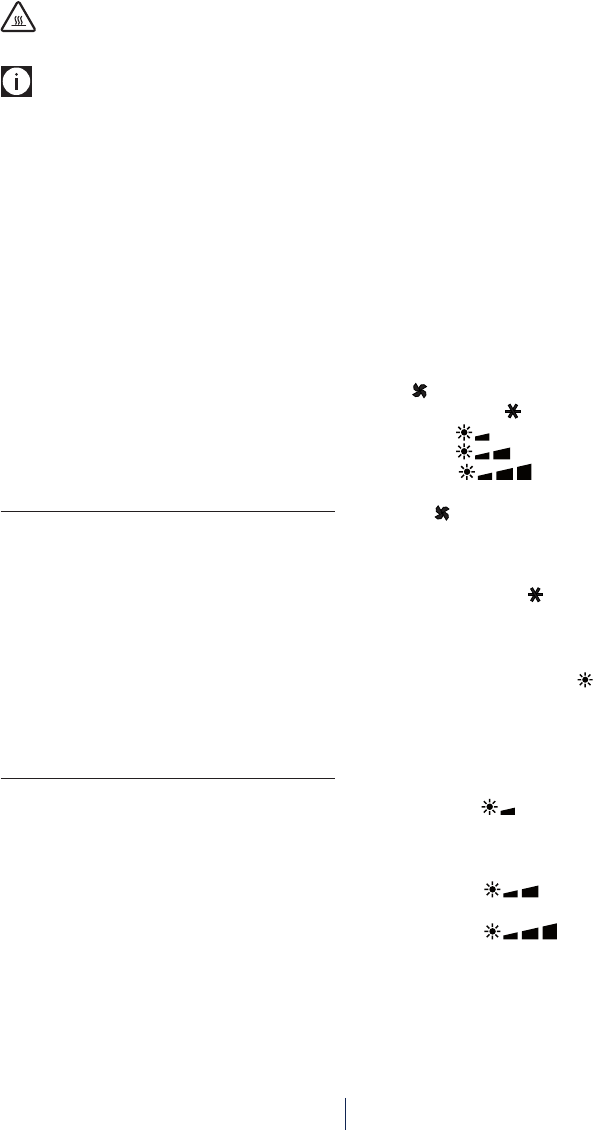
5. Press the MODE button (C) to select one of the following
operating modes:
Fan
Freeze prevention
Heating 1
Heating 2
Heating 3
5.1 Fan
In this mode, only the fan operates and the
appliance does not heat the room.
5.2 Freeze prevention
In this mode, the appliance keeps the room at a
temperature of 7°C to avoid freezing.
5.3 Heating 1, 2 and Heating 3
In this mode, the desired temperature can be
selected by pressing the adjustment buttons +
and – ( B ). By pushing the + or - button once, the
temperature (shown on the display) will increase
or decrease by 1°C.
Heating 1
The appliance operates at low power, reducing
noise levels and energy consumption to a
minimum.
Heating 2
The appliance operates at medium power.
Heating 3
The appliance operates at high power to heat the
room rapidly.
The setting temperature range available is from
16°C to 32°C.