Version B - For Reduction G016.J
®
5
Model 3VH18A - Propane
Model 3VH19A - Natural Gas
Dayton Operating Instructions and Parts Manual
Ventilation
Provide at least a
3-square-foot
opening of fresh, outside air while
running heater. If proper fresh, outside
air ventilation is not provided, carbon
monoxide poisoning can occur. Provide
proper fresh, outside air ventilation
before running heater.
Installation
Review and
understand the
warnings in the General Safety Infor-
mation section. They are needed to
safely operate this heater. Follow all
local codes when using this heater.
Test all gas piping
and connections for
leaks after installation or servicing.
Never use an open flame to check for a
leak. Apply a mixture of liquid soap and
water to all joints. Bubbles forming
show a leak. Correct all leaks at once.
PROPANE MODEL 3VH18A
1. Provide propane supply system (See
Propane Supply).
2. Connect fuel gas fitting on hose/regulator
assembly to propane tank(s). Turn fuel
gas fitting counterclockwise into threads
on tank. Tighten firmly using a wrench.
IMPORTANT: Tighten regulator with vent
pointing down. Pointing vent down protects
regulator from weather damage.
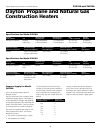
FRESH OUTSIDE AIR OPENING REQUIREMENTS
Heater Size Square feet opening
100,000 Btu/Hr 3.0
Natural Gas Supply for
Model 3VH19A
You must furnish the natural gas supply
and the connections to the heater.
Regulate the natural gas supply down
from a minimum 6 inches water column to
a maximum of 1/2 psi. The natural gas
supply capacity should be able to supply a
minimum of 100 cubic feet of gas at
pressure for each heater connected to the
system.
Consult your natural gas supplier for
proper sizing of the natural gas supply
lines.
Follow all local ordinances and codes. In
the absence of local ordinances and codes,
refer to the National Fuel Gas Code
Handbook, NFPA54/ANSI Z223.1 and the
Natural Gas Installation Code, CAN/CGA
B149.2.
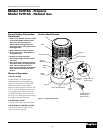
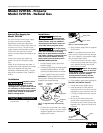
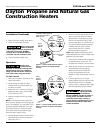
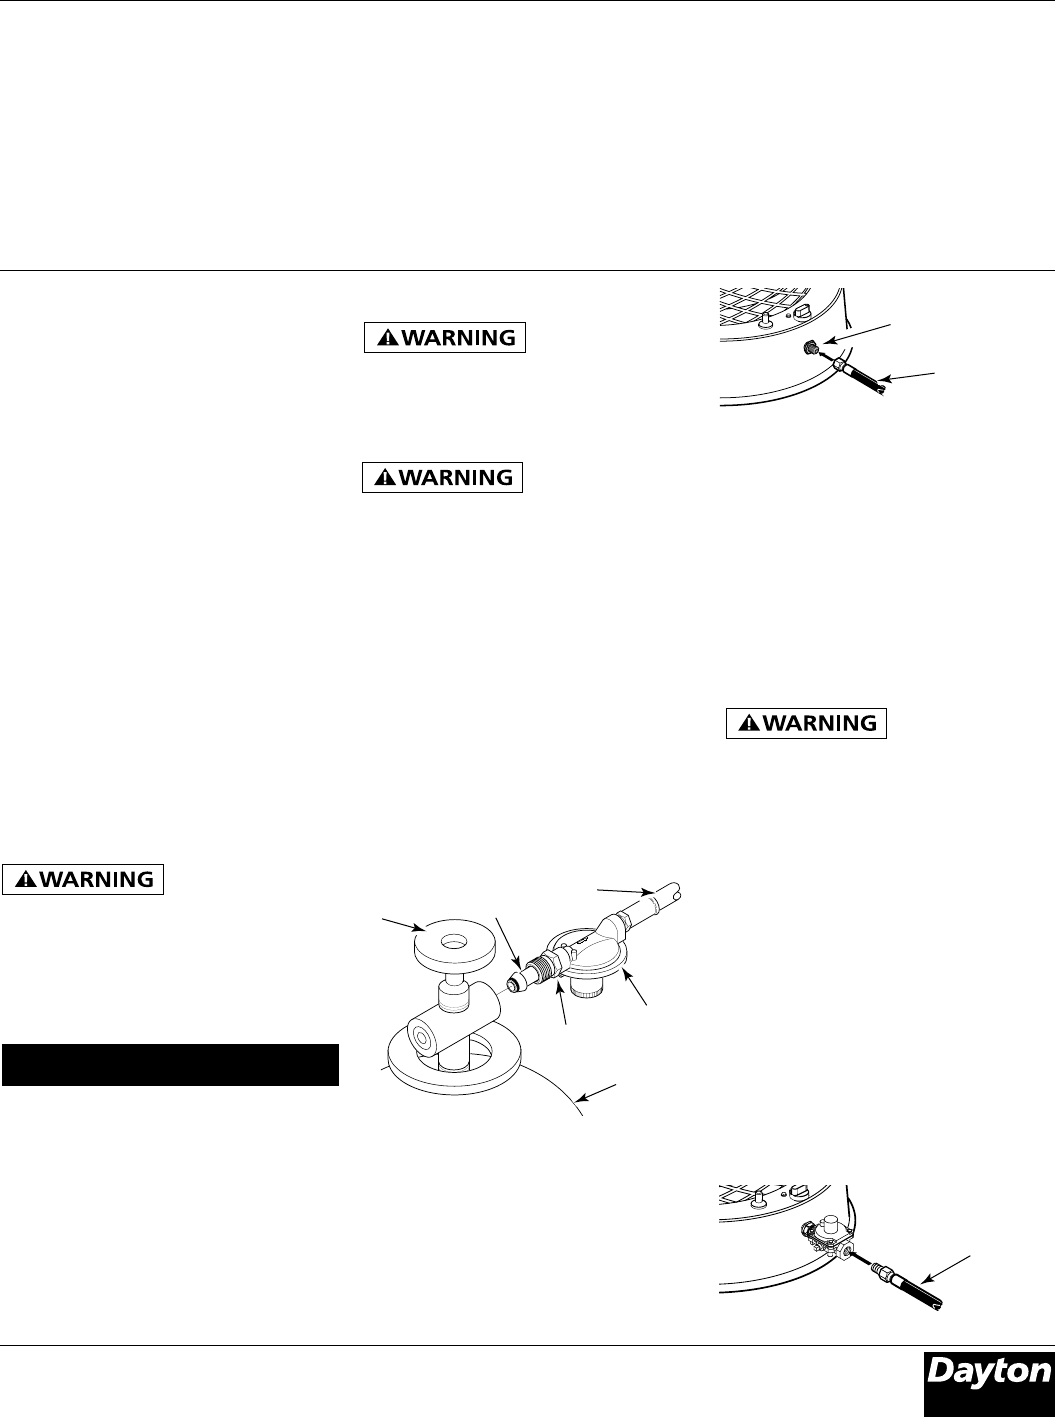
Figure 3 - Regulator With Vent Pointing
Down
Figure 4 - Hose and Valve Inlet
Never use an open
flame to check for
a leak. Apply a mixture of liquid soap
and water to all joints. Bubbles
forming show a leak that must be
corrected. Correct all leaks at once.
Propane
Tank
Supply
Valve
Fuel Gas
Fitting
Hose
Regulator
Vent
(pointing
down)
3. Connect hose to the valve inlet. Tighten
firmly using a wrench. You must use the
regulator supplied with heater even if
propane tank has one.
4. Open propane supply valve on propane
tank(s) slowly.
NOTE: If not opened slowly, excess-flow
check valve on propane tank may stop gas
flow. If this happens, close propane supply
valve and open again slowly.
5. Check all connections for leaks. Apply
mixture of liquid soap and water to gas
joints. Bubbles forming show a leak
that must be corrected.
Hose
6. Close propane supply valve (See page 4).
NATURAL GAS MODEL 3VH19A
1. Provide natural gas supply system.
2. Install plumbing to a low pressure
natural gas source. The source must be
regulated to 1/2 psi maximum 3/4 inch
i.d. hose or flexible connector not over
10 feet long.
3. Be sure to use thread sealing com-
pound when connecting the hose to
the heater at the 1/2 NPT fitting at the
regulator inlet. Tighten all fittings with
a wrench.
Valve Inlet
Figure 5 - Hose and Valve Inlet
Hose


