


11
Models 2E510D, 2E511D, 3E218D, and 3E219C
Dayton Operating Instructions and Parts Manual
101421
®
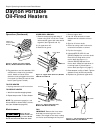
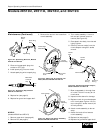
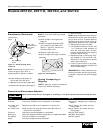
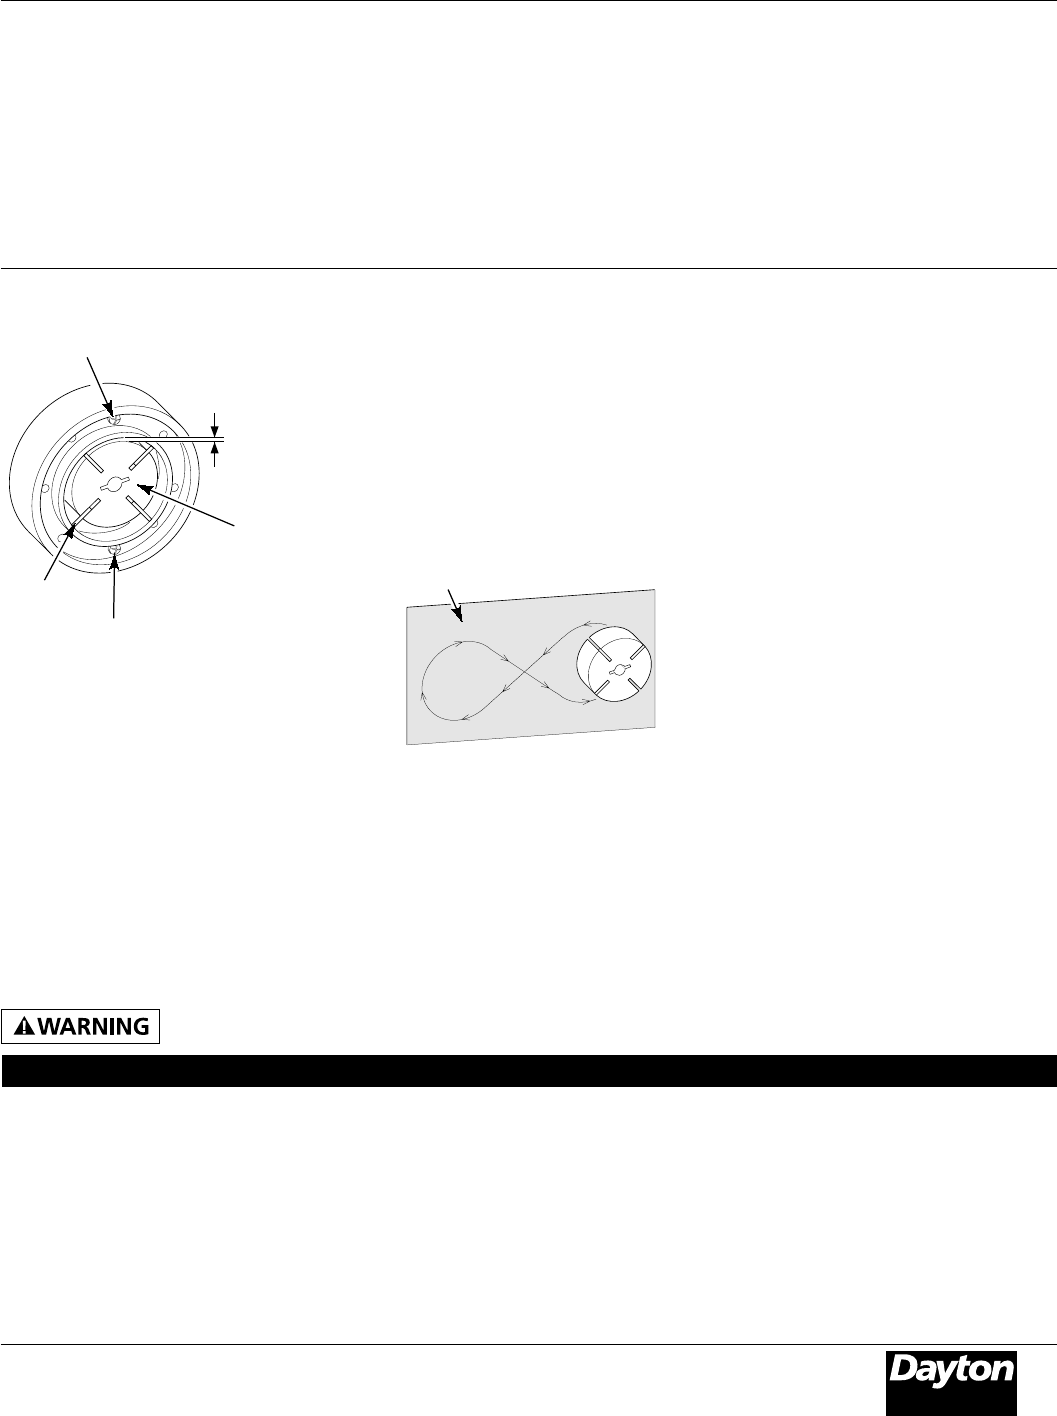
NOTE: If rotor is still binding, proceed
as follows.
13. Perform steps 1 through 6 (see
page 10).
14. Place fine grade sandpaper (600
grit) on flat surface. Sand rotor
lightly in “figure 8” motion four
times (see Figure 32).
15. Reinstall insert and rotor.
16. Perform steps 10 through 12 above.
Maintenance (Continued)
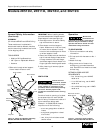
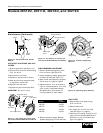
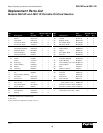
.003"/.004"
Gap Measured
with Feeler
Gauge
Gap Adjusting
Screw
Blade
Gap Adjusting
Screw
Rotor
Figure 31 - Gap Adjusting Screw
Locations
NOTE: Rotate rotor one full turn to
insure the gap is .003"/.004" at
tightest position. Adjust if needed.
10. Install blades, pump plate, air
filters, and filter end cover.
11. Replace fan guard and upper shell.
12. Adjust pump pressure (see page 7).
Sandpaper
Figure 32 - Sanding Rotor
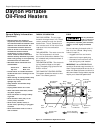
Never service heater while it is plugged in, operating, or hot. Severe burns and electrical shock can occur.
Preventative Maintenance Schedule
Fuel tank Flush every 150-200 hours of operation or as needed. See Storing, Transporting, or Shipping,
above.
Air output and Replace every 500 hours of operation or once a year. See Air Output, Air Intake, and Lint
lint filters Filters, page 7.
Air intake filter Wash and dry with soap and water every 500 hours of See Air Output, Air Intake, and Lint
operation or as needed. Filters, page 7.
Fuel filter Clean twice a heating season or as needed. See Fuel Filter, page 7.
Spark plug Clean and regap every 600 hours operation or replace as needed. See Spark Plug, page 8.
Fan blades Clean every season or as needed. See Fan, page 6.
Motor Not required/permanently lubricated.
How Often
How To
Item
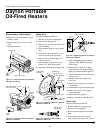
1. Drain fuel tank.
NOTE: Some models have drain plug on
underside of fuel tank. If so, remove drain
plug to drain all fuel. If heater does not
have drain plug, drain fuel through fuel
cap opening. Be sure all fuel is removed.
2. Replace drain plug if provided.
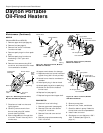
3. If any debris is noted in old fuel, add
1 or 2 quarts of clean kerosene to
tank, stir, and drain again. This will
prevent excess debris from clogging
filters during future use.
4. Replace fuel cap or drain plug. Prop-
erly dispose of old and dirty fuel.
Check with local automotive service
stations that recycle oil.
5. If storing, store heater in dry place.
Make sure storage place is free of dust
and corrosive fumes.
IMPORTANT: Do not store kerosene over
summer months for use during next heat-
ing season. Using old fuel could damage
heater.
Storing
T
rans
porting
,
or
Shipping
NOTE: If shipping, transport companies
require fuel tanks to be empty.